I can't believe it took me so long to create this batter recipe! I am so excited about it. Doesn't it look scrumptious? Believe me, it was! Yep, I ate it all up. Yum.
This recipe has opened up a whole new world for me (and you!). Although this post is about fried fish, this batter can be used for shrimp, chicken, onion rings, zucchini and many other delicious foods. I believe you are going to love it. It creates a great crunchy coating, and is full of flavor.
What You Will Need:
Large Skillet
Plate Lined With Paper Towel or a Baking Pan Lined With a Rack
Ingredients:
4 Ocean Perch Fillets or the food of your choice
1/2 cup Soy Flour
1/2 cup Tapioca Starch/Flour
1/2 cup Potato Starch
1 cup Water
1 Tablespoon Baking Powder
1 teaspoon Ground Pepper
1 1/2 teaspoons Garlic Powder
1 1/2 teaspoons Onion Powder
1 1/2 teaspoons Paprika
Canola Oil (for frying)
Directions:
In a medium bowl, whisk together soy flour, tapioca starch, potato starch, baking powder, pepper, garlic powder, onion powder and paprika. Measure out 1/2 cup of the mixture and transfer it to a separate small bowl. Mix water into medium bowl with original mixture.
Heat oil in skillet over medium heat.
Dip fish in flour mixture.
Dip floured fish in batter.
Place fish in skillet. Fry on each side for a few minutes.
Place cooked fish on paper towel lined plate or baking dish lined with a cooling rack. While I used a plate lined with paper towel (out of habit), I really recommend using a baking dish lined with a cooling rack. This allows all of the fat to drip to the bottom, and gives you the option to throw the first batch in the oven (on a very low temp) to keep it warm while you are frying the rest.
Serve with tartar sauce or yummy sauce, french fries and your favorite vegetable. My husband makes his own tartar sauce by mixing Miracle Whip (or you could use mayo) with relish. I don't like tartar sauce, so I use what I call yummy sauce. Yummy sauce is Miracle Whip mixed with Ketchup. I know it sounds weird, but it is really good, and it gives your fried fish a little zip.
The family loved this. I can't wait to try it with zucchini, green beans and onion rings. They are going to be so amazing!
"To know even one life has breathed easier because you have lived. This is to have succeeded." ~Ralph Waldo Emerson
Sheryl

These dinner rolls would be great served with stew, pot roast, roasted turkey with gravy or any other entree that goes well with dinner rolls. They are fairly simple to make, and hold up well for several days if stored in a plastic bag in the fridge.
What You Will Need:
KitchenAid Mixer with Paddle Attachment
Muffin Tins
Ingredients:
1 1/3 cup Sorghum Flour
3/4 cup Potato Starch
2/3 cup Tapioca Starch/Flour
3 Tablespoons Honey
1 1/2 teaspoons Guar Gum
1 teaspoon Xanthum Gum
1 Tablespoon Active Dry Yeast
1 1/2 teaspoon Salt
1 1/2 cup Milk, room temperature
1/4 cup Olive Oil
2 Large Eggs, room temperature
2 Large Egg Whites, room temperature
Directions:
In KitchenAid Mixer bowl, whisk together sorghum flour, potato starch, tapioca starch, guar gum, xanthum gum, yeast and salt. Set aside.
In separate bowl, lightly beat eggs and egg whites.
Add milk, honey, vinegar & olive oil. Stir to mix.
With KitchenAid Mixer on medium-low, slowly add the wet ingredients to the dry ingredients. When mixture is smooth, beat on high for 2 minutes.
Spray muffin tins with non-stick cooking spray. Scoop batter into muffin tins. Cover with plastic wrap sprayed with cooking spray. Set in warm, dry place to rise for 30 minutes.
Preheat oven to 350°F. Bake rolls for 15 minutes or until internal temperature is 205° F. Let cool in pan for a few minutes.
Delicious! I love eating a roll with my dinner, especially with a dollop of butter melting into all of the nooks and crannies.
"The moment you are ready to quit is usually the moment right before the miracle happens. Don't give up!"
The miracles are always worth the heartache.
Sheryl
I have kind of been on a lemon kick lately. I don't know what it is. I guess lemons seem refreshing to me; and since it is has been really hot, they have been calling to me. I am so glad I answered. The Lemony Lemon Cookies I posted on July 21, 2013 and these insanely good Lemon Brownies have been incredible hits.
My friend, Monica, loves lemon. When I finished making the lemon brownies, I sent her a text to let her know. She headed right over for a taste. Although I gave her enough brownies to share with her husband and daughter, she said the brownies were so good, she only gave them each a small taste. That sounds like a glowing review to me.
What You Will Need:
Whisk
Square Baking Pan
Ingredients:
For Brownies
2/3 cup Oil
1 1/2 cups Sugar
2 Large Eggs, room temperature
2 Tablespoons Lemon Juice
2/3 cup Soy Flour
1/3 cup Potato Starch
1/3 cup Tapioca Starch/Flour
2 Tablespoons Lemon Zest
1 teaspoon Xanthum Gum
1/2 teaspoon Baking Soda
1/4 teaspoon Salt
For Glaze
1 cup Powdered Sugar
1 Tablespoon Lemon Zest
1/4 cup Lemon Juice
Directions:
In two separate small bowls, zest and juice lemon(s). (Make sure to wash lemons well before zesting.) Set aside.
Grease and flour square baking pan. Set aside.
Preheat oven to 350° F.
In a medium bowl, beat oil, sugar, eggs and lemon juice.
In a separate small bowl, whisk together soy flour, potato starch, tapioca starch, lemon zest, xanthum gum, baking soda and salt.
Add dry ingredients to wet ingredients and mix until blended.
Pour batter into prepared pan.
Bake for 40 minutes or until toothpick inserted in center comes out clean.
Cool completely in pan. Turn out onto a platter.
In a small bowl, mix together glaze ingredients until smooth.
Slowly pour glaze on brownies. Spread over brownies with spoon or spatula. Be careful not to use too much. You don't want it to puddle. You can always pour a second round after the first layer is set.
Cut into pieces and serve.
You might want to consider making two batches. They disappear at lightning speed.
"You only live once, but if you do it right, once is enough."
Sheryl
When I served this to my husband, he said it reminded him of General Tso's chicken from the Chinese restaurant. That made me really happy, because I LOVE General Tso's chicken, and have missed it since my diagnosis. Unfortunately, it was also a bit sad, because he DOESN'T like General Tso's. BUT, he is such a trooper, he ate it anyway. Just another reason why I love him so. :D
I served it with rice noodles, because that is what I had in the pantry, and we have already eaten a lot of rice this week. However, now that I think of it more like General Tso's chicken, I will probably cut it into smaller pieces and serve it with rice. Maybe I will even buy one of those Chinese take out boxes, and really try to fool myself. Hey people, it's the little things in life. . .
What You Will Need:
Large Skillet
Baking Sheet lined with Cooling Rack
Small Sauce Pan
Ingredients:
3-4 Boneless Skinless Chicken Breasts, cut horizontally
1/4 cup Olive Oil
Flour Dredge
1/3 cup Soy Flour
1/3 cup Tapioca Starch/Flour
1/3 cup Potato Starch
1 1/2 Tablespoon Ginger
1 Tablespoon Paprika
1 Tablespoon Nutmeg
2 teaspoons Salt
2 teaspoons Ground Pepper
1 teaspoon Thyme
1 teaspoon Sage
1/2 teaspoon Cayenne Pepper
Egg Wash
2 Eggs
1 Tablespoon Water
Honey Garlic Glaze
1/2 cup Honey
1/8 cup Tamari Soy Sauce
2-3 Garlic Cloves, minced
1 Tablespoon Olive Oil
1/2 teaspoon Ground Pepper
Directions:
In a small bowl, whisk together four dredge ingredients. Set aside.
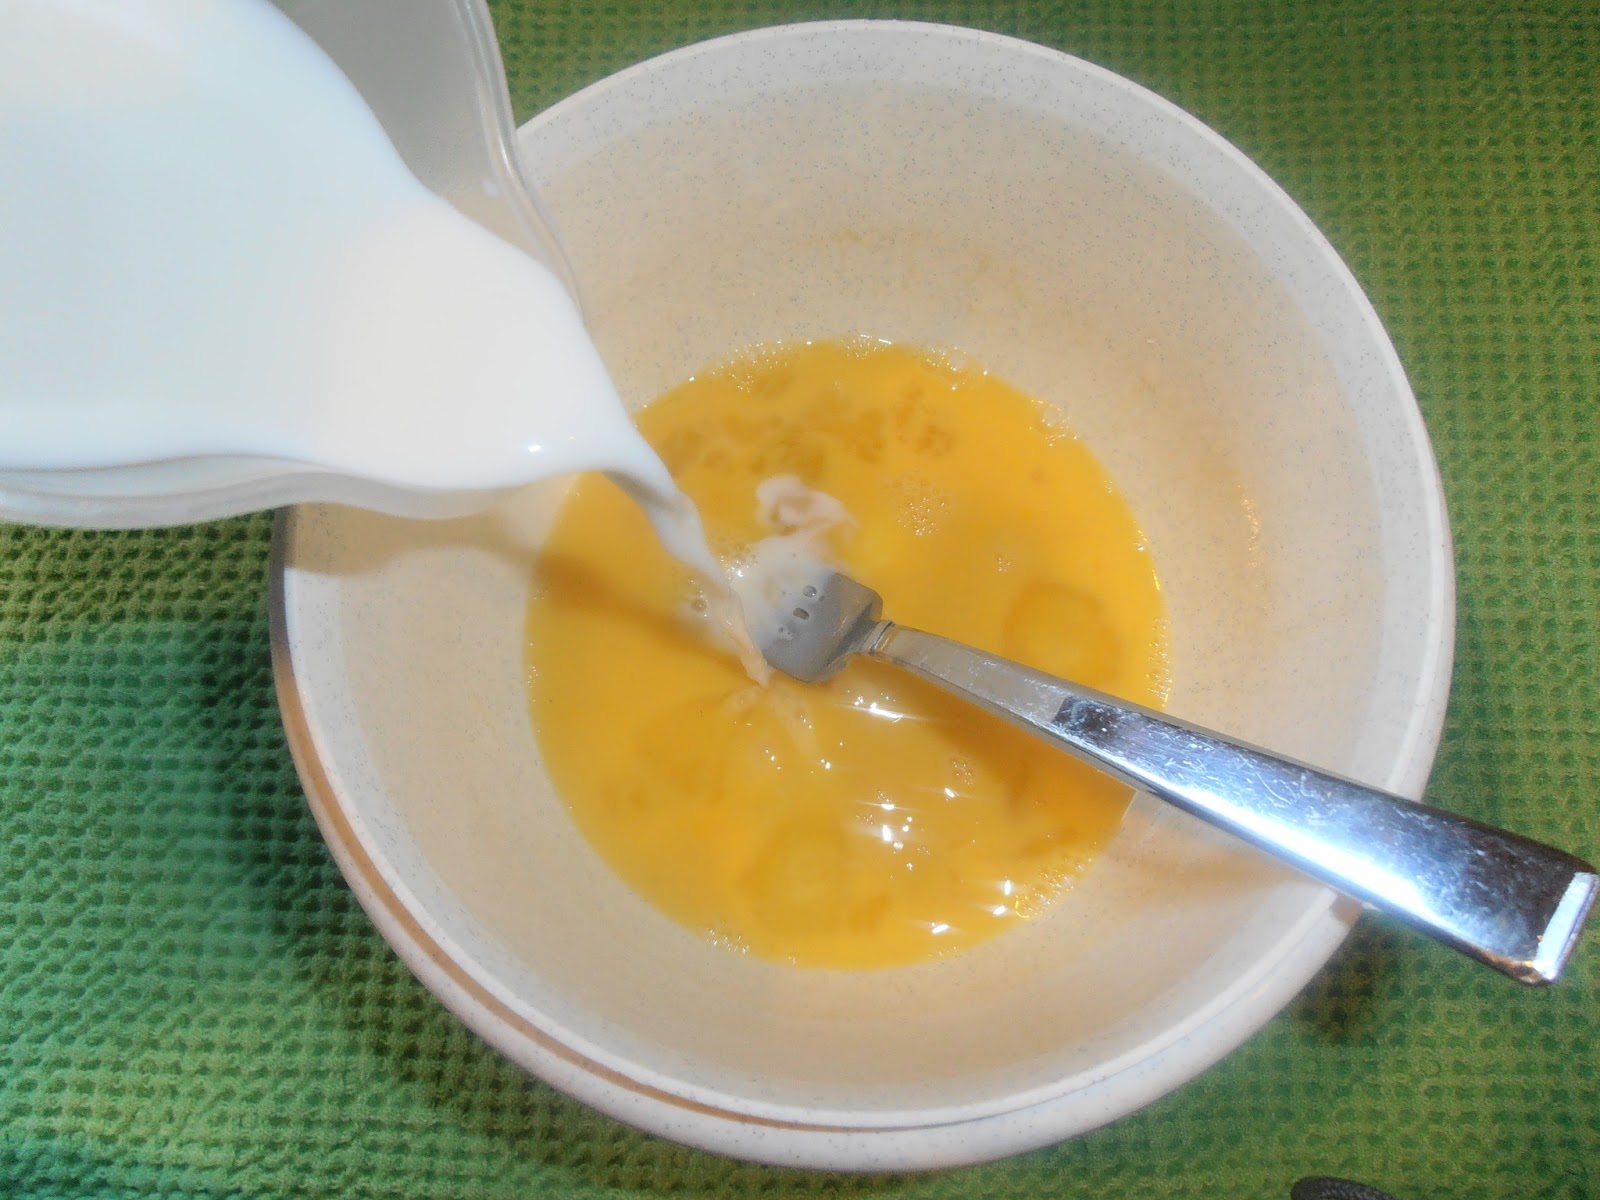
In a separate small bowl, beat together eggs and water. Set aside.
Cut chicken breasts horizontally to create thin fillets.
Pour olive oil in skillet and heat over low-medium heat. (Olive oil should cover bottom of skillet and be approximately 1/4 inch deep.)
Dredge chicken pieces in flour, egg, and flour.
Fry chicken in skillet until golden brown - approximately 2-3 minutes on each side. (Don't overcrowd your pan. Fry chicken in 2-3 batches.)
Remove chicken from pan, and place in baking sheet lined with a cooling rack. (This allows the oil to drain off, and the chicken to stay crispy.)
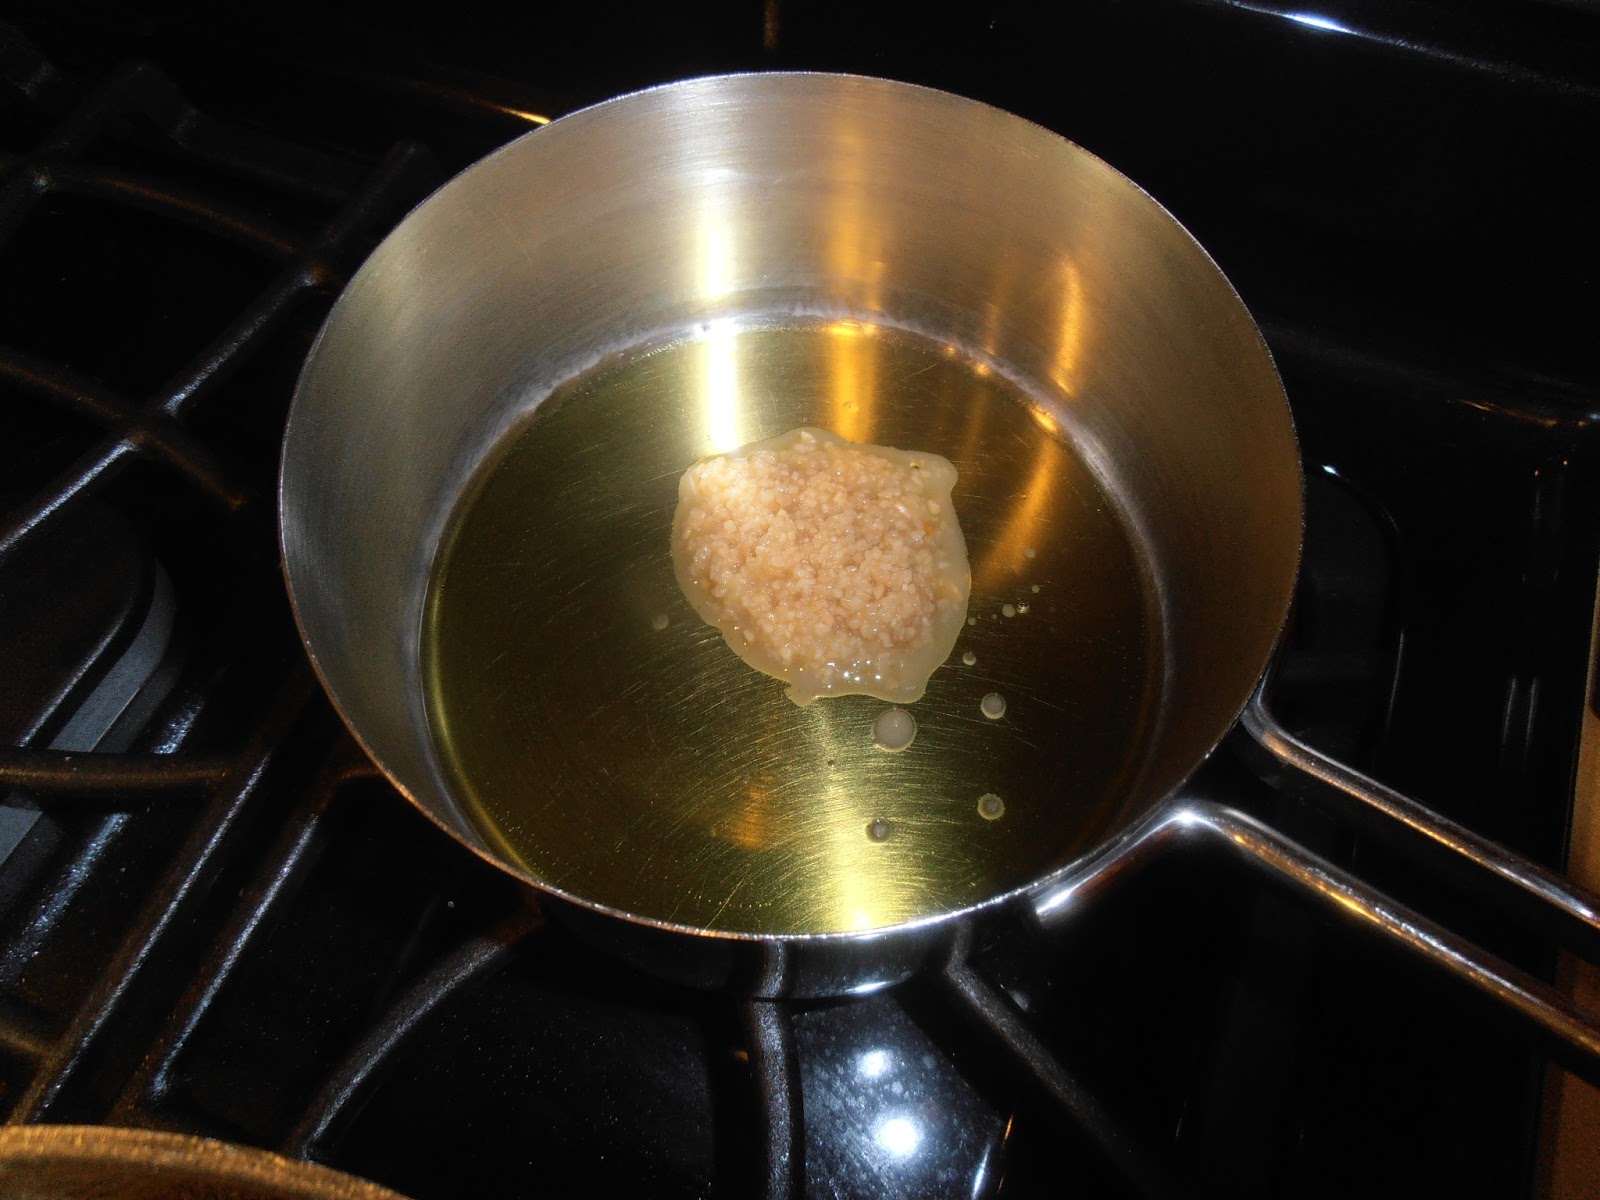
In small saucepan, heat olive oil and garlic over medium heat to soften. (Do not brown the garlic.)
Add honey, tamari sauce, and pepper. (If you want spicy sauce, you can add some pepper flakes. I would start with 1/8 teaspoon and slowly add until desired heat level.) Simmer for 5-10 minutes. Remove from heat, and cool for a few minutes.
Dip chicken in sauce and serve.
Yummy, yummy in my tummy!
TIP: If you or your kids don't like sauce, you can serve this as fried chicken. I actually didn't dip my kids' chicken in the sauce, and they loved it just the way it was.
"Laugh as much as you breath, and love as long as you live." ~Ralph Waldo Emerson
That is a lofty goal, but surely one to aspire to.
Sheryl