Sunday, November 24, 2013

Caramel Topped Pumpkin Oatmeal Cookies


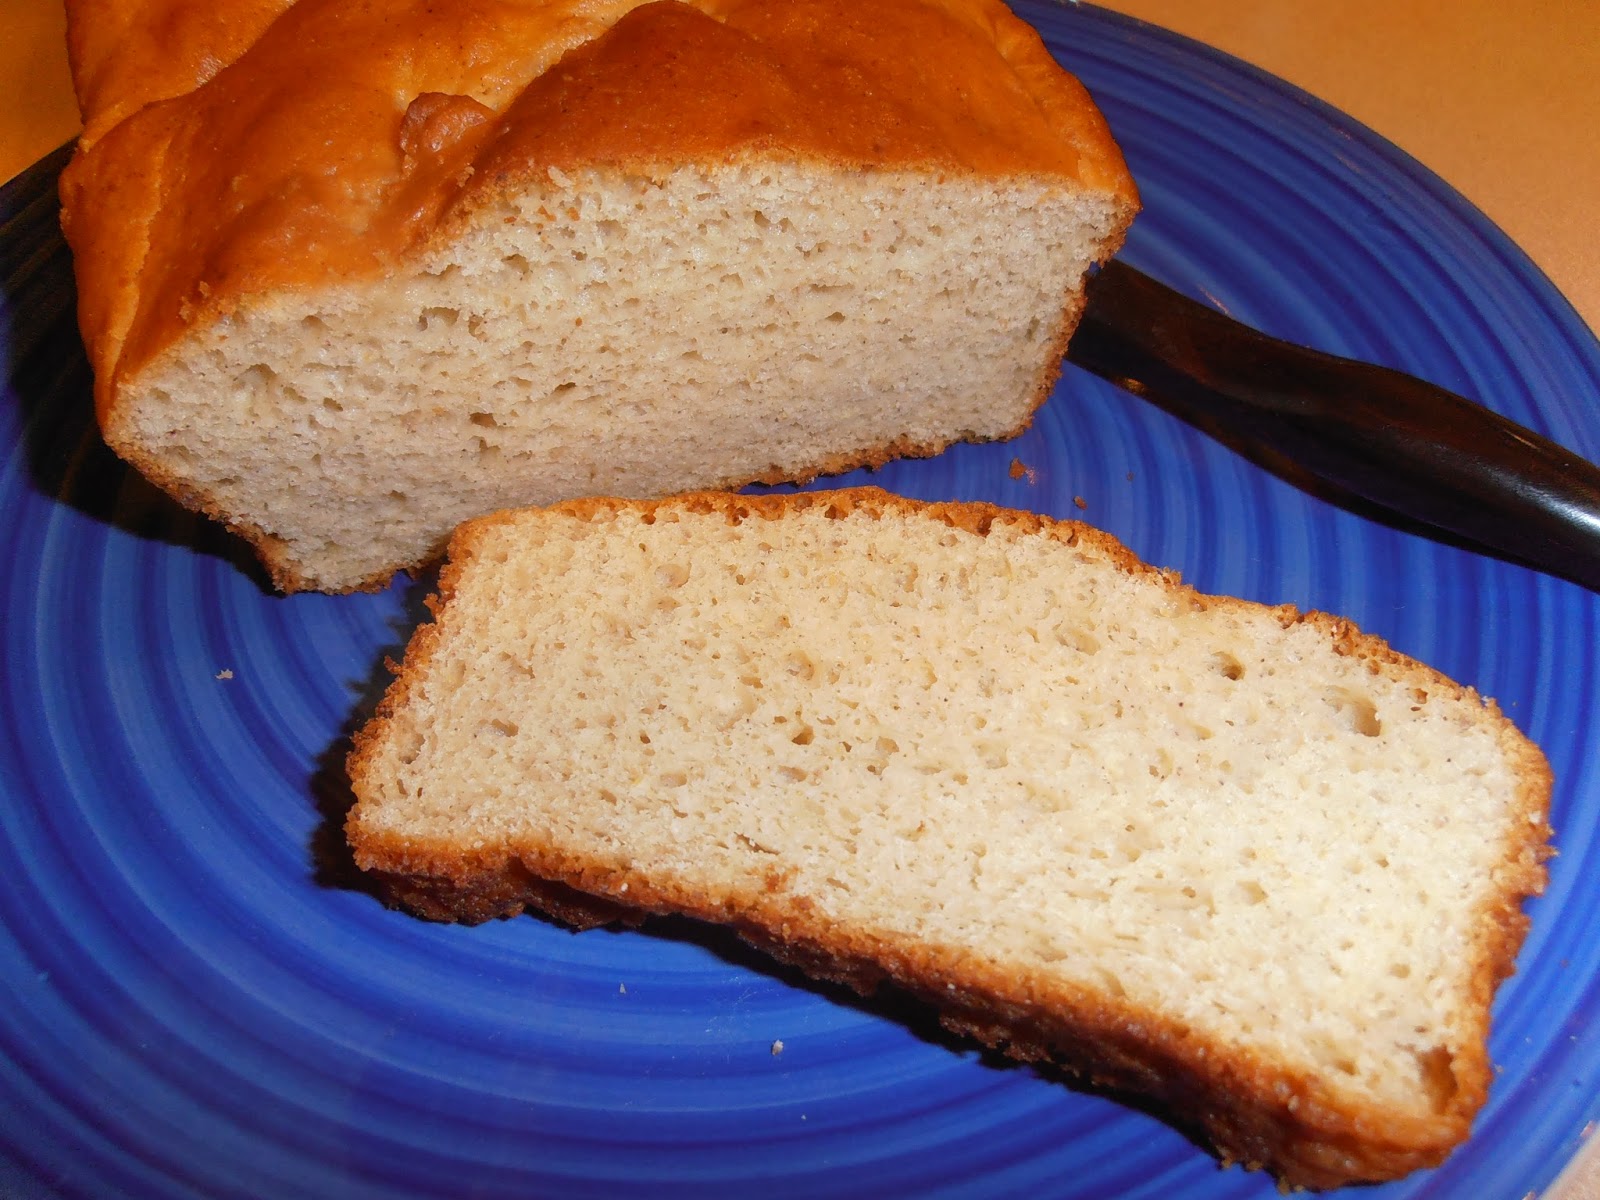
I love the way pumpkin, caramel and pecans go together. The great thing about these cookies, besides the fact that they have pumpkin, caramel and pecans, is that the high content of brown sugar actually gives the cookies themselves a caramelly texture. 

Try them, you will surely like them.

Makes 3 dozen cookies

What You Will Need:
KitchenAid Stand Mixer with Paddle Attachment
Small Scoop
Silicone Lined Cookie Sheets
Cooling Rack Lined Baking Pan
Microwave Safe Bowl

Ingredients:
Cookies
1/4 cup Soy Flour
1/4 cup Potato Starch
1/4 cup Tapioca Starch/Flour
1 teaspoon Xanthum Gum
1 teaspoon Cinnamon (optional)
1/4 teaspoon Nutmeg (optional)
1 cup Brown Sugar
1/8 teaspoon Salt
1/2 teaspoon Baking Soda
2 tablespoons Unsalted Butter, room temperature
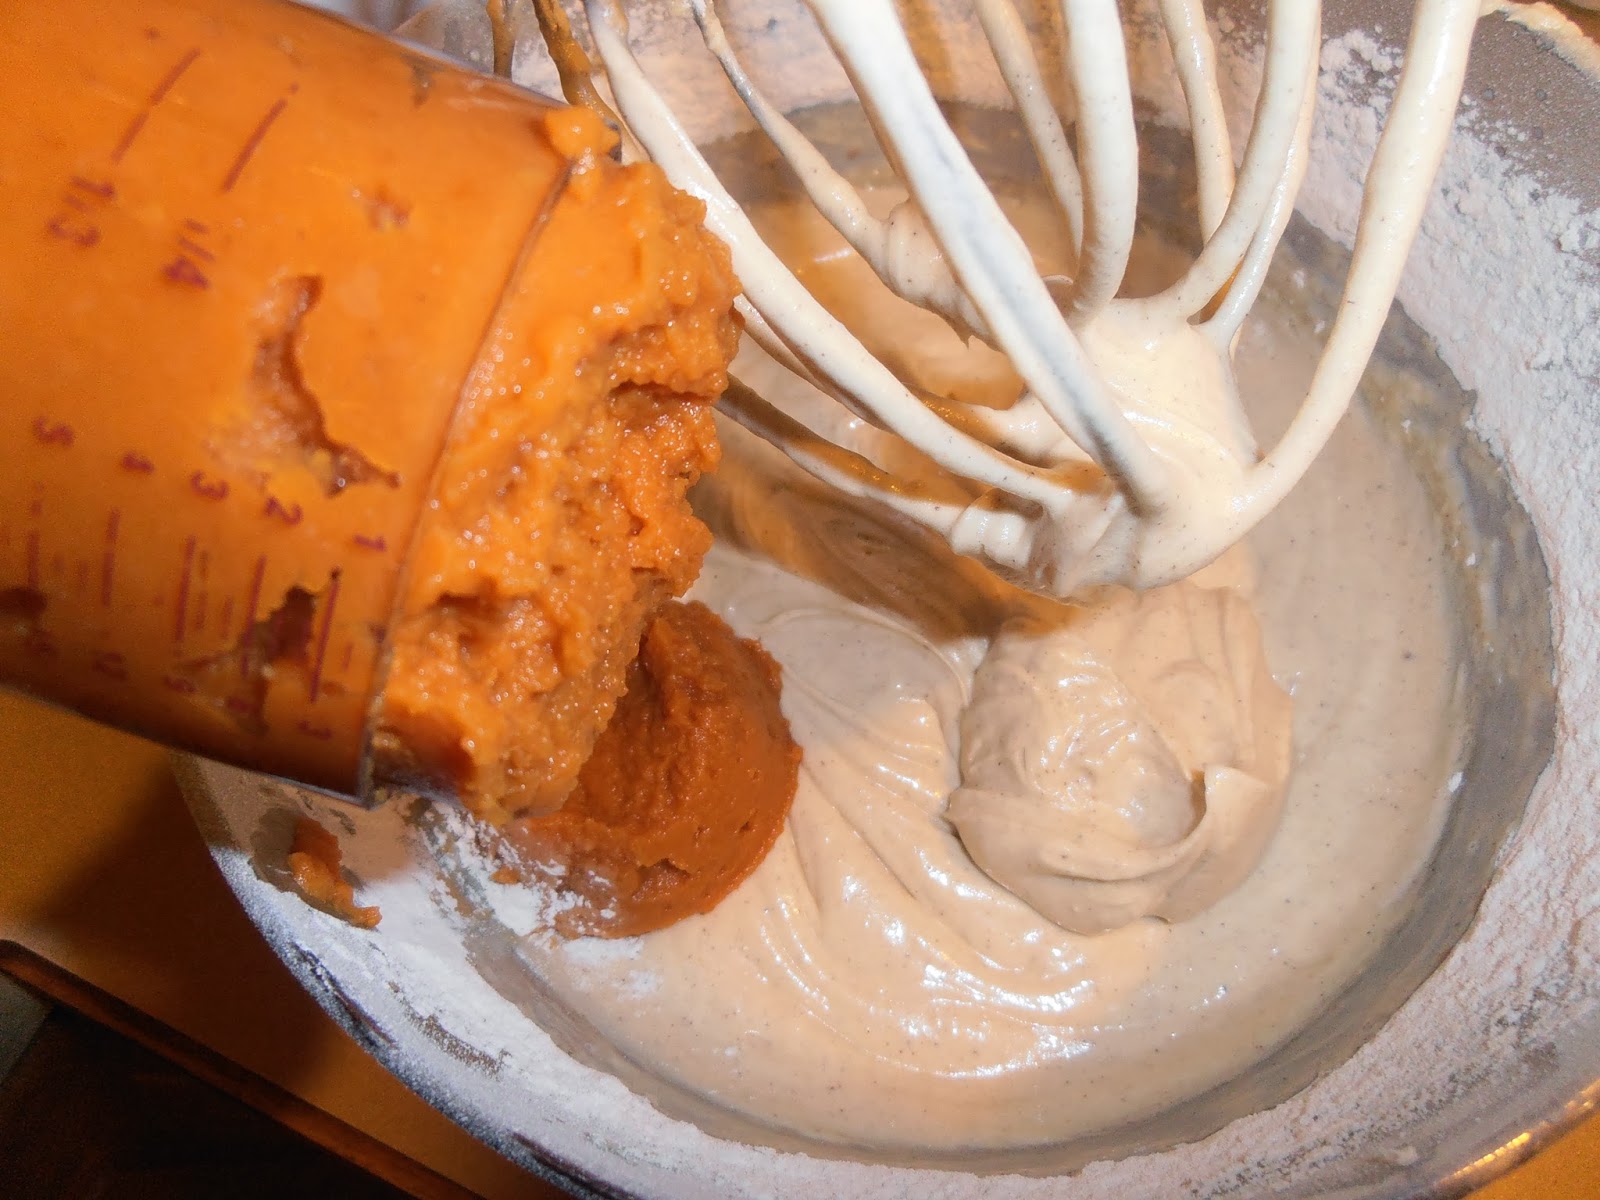
1/2 cup Pumpkin Puree
1 teaspoon Pure Vanilla Extract
1 Large Egg
2 cups Steel Cut or Old Fashion Oats
1/2 cup Pecans, chopped
Caramel Topping
3/4 cup Kraft Caramel Bits
1 Tablespoon Unsalted Butter
2 Tablespoons 2% or Whole Milk
Topping
1/2 cup Pecans, chopped

I didn't use the spices in my cookies. However, after making them, I think the spices would add a nice depth of flavor. Try them either way, I know you will like them.

Description:
Preheat oven to 350°F

In a small bowl, whisk together soy flour, potato starch, tapioca starch, xanthum gum, sugar, salt & baking soda.

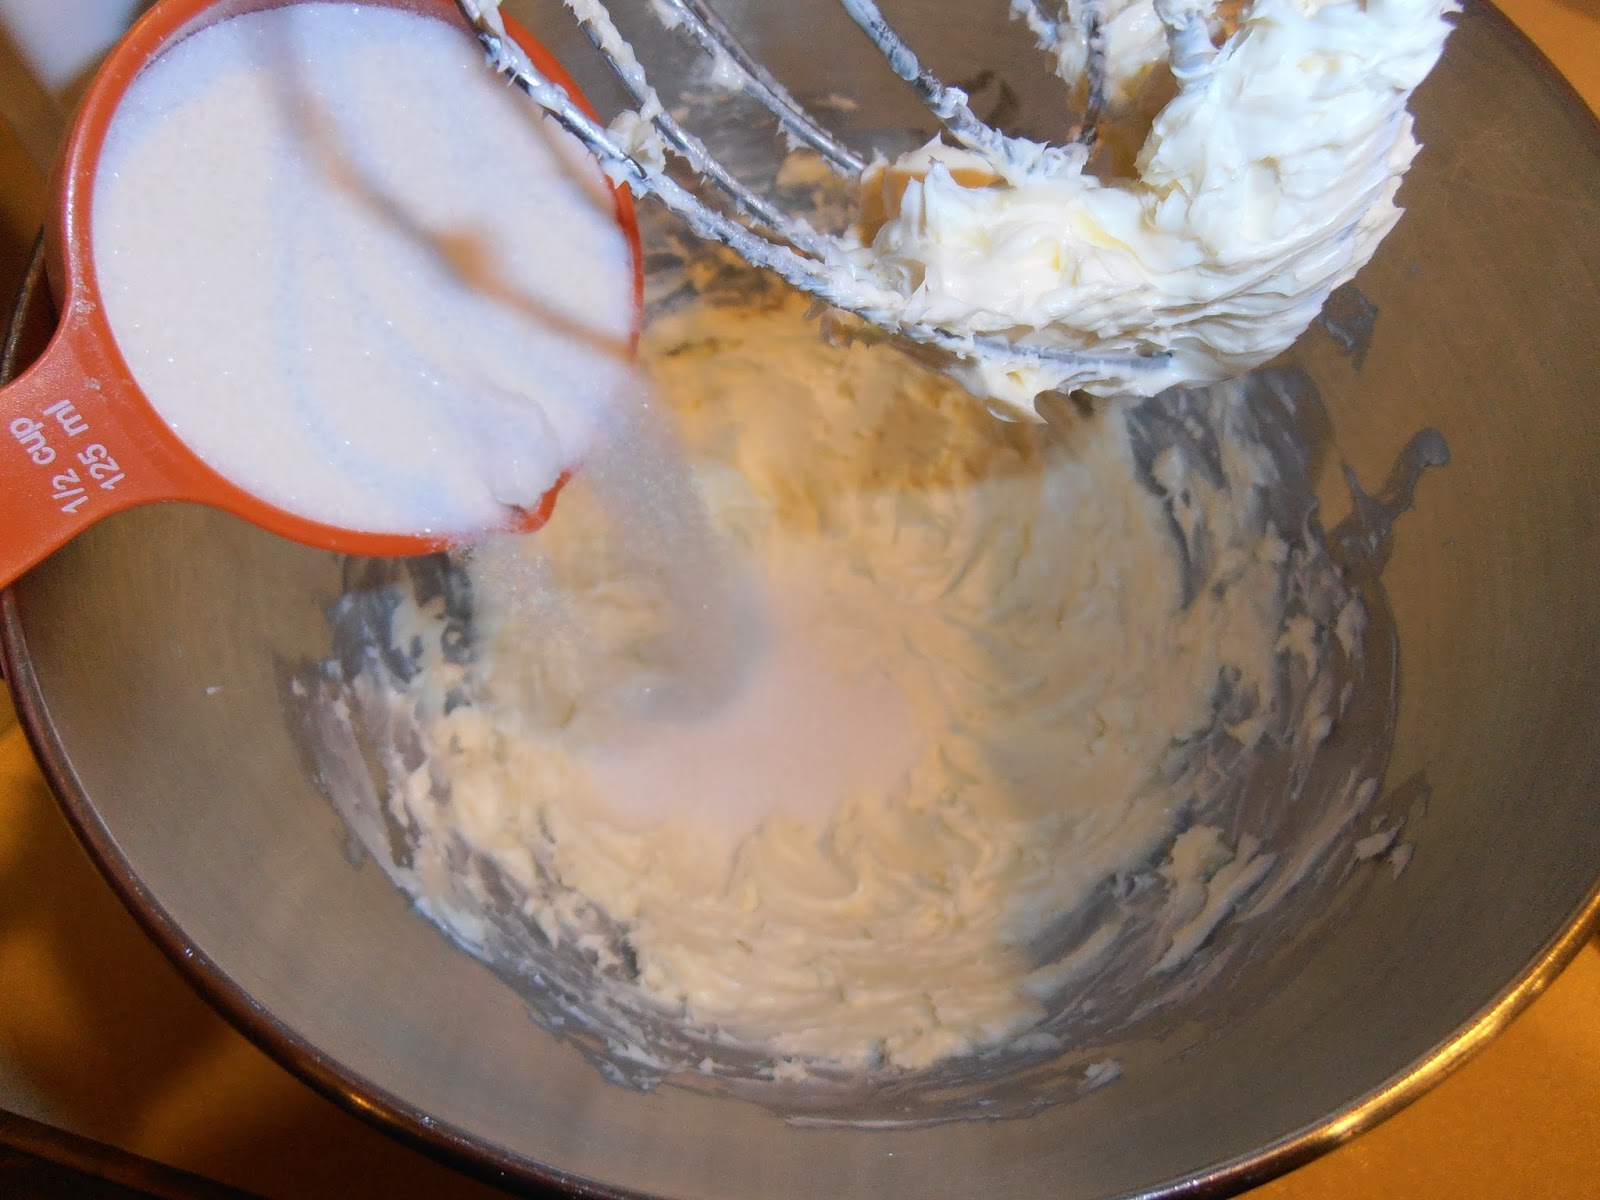
In KitchenAid Stand Mixer bowl with paddle attachment, beat together butter, pumpkin, vanilla and egg.

Add dry ingredients and mix.

Add oats and mix.

Add pecans and mix.

Scoop dough onto lined cookies sheet approximately 2 inches apart.

Bake for 10 minutes, then gently press cookies.

Bake for another 5 minutes. Let cool on cookie sheet for 2 minutes, then transfer to cooling rack lined baking sheet. Let cool completely.

In a small, microwave safe bowl, mix together caramel bits, butter and milk. Microwave on high for 30 second intervals until completely melted. Let cool.


Drizzle caramel on cooled cookies.

Sprinkle chopped pecans on cookies.


Mmmmm. Look how pretty they look all lined up like that! The good news is they taste really good too. They would be perfect as a little treat after your Thanksgiving feast.

"Give thanks to the Lord, for He is good, his love endures forever."
 ~ Psalm 107:1

As you count your blessings and give thanks this Thanksgiving, don't forget to be thankful for God and all He has given you.
~Sheryl


Tuesday, November 19, 2013

Pumpkin Cake Balls


As hard as I try, things don't always work out the way I plan. These cake balls are a prime example. They actually started as pumpkin cupcakes. Unfortunately, they were quite a bit too moist. But, I hate throwing away food, especially gluten free baked goods. What do you do with cake or cupcake that is either too dry or too moist? Make cake balls, of course. (In case you are wondering, you can also make cake balls with perfectly good cake.)

My husband and I thought white chocolate coating would work best with pumpkin. However, when my daughter and I went to the store to get the white chocolate, they only had one bag of white chocolate. Our other options were pink candy coating, milk chocolate or dark chocolate. We discussed the confusion that we would cause by putting pink with pumpkin, so we eventually decided to buy the milk chocolate.

The funny thing is that I didn't think that the milk chocolate would be very good, but my son actually preferred the milk chocolate over the white chocolate. It just goes to show you, that it pays to experiment, because you never know what people will like - everybody has different tastes.

Ingredients:
Cupcakes (This recipe has been adjusted to reduce the moisture.)
1 cup Unsalted Butter, room temperature
1 3/4 cups Sugar
3 Large Eggs, room temperature
1 cup Soy Flour
1/2 cup Tapioca Starch/Flour
1/2 cup Potato Starch
1 teaspoon Xanthum Gum
1 1/2 teaspoons Cinnamon
1 teaspoon Baking Soda
1 teaspoon Pure Vanilla Extract
1/2 teaspoon Salt
1/4 teaspoon Nutmeg
2 cups Pumpkin Puree

Frosting
1 cup Unsalted Butter, room temperature
2 cups Powdered Sugar
2 teaspoons Pure Vanilla Extract

Coating
2-3 bags of Wilton Candy Coating (white and milk chocolate)
2 teaspoons of Vegetable Oil per bag

Directions:
In Kitchen Aid mixer bowl with whisk attachment, beat butter until fluffy.

Add sugar and beat until well blended.

Add eggs one at a time blending for approximately one minute after each addition.

Add vanilla.

Preheat oven to 350° F.

In a separate bowl, whisk together soy flour, tapioca starch, potato starch, xanthum gum, cinnamon, baking soda, salt and nutmeg.

Add dry ingredients to wet ingredients and blend until mix completely.

Add pumpkin and blend until mixed.


Scoop into lined muffin tins.

Bake for 20 minutes or until toothpick inserted in center comes out clean.

Cool completely on cooling racks.

Crumble cupcakes into a large bowl.

Prepare frosting - mix all ingredients in KitchenAid mixer bowl with whisk attachment.

Add frosting and mix well.

Use small scoop to scoop cake mixture into your hand. Roll into a ball and place on parchment/wax paper lined cookie sheet.

Freeze cake balls for at least 1 hour and up to overnight. If you want, you can place them in a zip-top bag and keep them for up to six months. (They are actually really good frozen as a little snack, so I doubt they would last that long.)

Melt chocolate and vegetable oil in microwave in 30 second intervals until completely melted.

Dip frozen cake balls in chocolate, lift with a fork, let excess chocolate drip off, place on a wax paper/parchment lined cookie sheet to set.

Store cake balls in an airtight container in the refrigerator.


Looking good! You know you want to try them. Go ahead. I think you will love them.

"Our job is to love others without stopping to inquire whether or not they are worthy."
This can be a tall order. Sometimes it is so easy to think/determine that someone isn't worthy of our love. If they are worthy of God's love (and everybody is), then how can they not be worthy of ours? 
Sheryl

Sunday, November 10, 2013

Personal Pretzel Crust Cheesecakes


My husband LOVES cheesecake, and he complains a lot that I never make it for him. The 15th anniversary of our first date is this Thursday, so I thought I would start celebrating a little early. Personal cheesecakes are so much better than a big cheesecake, especially when only one person in the house really likes cheesecake. Not only are they the perfect portable single serving, but they can also be frozen for later consumption.

We just happened to have some friends over for dinner tonight, so I served some of these for dessert. I was thrilled to find that everybody loved them. Unfortunately, the pretzel crust brownies that I also served were not a winner. But then, you win some and you lose some.  Besides it could have been worse, they both could have been losers.

Anyway, if you like cheesecake, you should definitely give these a try. I'm quite certain you will love them.

What You Will Need:
Blender
KitchenAid Mixer wtih Whisk Attachment
Muffin Pans
Cupcake Paper Liners
Small Scoop
Medium Scoop
Cooling Racks

Ingredients:
1 1/2 cups Gluten Free Pretzels Crumbs
1/2 cup Unsalted Butter, melted
Two 8 oz. packages of Cream Cheese
3/4 cup Sugar
1/2 cup Milk
2 Large Eggs
1 cup Sour Cream
1 Tablespoon Pure Vanilla Extract
1/8 cup or 2 Tablespoons Soy Flour

Makes approximately 24 personal cheesecakes

Directions:
In blender, crush pretzels until they are finely ground.


In a small bowl, add melted butter to pretzel crumbs and mix until well combined.

Line muffin pans with cupcake paper liners.

With a small scoop, scoop pretzel crust into muffin pans.

Using your finger, press pretzel crust firmly into bottom of cupcake paper liners. Set aside.


Preheat oven to 350° F.

In KitchenAid Mixer Bowl with Whisk Attachment, mix together cream cheese and sugar until well blended.


Add milk, sour cream, eggs, flour and vanilla; and blend until creamy.


Using medium scoop, scoop into muffin tins.

Bake for 20-25 minutes. Let cool completely, then refrigerate to set.

Even though cheesecakes isn't my favorite, looking at this picture still makes me want to eat them. I served them as is, but imagine what they would taste like with some raspberry sauce drizzled on them. Mmmhmm, I sure did!

Your feedback is always welcome. I look forward to hearing from you.

"You only live once, but if you do it right, once is enough."
So do it right!
Sheryl

Thursday, November 7, 2013

Even Better Gluten Free Bread


My best gluten free bread is really amazing; and when I first created it, I didn't think it could be any better. However, no matter how tasty it is, it drove me nuts that it would fall in the middle after cooling. After doing some research, I decided to experiment with the recipe a bit to see if I could fix that. And low and behold, it worked. So check out my new and improved - Even Better Gluten Free Bread recipe.

What You Will Need:
2 Loaf Pans (I use stone pans, but you can use metal or silicone pans if that is what you have.)
KitchenAid Mixer with paddle attachment
Plastic Wrap
Non-stick Cooking Oil Spray
Cooling Rack

Ingredients:
1 1/2 cups Sorghum Flour
3/4 cup Tapioca Starch/Flour
3/4 cup Potato Starch
3/4 cup Corn Starch
1/4 cup Ground Flax Meal
1 Tablespoon Xanthum Gum
1 Tablespoon Guar Gum
2 teaspoons Salt
2 Tablespoons Active Yeast
1 Tablespoon Sugar
1 1/2 cups Milk (warm- approximately 110°F)
3 Large Eggs (room temperature)
1/4 cup Butter (room temperature) + some for greasing loaf pans
2 teaspoons Cider Vinegar
1/3 cup Honey

Directions:
1. Grease loaf pans and set aside.

2. In a medium bowl, whisk together the sorghum flour, tapioca flour, potato starch, corn starch, flax, xanthum gum, guar gum, and salt; and set aside.
Dry ingredients before whisked.
3. In a small bowl, mix the yeast, sugar and milk; and set aside. (The milk should be around 110° F to activate the yeast.)
Yeast mixture after approximately 5 minutes.
 4. In KitchenAid Mixer bowl, mix together eggs, butter, cider vinegar and honey with dough hook attachment.  

Wet ingredients before mixing.

Wet ingredients after mixing.
5. Add half the dry ingredients to the wet ingredients and mix until well blended. Then add the other half of the dry ingredients and mix until well blended.

This is the mixture after adding all of the dry
ingredients. It looks like a hot mess; but don't
worry, it will come together.
6. With mixer on low, add the yeast mixture. Turn mixer to medium-high and beat for 4 minutes.


7. Divide dough between the two loaf pans. Smooth the tops with wet fingers. (For a delicious variation, drop small pats of butter equal to 2 Tablespoons on top of loaf, and sprinkle with 1 teaspoon of Italian seasoning, and 1/4 teaspoon of salt.)
Loaves after tops have been smoothed.
8. Cover pans with plastic wrap sprayed with non-stick cooking oil spray, and set aside in a warm place for 50-60 minutes or until dough has risen to top of loaf pans.
I usually let my dough rise in the oven, but it
was a very warm day, so I left it on the counter.
 
The dough after it has risen. It is ready for the oven.
9. Preheat oven to 375° F. Place pans in the oven, and bake for 30-40 minutes. Internal temperature should be 200° F. Butter tops of loaves immediately upon pulling out of oven.
Don't tell me that doesn't look amazing!
10. Let cool in pans for 10 minutes, then completely on wire cooling racks. If you want to serve hot bread, let cool for a total of 15-20 minutes before serving. Believe me, it will still be hot. 

Isn't that beautiful? Now it is has both taste and looks going for it!

"If at first you don't succeed, try, try again."
Sheryl