
I am so excited about this post. Pastry dough was another one of those things that eluded me for some time. I lived several years without it, just like my beloved brownies. The horrible thing about living without pastry dough is the fact that you have to live without lots of really delicious things, because it can be used in so many wonderful ways, both savory and sweet. I tried a few recipes before getting this one right. Most of them were just too grainy. What I was looking for in a pastry dough was flaky, buttery goodness with no grit or grain. Do you want to know how I achieve it? Read on.
What You Will Need:
Pastry Cutter (If you don't have one, you can either pick one up at any store that sells kitchen gadgets for about $6.00 or you can use two butter knives and kind of work them in a scissor motion.)
Rolling Pin
Silpat or silicone mat (optional) - (If you don't have one of these, you can roll your dough on a well-floured surface. However, if you plan to make pastry dough on a fairly regular basis, I highly recommend investing in one. Even though I still have to use some flour with my silpat, it is still much easier to roll the dough.)
Plastic Wrap
Ingredients:
1 cup Soy Flour
1/2 cup Tapioca Flour/Starch
1/2 cup Corn Starch
1/4 cup Potato Starch
1 teaspoon Xanthum Gum
2 Tablespoons Sugar
1/2 teaspoon Salt
1 cup Butter, cold
1 Egg, cold
1 Tablespoon Apple Cider Vinegar
4 Tablespoons Water, Ice Cold
Directions:
1. In a bowl, whisk together the soy flour, tapioca starch, corn starch, potato starch, xanthum gum, sugar and salt.


2. Cut in the butter using the pastry cutter or two butter knives until you have lumps the size of kidney beans.
 |
| I slice my butter into tablespoon size slices when I add it to the bowl to make the job easier. |
 |
| In case you have never seen one, this is what a pastry cutter looks like. |
 |
| This is the mixture after I used the pastry cutter. |

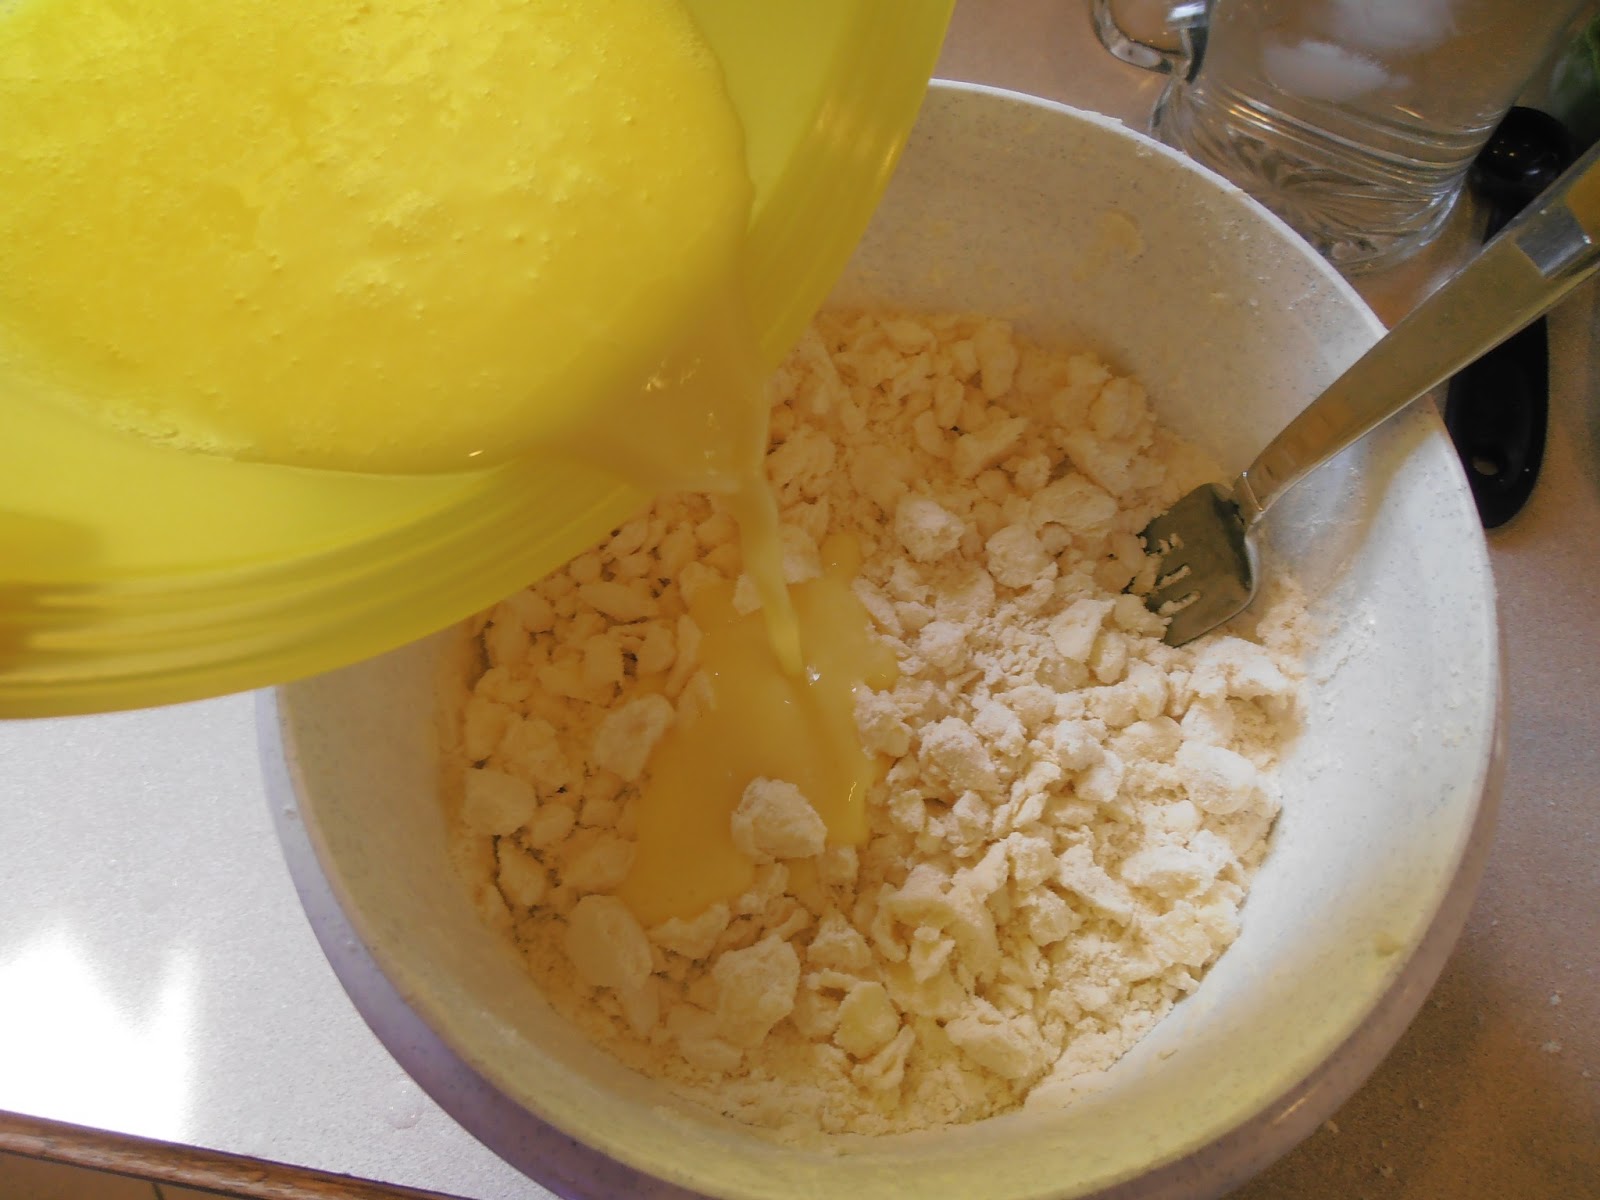
4. Stir the wet ingredients into the dry ingredients using a fork. You may have to finish the job with your hands. (Make sure they have been freshly washed.) You want the dough to come together to form a ball.
 |


6. When you are ready to use your dough for whatever yummy deliciousness that you have chosen for the day, lightly flour your silpat and the top of your dough before rolling. Be sure to check occasionally that your dough isn't sticking to the silpat. Add more flour between the dough and your silpat if necessary. Roll the dough to the size you desire.
 |
| I received this rolling pin for Christmas, and I just LOVE it! |
 |
| This is my rolled out dough. It isn't perfect, but that is OK. I prefer to think of it as artisan. In my opinion, handmade dough shouldn't be a perfectly formed shape. |
There it is - a beautiful, buttery, flakey pastry dough just waiting for it's delicious destiny. What will you make with your dough? This particular ball of yum was used to make chicken pot pie. (Look for that in my next post.) You can use it for both sweet and savory dishes. Some of our favorites are apple pie, apple tart (This is a free formed bundle of joy with apples, caramel, and pecans. - I promise I will share this in a future post), pecan pie, coconut tarts, chicken pot pie. . . oh, the possibilities are endless. Share your favorite use for pastry dough in the comments.
"So, whether you eat or drink, or whatever you do, do all to the glory of God."
~1 Corinthians 10:31
Sheryl

No comments:
Post a Comment