Showing posts with label gluten free recipe. Show all posts

Tuesday, June 4, 2013

Chocolate Lava Cake


Who doesn't love chocolate lava cakes? 

I mean, really, a volcano of chocolately goodness exploding from a moist chocolate cake. Pair it with vanilla ice cream and chocolate fudge sauce, and you can't stop the party in your mouth.

Lava cakes are all the rage these days. Have been for some time. Probably because they are so amazingly delicious, and they have a bit of a wow factor. I always thought they would be difficult to make. But much to my surprise, quite the contrary is true. 

I found the original recipe at Everyday Occasions by Jenny Steffens Hobick. Her recipe isn't gluten free, so I had to play around with it a little. But after a couple tries, I got it just right. See for yourself how simple they truly are to make.

Makes 12 Lava Cakes

What You Will Need:
Muffin Tins
Whisk
Baking Sheets

Ingredients:

2 Tablespoons Butter
2 Tablespoons UnSweetened Cocoa

1 cup less 2 Tablespoons Butter
1 1/2 cup Chocolate Chips
1/2 cup Heavy Cream
5 Large Eggs
1 cup Sugar
1/3 cup Soy Flour
1/3 cup Potato Starch
1 teaspoon Xanthum Gum

Directions:
1. Use 2 tablespoons of butter and 2 tablespoons of cocoa to grease and dust the muffin tins. Set aside.

2. Place butter, chocolate chips and heavy cream in a small, microwave safe bowl. Melt in the microwave on high stirring every 30 seconds until chocolate and butter are melted completely.


3. While chocolate mixture is cooling, place sugar, soy flour, potato starch, xanthum gum and eggs in a medium bowl. 

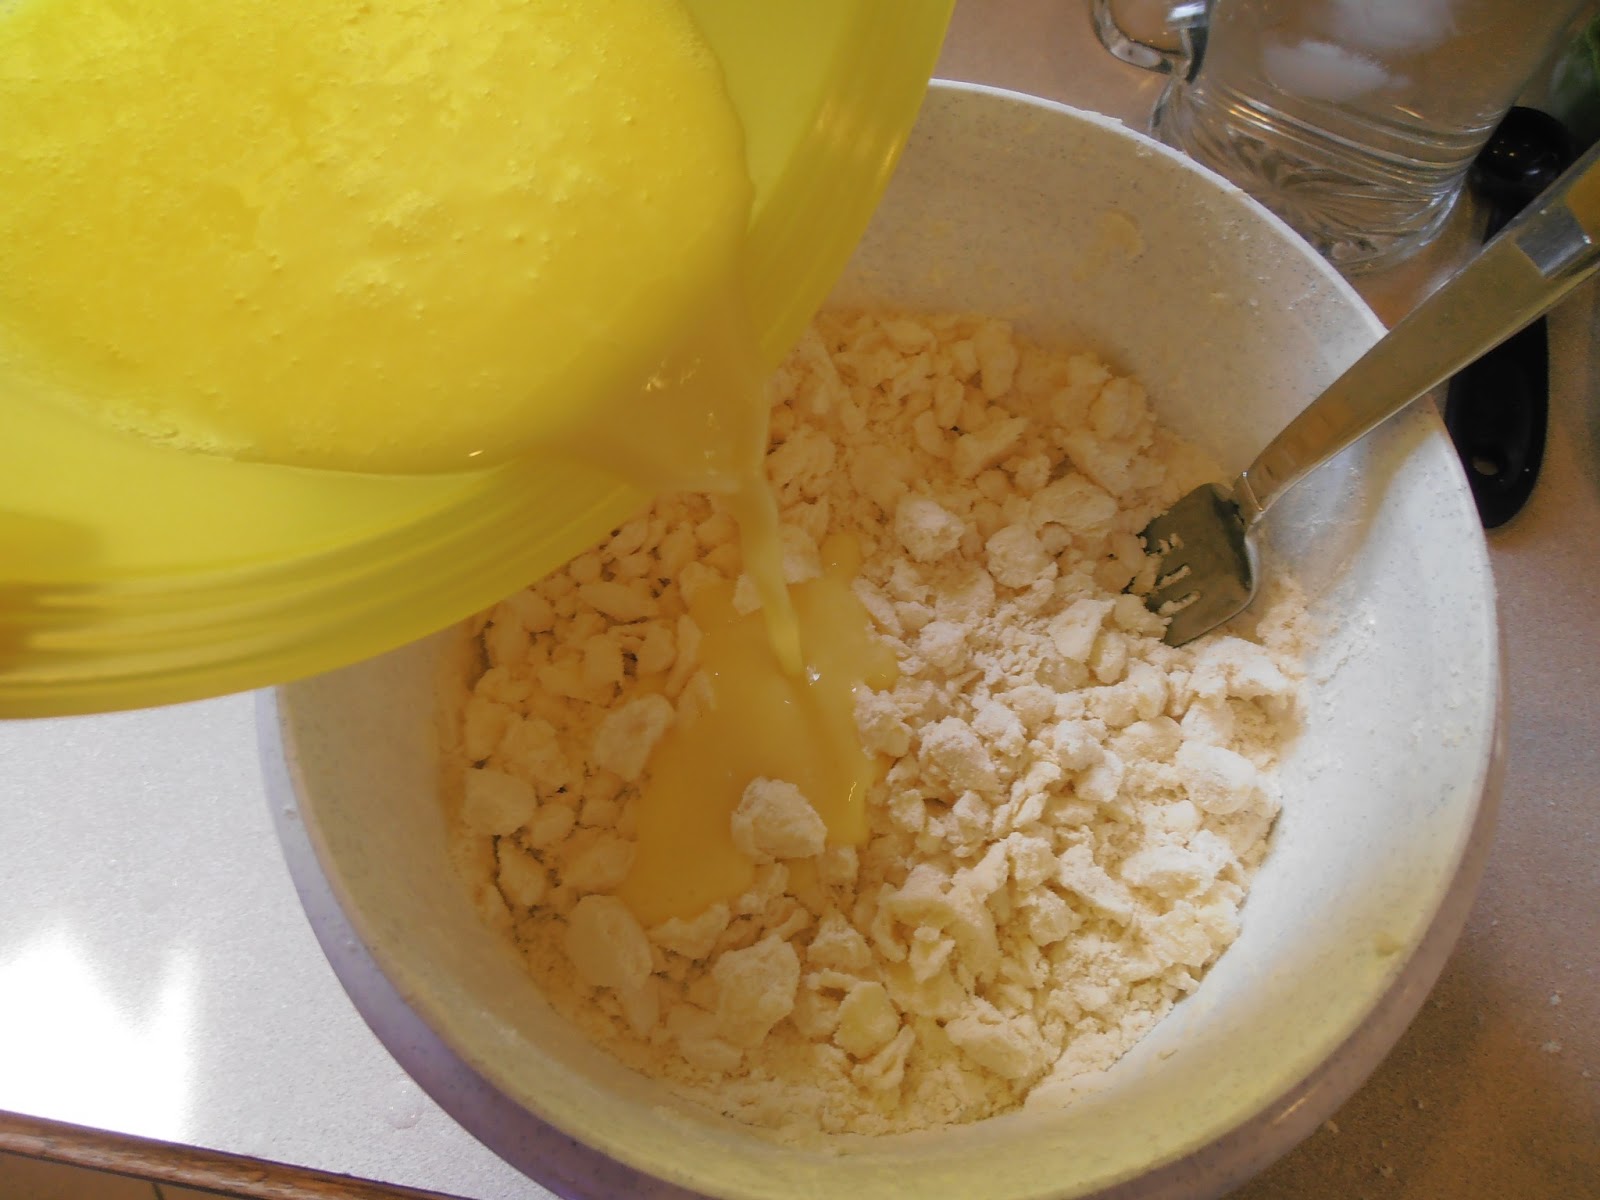
4. When chocolate is cooled slightly, stir it in with the flour and other ingredients. Mix until incorporated.

5. Pour batter into prepared muffin tins. Refrigerate for at least one hour or up to 2 days.

6. Preheat oven to 450° F. Bake cakes for 10 minutes.

7. Cool cakes in pan for 5 minutes, then invert on cookie sheet.

8. Use a spatula to transfer cakes to serving dishes. Serve warm with vanilla ice cream and chocolate fudge sauce. 

Your friends and family will be super impressed when you serve these at your next party or get-together. Just make sure that you make a few extra, because they will go fast and some will want seconds. I'd love to hear how it goes. 

"If your dreams don't scare you, they're not big enough."
Sheryl


Saturday, May 18, 2013

Pastry Dough/Pie Crust


I am so excited about this post. Pastry dough was another one of those things that eluded me for some time. I lived several years without it, just like my beloved brownies. The horrible thing about living without pastry dough is the fact that you have to live without lots of really delicious things, because it can  be used in so many wonderful ways, both savory and sweet. I tried a few recipes before getting this one right. Most of them were just too grainy. What I was looking for in a pastry dough was flaky, buttery goodness with no grit or grain. Do you want to know how I achieve it? Read on.

What You Will Need:
Pastry Cutter (If you don't have one, you can either pick one up at any store that sells kitchen gadgets for about $6.00 or you can use two butter knives and kind of work them in a scissor motion.)
Rolling Pin
Silpat or silicone mat (optional) - (If you don't have one of these, you can roll your dough on a well-floured surface. However, if you plan to make pastry dough on a fairly regular basis, I highly recommend investing in one. Even though I still have to use some flour with my silpat, it is still much easier to roll the dough.)
Plastic Wrap

Ingredients:
1 cup Soy Flour
1/2 cup Tapioca Flour/Starch
1/2 cup Corn Starch
1/4 cup Potato Starch
1 teaspoon Xanthum Gum
2 Tablespoons Sugar
1/2 teaspoon Salt
1 cup Butter, cold
1 Egg, cold
1 Tablespoon Apple Cider Vinegar
4 Tablespoons Water, Ice Cold

Directions:
1. In a bowl, whisk together the soy flour, tapioca starch, corn starch, potato starch, xanthum gum, sugar and salt.


2. Cut in the butter using the pastry cutter or two butter knives until you have lumps the size of kidney beans. 


I slice my butter into tablespoon size slices when
I add it to the bowl to make the job easier.

In case you have never seen one,
this is what a pastry cutter looks like.

This is the mixture after I used the pastry cutter.
3. In a separate bowl, beat the egg with a fork; then beat in the vinegar and water.


4. Stir the wet ingredients into the dry ingredients using a fork. You may have to finish the job with your hands. (Make sure they have been freshly washed.) You want the dough to come together to form a ball.


5. Divide the dough in half, place on plastic wrap, flatten into a disk, and wrap in the plastic wrap. Refrigerate for 1 or more hours. 


6. When you are ready to use your dough for whatever yummy deliciousness that you have chosen for the day, lightly flour your silpat and the top of your dough before rolling. Be sure to check occasionally that your dough isn't sticking to the silpat. Add more flour between the dough and your silpat if necessary. Roll the dough to the size you desire.


I received this rolling pin for Christmas,
and I just LOVE it!

This is my rolled out dough. It isn't perfect,
but that is OK. I prefer to think of it as artisan.
In my opinion, handmade dough shouldn't
be a perfectly formed shape.

There it is - a beautiful, buttery, flakey pastry dough just waiting for it's delicious destiny. What will you make with your dough? This particular ball of yum was used to make chicken pot pie. (Look for that in my next post.) You can use it for both sweet and savory dishes. Some of our favorites are apple pie, apple tart (This is a free formed bundle of joy with apples, caramel, and pecans. - I promise I will share this in a future post), pecan pie, coconut tarts, chicken pot pie. . . oh, the possibilities are endless. Share your favorite use for pastry dough in the comments.

"So, whether you eat or drink, or whatever you do, do all to the glory of God."
~1 Corinthians 10:31
Sheryl


Sunday, May 12, 2013

Fudge Brownies


Shortly after I was diagnosed, a friend of mine who had a son who was allergic to almost everything under the sun, told me that I should say goodbye to brownies forever. She said she had tried a million mixes and recipes, and it was just no use - brownies just couldn't be duplicated with substitutions. Unfortunately, I believed her, and I lived a brownie-free life for several years. Then one day I thought, "If I can make an amazing gluten free pie crust (I will share that in an upcoming post), than surely I can make a gluten free brownie." And that is just what I did. This recipe makes a thick, fudgee, dark chocolate brownie. I am so happy to welcome brownies back into my life, and I think you will feel the same way.

What You Will Need:
Square Baking Dish

Ingredients:
3/4 cup Unsweetened Cocoa Powder
1/2 teaspoon Baking Soda
1/3 cup Vegetable or Canola Oil
1/2 cup Boiling Water
2 cups Sugar
2 Eggs
1/3 cup Vegetable or Canola Oil
2/3 cup Soy Flour
1/3 cup Potato Starch
1/3 cup Tapioca Starch/Flour
1 teaspoon Xanthum Gum
1 teaspoon Pure Vanilla Extract
1/4 teaspoon Salt

Directions:
1. Preheat oven to 350° F.
2. Grease and flour a square baking dish and set aside.


3. Mix cocoa powder and baking soda.


4. Add 1/3 cup oil and boiling water. Mix until well blended and thick.


5. Stir in sugar, eggs, remaining 1/3 cup oil and vanilla.


6. Mix soy flour, potato starch, tapioca starch, xanthum gum, and salt in a separate bowl. Whisk together until well blended.


7. Mix dry ingredients with wet ingredients just until blended. This is also when you would add yummy mix-ins: nuts, chocolate chips/chunks, caramel bits, etc. 


8. Spread in prepared pan.


9. Place pan in preheated oven, and bake for 55-60 minutes or until toothpick in center comes out clean.


10. Cool completely before cutting and serving.


Don't they look delicious? You know you want to try them. I hope you do, and please post what you think in the comments.

"Sometimes your only available transportation is a leap of faith." ~ Margaret Shepard

Sheryl

Wednesday, May 8, 2013

Moist Delicious Birthday Cake


This post is dedicated to my daughter, Olivia, in honor of her ninth birthday (May 7). Sweets for my sweet! She has been a true blessing in my life, and I am honored to be called her mommy.

I made this cake for her birthday party on Sunday. It was a big hit. I'm not sure anybody would have known it was gluten free if they hadn't been told. I was very excited about this cake for a few reasons: 1. It was the debut of my new cake recipe, 2. It was my first time making and using marshmallow fondant (You can find the recipe at this lovely little blog The Chaplain's Wife), and 3. It was my first time making a patterned (zebra) cake (I borrowed this idea from the chickabug blog). 

I know what you are thinking. This girl is crazy, debuting all of these things at a birthday party. What can I say? That's how I roll. Ok, you got me. Actually, I tested a few versions of the cake recipe before the party, making a few tweeks before I thought it was right. I also tested the zebra pattern before the party to make sure it would work. So, maybe I'm not that crazy after all. I'm sure my friends and family have a few things to say about that. Good thing they aren't writing this blog.

Anyway, I'm sure you are anxious to learn how to make this moist delicious cake, so without further ado . . .

What You'll Need:
Cake Pan(s) -  (I used 9 inch rounds. The recipe as written makes 2. I increased it and made 3, because I wanted enough cake for the 20+ people that would be at the party. You can also make a 9 x 13.)
Wire Racks for cooling

Ingredients:
1 cup Butter or Shortening, room temperature (I used butter)
2 cups Sugar
4 large Eggs, room temperature
2 teaspoons Pure Vanilla Extract (Or change the flavor and replace with banana, almond, maple, orange or any flavor extract you like.)
1 1/2 cups Soy Flour (I don't recommend using Rice Flour for this. It makes the cake too gritty/grainy.)
1 cup Tapioca Starch/Flour
1 cup Potato Starch + extra for dusting the pan(s)
1 Tablespoon + 1 teaspoon Baking Powder
1 teaspoon Baking Soda
1 teaspoon Xanthum Gum
1 teaspoon Salt
1 1/2 cups Milk, hot

Directions:
1. Preheat oven to 350°F. Grease cake pan(s) and dust with potato starch (or any gluten free flour).

2. In the bowl of an electric mixer, beat butter and sugar at high speed until light and fluffy, approximately 5 minutes.


3. Lower speed to medium and add eggs, one at a time. Add vanilla and beat until fluffy again, scraping down bowl.


4. In a separate bowl, mix soy flour, tapioca starch/flour, potato starch, baking powder, baking soda, xanthum gum and salt. Whisk together with a whisk. Those of you who read my blog on a regular basis know that I don't believe in sifting. It just takes too darn long, and I am anything but patient when it comes to certain things. So, use your whisk. It works just as good in my opinion. Sorry, I didn't take a picture of this. I didn't really think it was necessary.

5. Add half the dry mixture to the sugar mixture and beat at low speed until combined. Add half the milk and blend. Then add remaining dry mixture and milk. Mix on medium-low speed until smooth, approximately 2 minutes. This is where things got a little hairy for me. As I said earlier, I increased the recipe by 50% so I would have 3 cakes. My poor KitchenAid mixer just couldn't handle all of those ingredients. So, I had to move to plan b. Thank God, I still have my hubby's grandmother's old hand mixer. Wait till you see a picture of it. You will definitely get a kick out of this! 

Isn't this great? And it still works like a charm!


6. When you are finished laughing at me and my mishaps, this is where you pour the batter into the prepared cake pan(s). 


Since I was making a zebra patterned cake, I divided my batter and colored half of it. Olivia wanted a purple and white zebra pattern, so I colored half the batter purple and left the other half it's original color. Then I poured the batter into the pans 1/4 cup at a time in an alternating pattern. 

7. Bake in preheated oven for approximately 35 minutes or until done (depends on type of pan and your oven). Cool the cake(s) for 20 minutes in pans. Then turn cakes onto wire racks and cool completely before frosting. Sorry, I didn't take pictures of this either. I was way too excited at this point.

8. Frost your cake. I am usually a stickler for homemade baked goods, but since I made my own marshmallow fondant, I figured I could get away with the store bought frosting, especially since it is gluten free. So, I cheated and used store bought frosting to dirty ice (That is a technical baking term. I'm not being naughty.) my cake. Refrigerate the cake for at least an hour to let frosting set before putting on fondant.


It's not perfect, but neither am I. There, I said it. My hubby will never believe it.
Tada! If you aren't using fondant, you are done. Yay for you! Now, eat and enjoy! 

9. Time for fondant. I am not going to explain all of the details about how to fondant a cake. This blog is really about the cake recipe. But since I went through all of the hard work to make such a beautiful cake for my daughter's birthday, I just had to share it!


White Base

With Purple Stripes

Fondant Bow
With Banner, Bow & Trim
This is what the zebra cake looks like!
Voila! Please let me know what you think. I hope you make this cake for many special occasions (and not so special occasions) to come, and that it is part of a lifetime of happy memories for you and your family/friends. 

"It is not fancy hair, gold jewelry, or fine clothes that should make you beautiful. No, your beauty should come from within you - the beauty of a gentle and quiet spirit. This beauty will never disappear, and it is worth very much to God." 1 Peter 3:3-4
Sheryl