
My kids and all of their friends are obsessed with this computer game, maybe you have heard of it - Minecraft. Yep, every chance they get, they are begging me to give them screen time.
My daughter has taken to watching Minecraft instructional videos on Youtube. Her favorite Minecraft instructor also does baking videos. This, of course, gave her the bright idea to beg me to make a Minecraft inspired baked good.
After a bit of discussion, we finally settled on these sugar cookies that are decorated like eyes of ender. I have to be honest, I really didn't mind, since it gave me another opportunity to bake with her. She is growing up to be a pretty good baker. The cookies turned out great, and they taste amazing too.
Since the recipe makes almost 5 dozen cookies, we decided to try something new. After they were all finished, we took plates of cookies to friends and family. It was fun delivering cookies to people who weren't even expecting them. The kids said they thought we should do it more often.
It doesn't get much better than that - spent the day baking with my daughter, had fun delivering cookies with both of my kids, and got them excited about giving to others. Win, win, win!
Now shall we get to baking some cookies~
What You Will Need:
One Large and One Small Bowl
Pastry Cutter
Rolling Pin
Silicone Mat or Clean Counter
Cookie Cutter(s) - We used a 3 inch circle.
Baking Sheet(s)
Silicone Mat(s) - This is optional, but I highly recommend it.
Cooling Rack(s)
KitchenAid Mixer with Whisk Attachment
Ingredients:
For Cookies
1 1/2 cups Soy Flour + some for dusting
3/4 cup Tapioca Starch/Flour
3/4 cup Potato Starch
1 teaspoon Xanthum Gum
1 teaspoon Baking Powder
1 teaspoon Baking Soda
1/8 teaspoon Salt
1 cup Unsalted Butter, right out of fridge
2 Large Eggs, room temperature
1 3/4 cups Sugar
1 teaspoon Pure Vanilla Extract
1/2 teaspoon Almond Extract
For Royal Icing
2 cups Powdered Sugar
1 1/2 Tablespoons Meringue Powder
1/4 teaspoon Pure Vanilla Extract
1/2 cup Water, warm
Directions:
In a large bowl, whisk together soy flour, tapioca starch, potato starch, xanthum gum, baking powder, baking soda and salt.

Cut in butter with pastry cutter until crumbly.


In a separate small bowl, beat eggs.

Mix in sugar.
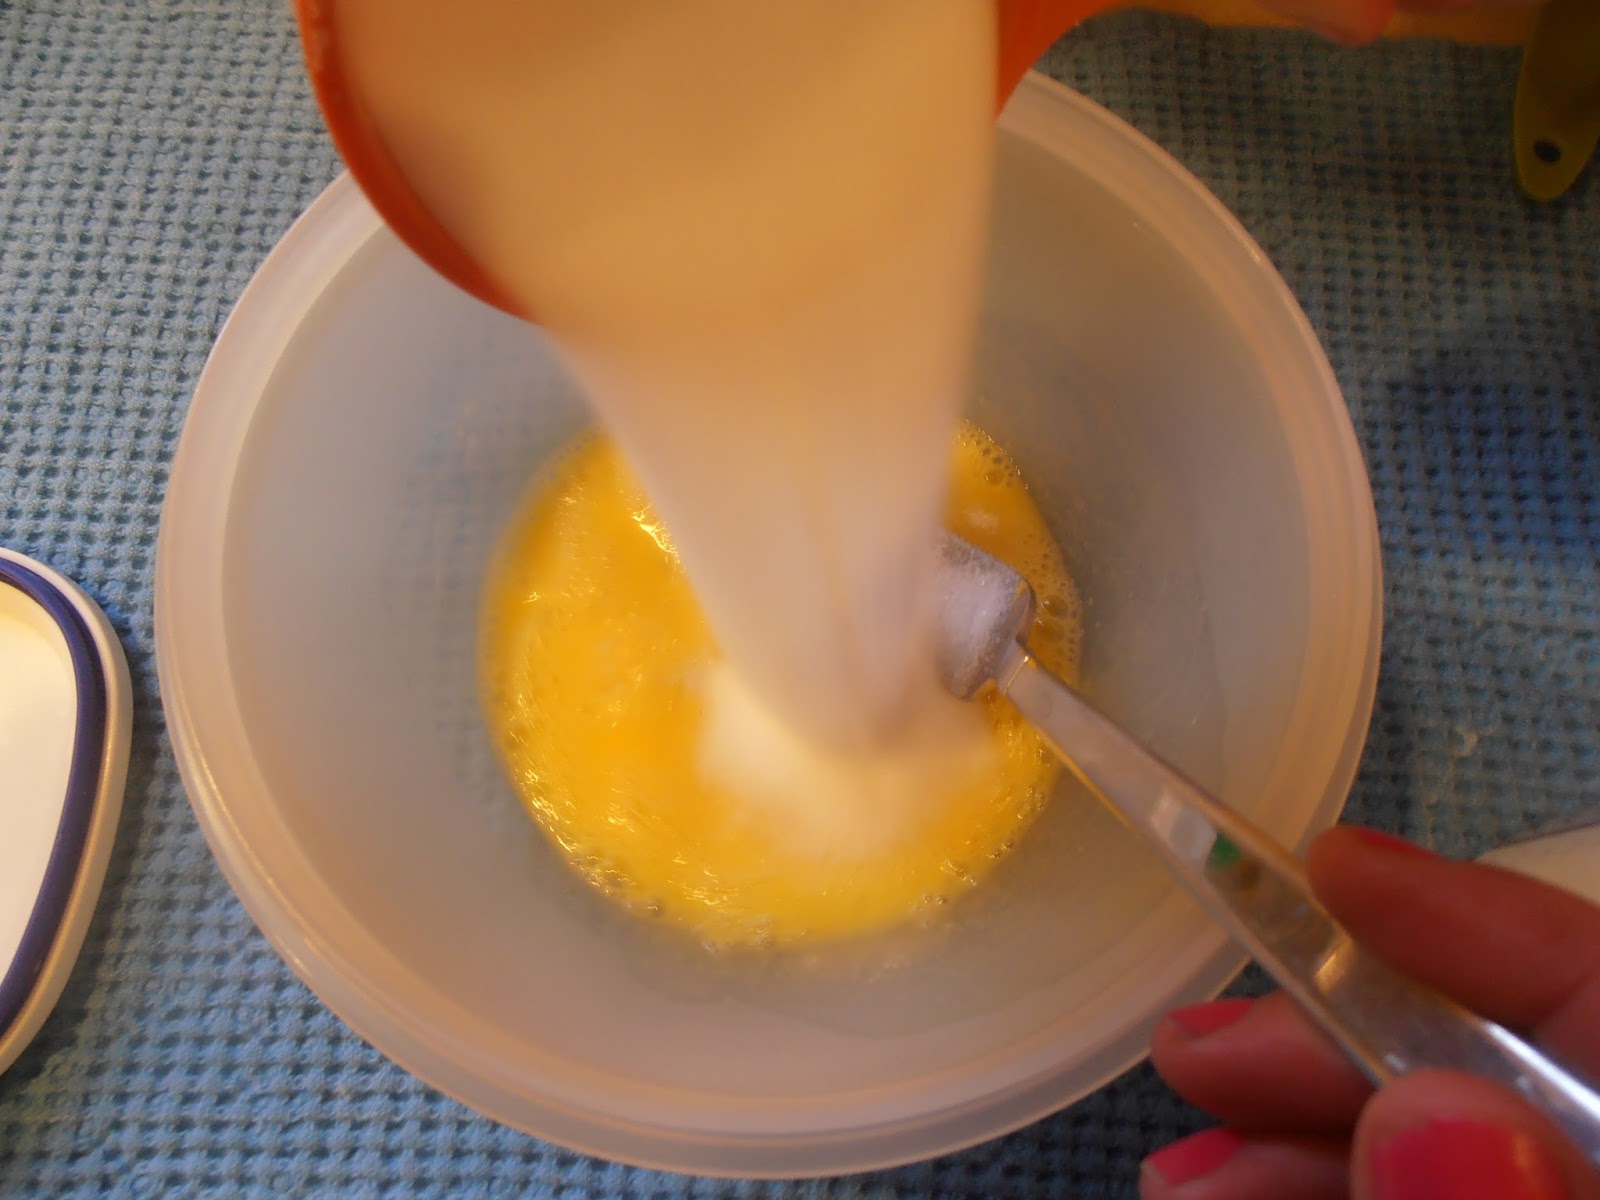
Mix in vanilla.

Mix in almond extract.

Add wet mixture to dry mixture. Stir by hand until well incorporated.


Cover and refrigerate for at least one hour.
Preheat oven to 350° F.
Divide dough into four or five sections. Take out one section to roll at a time. Leave the rest in the refrigerator.
On a generously floured surface, roll out dough to 1/8 or 1/4 inch thick (depending how you like your cookies).


Cut dough with cookie cutter.

Place cookies one inch apart on a silicone mat lined cookie sheet.


Bake for 11-14 minutes.
 |
| Check out my baby! This is a very proud mama moment! |

Remove from cookies sheets immediately to cool on cooling racks.

While cookies are cooling, prepare royal icing.
In KitchenAid Mixer bowl, whisk together powdered sugar and meringue powder.

Add vanilla.

Add water.

Beat on medium-high until glossy and stiff - approximately 5-7 minutes. When you lift the beater, the ribbon of icing that falls back into the bowl should remain on the surface for a few seconds before disappearing. Cover the icing when you aren't using it. It dries when exposed to air.

Now this is where it gets crazy fun! To make the eye of ender, we need blue, green and black icing. I had a writing icing in black, so I used that for the black. We divided the icing into two separate bowls, and colored one half blue and the other half green. We used 9 drops of neon green and 9 drops of neon blue food coloring to get the bright colors. Of course, you can decorate your cookies with whatever color icing or whatever decorations you want.


Use black writing icing to draw a circle around the edge of the cookie.

Pipe some blue icing just inside the black circle.

Pipe green icing to fill in the circle.

Use two separate butter knives to spread the blue and green icing.

Use a skewer or a toothpick to pull the blue and green into each other.

Use black writing icing to draw a line in the center of the circle.

This is our finished product! Pretty cute, huh?

 |
| Doesn't she look proud of her creation?! |
So, I'm not going to lie. This whole eye of ender process was a bit tedious. After a couple dozen, we decided to ice the rest of the cookies with just one color. They are pretty also, don't you think?

All in all, it was a great day in the kitchen! You are going to love these cookies, no matter how you decorate them.
"The most precious jewels you will ever have around your neck are the arms of your children."
Cherish them every moment!
Sheryl

No comments:
Post a Comment