Thursday, August 22, 2013

Funnel Cake


It's county fair season here in the Midwest; and this year, our kids got to experience one for the first time. My son loved the tractor pull and the mud bog races, my daughter loved all of the rides, and they both really loved the demolition derby. Besides all of the fun activities, it didn't take them long to find and fall in love with a super popular fair food - funnel cakes.

The only sad part of our trip to the county fair was the fact that I couldn't enjoy the food with the family. Almost immediately the kids asked me if I could make gluten free funnel cakes. They have been asking me for weeks, and I have been saying I will try it. Today, I finally did.

I know it seems kind of ridiculous to make funnel cakes at home, but sometimes we do crazy things just to make our kids happy. If you do that, hi five! If you don't, maybe you should once in a while.

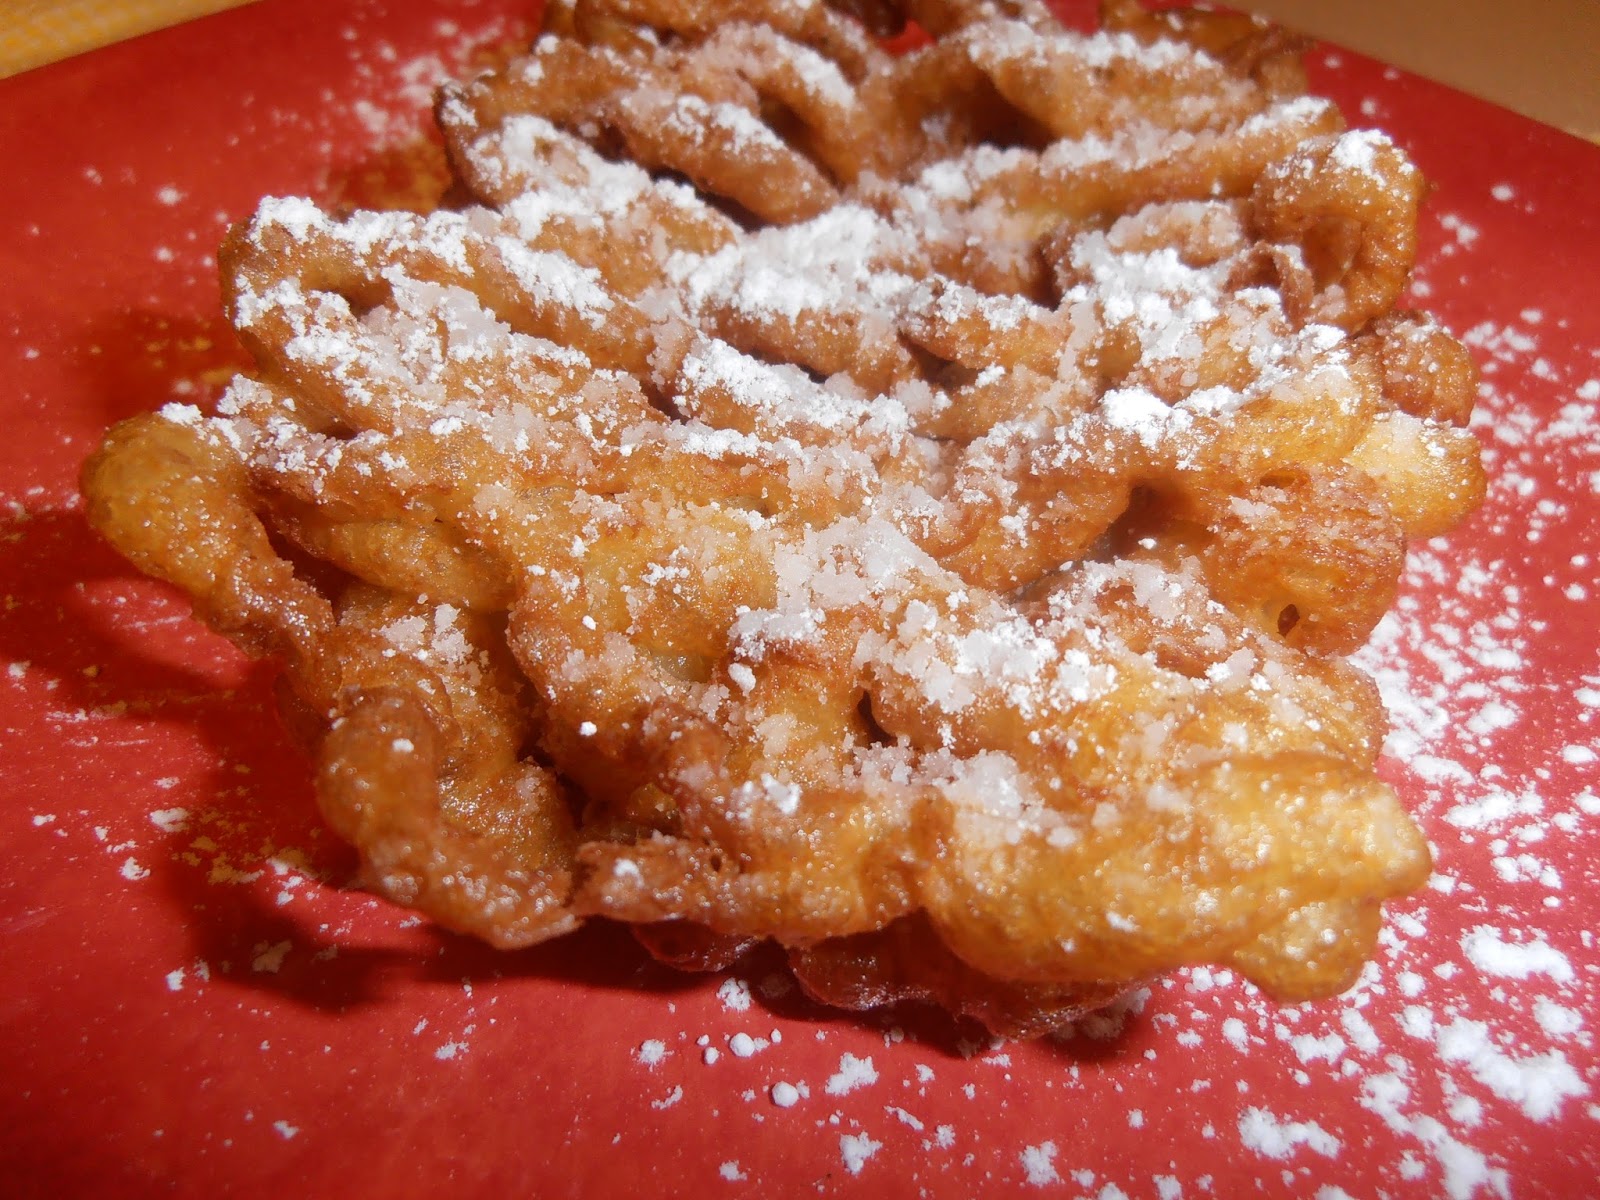
They actually turned out pretty good. The batter was very tasty. The only real problem I had was that they seemed a little greasy. I think if the oil was hotter, that would solve that problem. 

The kids loved them, and that is all that really matters to me!

What You Will Need:
KitchenAid Mixer with Whisk Attachment
Deep Fryer or Large Stock Pot & Thermometer
Oil for Frying
Spider Strainer or Something to Pull Cakes out of Oil
Paper Towel Lined Plate

Ingredients:
2 cups Milk
1 Large Egg, Beaten
1 teaspoon Pure Vanilla Extract
1 cup Soy Flour
1/2 cup Potato Starch
1/2 cup Tapioca Starch/Flour
1 teaspoon Xanthum Gum
1 teaspoon Salt
1 teaspoon Baking Soda
1 tablespoon Sugar
1/4 cup Unsalted Butter, melted
Powdered Sugar for dusting

Directions:
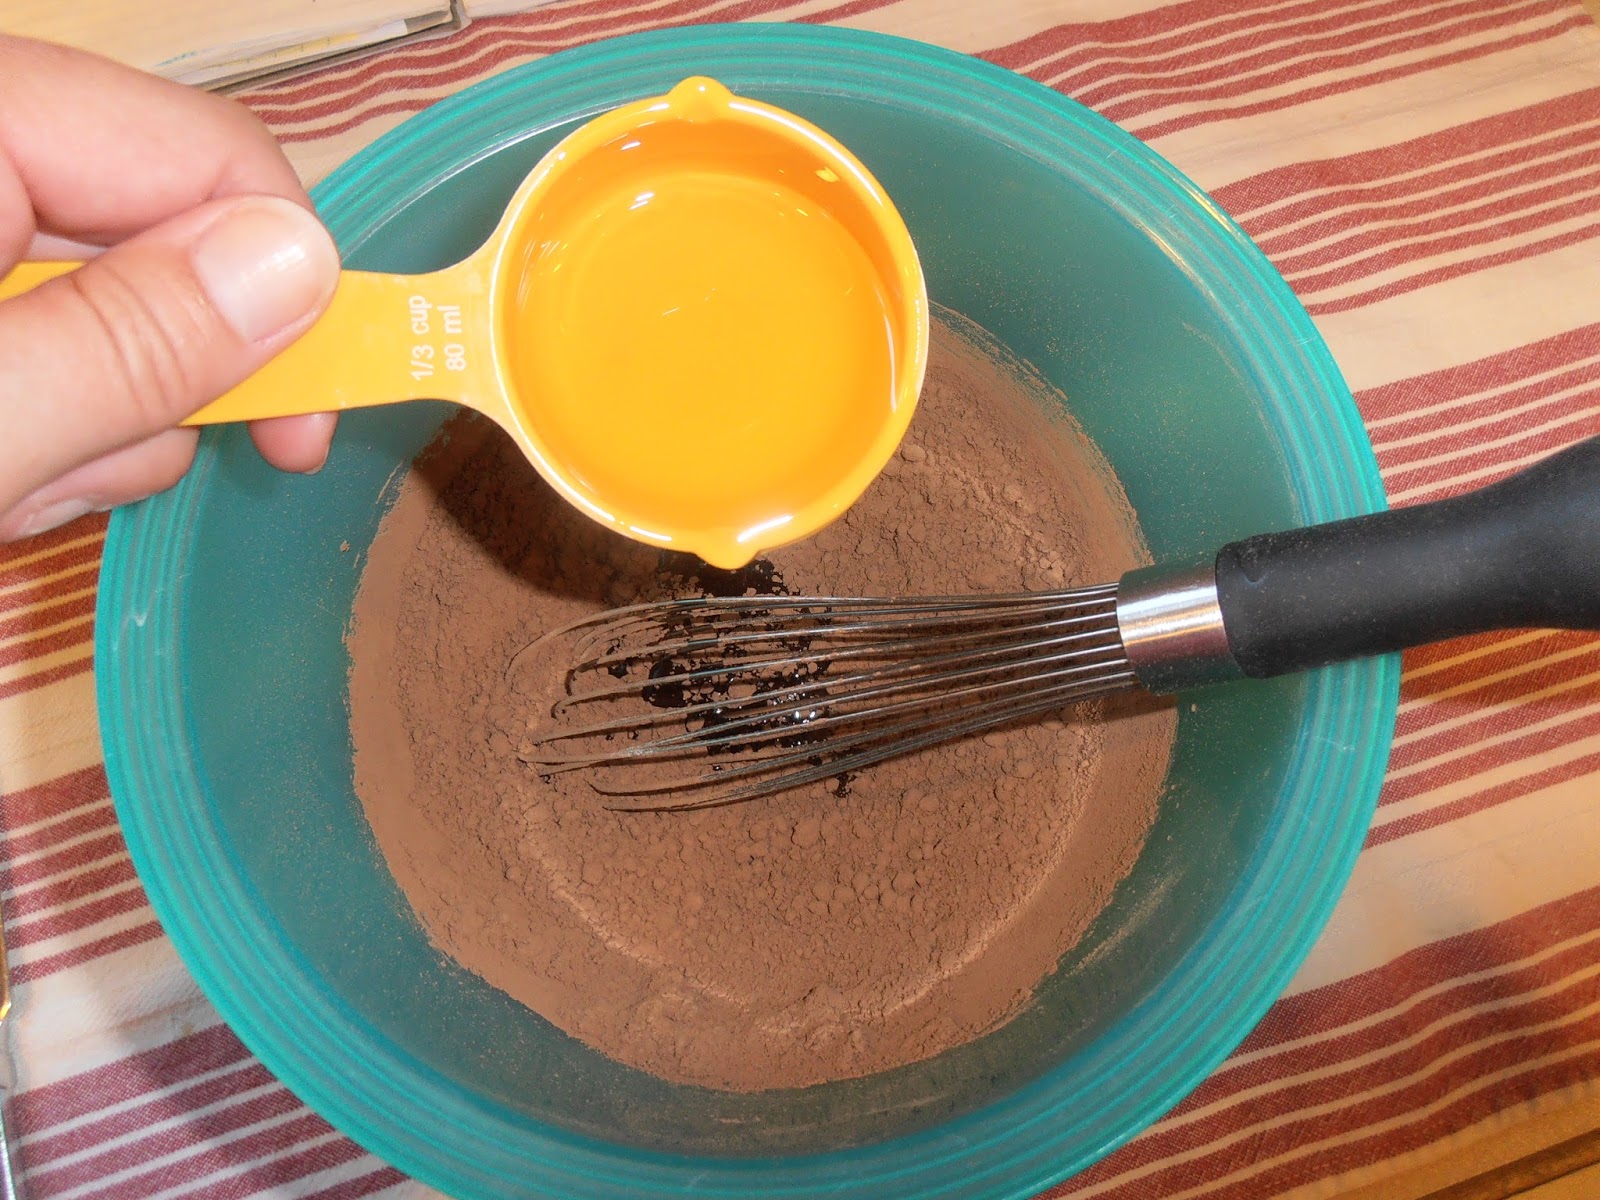
In a small bowl, whisk together soy flour, potato starch, tapioca starch, xanthum gum, salt, baking soda and sugar. Set aside.

In KitchenAid Mixer bowl, combine milk, egg and vanilla.

Add dry ingredients to wet ingredients and mix until smooth.


Fold in melted butter.


Transfer batter to a funnel (use finger to stop the flow of the batter) or squeeze bottle.
I used a funnel to fill my squeeze bottle, and
placed the squeeze bottle in a heavy bottom mug
to keep it stable while I filled it.


Squeeze batter into oil moving in a back and forth motion to create a swirl pattern.

Fry for 2-3 minutes or until golden brown. (Sorry I didn't get pictures of the next few steps.)

Use spider strainer to remove from oil and transfer to a paper towel lined plate.

Dust with powdered sugar.


Looks just like the ones you get at the fair, doesn't it? Tastes like them too!

Train up a child in the way he should go; even when he is old he will not depart from it. ~ Proverbs 22:6
Sheryl


Tuesday, August 20, 2013

Shortbread


My husband's grandmother was a baker, and she was Scottish. Although she had already passed away when I met my husband, I was lucky enough to receive her recipe for Scottish shortbread early in our relationship. I used to make it on occasion, because my husband loves it. I should clarify. He doesn't just love it, he takes his shortbread very serious. Don't try to pass a fake shortbread off on him. He will have none of it. 

So, I have to be honest, I was more than a little nervous when I decided to try to make a gluten free version. I thought I would have to make several attempts before I got it right. I was super excited to find that my first attempt was not only a winner to me, but the hubby even gave it a thumbs up. 

The beauty of shortbread is that it only has a few ingredients, and it is relatively simple to make.

What You Will Need:
KitchenAid Mixer with Paddle Attachment
9 x 13 Pan
Wax Paper

Ingredients:
1 cup Unsalted Butter, softened
1 cup Sugar
3/4 cup Soy Flour
1/2 cup Potato Starch
1/2 cup Tapioca Starch/Flour
1/4 cup Corn Starch
1 teaspoon Xanthum Gum

Directions:
Preheat oven to 325°F.

In a small bowl, whisk together soy flour, potato starch, tapioca starch and xanthum gum. Set aside.

In KitchenAid Mixer bowl with Paddle Attachment, beat butter until light and fluffy.

Add sugar and beat until well blended and fluffy.


 Add dry ingredients and mix until dough comes together.


Transfer dough to ungreased 9 x 13 pan.

Cover with wax paper and spread out evenly.

Remove wax paper, and bake for 30-35 minutes or until light golden brown around edges.

Let cool completely, then cut into bite sized pieces. Store in an air tight container.

For an extra special treat, sprinkle with colored sugar before you bake it or dip it in melted chocolate after it has cooled.


No matter how you make it, I hope you enjoy this very special family favorite.

"Being a family means you are part of something very wonderful. It means you will love and be loved for the rest of your life."

Sounds pretty wonderful to me!
Sheryl

Sunday, August 18, 2013

Caramel Brownies


I must apologize for my absence over the past few days. I kind of got distracted by a home remodeling project and a few family outings. Since I am still unemployed, I thought it was a perfect time to finally paint our bedroom. I guess that took a little more time and energy that I really anticipated. My body seems to be older than my brain. ;)

We also spent a day at an indoor waterpark thanks to four free passes from our friends Janet and Jim. And, then we can't forget the world famous Woodward Dream Cruise. If you aren't into classic cars, you probably don't have a clue what I am talking about. Suffice it to say, if you ARE into classic cars, you don't want to miss it. I really shouldn't go into anymore detail here, since this is a blog about gluten free cooking, so google it to find out more.

Brownies are one of my favorite food groups. There is something so magical about the chocolate, fudgey, gooeyness of them. They always make me feel so happy. And sometimes, it is fun to change them up a bit by adding different ingredients. 

Today I felt like making them even more gooey by adding caramel. I really wanted to make turtle brownies by adding pecans too, but my son doesn't like nuts. Next time I won't be so generous. But, it is OK, because these caramel brownies are really quite amazing too. 

What You Will Need:
9 x 13 pan
Aluminum Foil
Non-Stick Cooking Spray
Cooling Rack

Ingredients:
1 cup Unsweetened Cocoa
1 teaspoon Baking Soda
1 cup Boiling Water
2/3 cup Canola Oil
3 cups Sugar
4 Large Eggs
2/3 cup Canola Oil
1 1/3 cup Soy Flour
2/3 cup Potato Starch
2/3 cup Tapioca Starch/Flour
2 teaspoon Xanthum Gum
2 teaspoons Pure Vanilla Extract
1/2 teaspoon Salt
1 package Kraft Caramel Bits
1/3 cup Heavy Cream

Directions:
Line 9 x 13 pan with aluminum foil. Spray with non-stick cooking spray. Set aside.

Preheat oven to 350° F.

In a medium bowl, whisk together soy flour, potato starch, tapioca starch, xanthum gum, and salt. Set aside.

In a large bowl, mix together cocoa and baking soda.

Mix in 2/3 cup canola oil.

Mix in water. Mix until well blended and thick.

Mix in sugar.

Mix in eggs.

Mix in 2/3 cup canola oil.

Mix in vanilla.

Mix in already whisked together dry ingredients. Mix just until blended.


Spread half of the batter in the 9 x 13 pan, and bake for 25 minutes or until top of batter is firm to touch.


In a small bowl, mix together caramel bits and heavy cream. Heat in microwave for 2-2 1/2 minutes in 30 second increments until completely melted. Mix well at each 30 second increment. (If you want to make turtle brownies, add 1 cup of chopped pecans to the caramel after it is melted.)


Pour caramel over partial cooked brownie.


Pour remaining brownie batter over caramel.


Bake for an additional 35 minutes or until toothpick inserted in center comes out clean.

Cool completely in pan on cooling rack.

Carefully remove brownies in aluminum foil from 9 x 13 pan. Cut into 2 inch square pieces. Store in an air tight container with wax paper between layers.

Yum, yum, yum!!!! Look at that caramel oozing out of the center of that brownie! 

"Chocolate is the answer. It doesn't matter what the question is."

Seriously, doesn't chocolate make everything better? I believe it does!
Sheryl


Tuesday, August 13, 2013

Galumpki (Stuffed Cabbage)


Galumpkis were one of my dad's favorites. My mom used to make them when I was a kid, and I would refuse to eat them. They always sounded so weird, and anything with cabbage in it or around it was definitely not on my menu plan. 

Then, a short time ago, a friend invited us over for galumpkis made with cabbage from her son-in-law's garden. I figured I had nothing to lose, so I accepted the invitation, and I tried the galumpkis. Go figure, I liked them. 

On Saturday, my husband and I went to the local farmer's market. I was so inspired by all of the fresh produce. I had a really hard time deciding what to buy, because everything looked so good. We ended up buying way more than we probably should have, and one of the things we bought was a head of cabbage. How hard could it be to make stuffed cabbage? 

I learned, and so will you, that it is really simple.

What You Will Need:
A Large Pot (Big enough to hold the head of cabbage)
A Large Bowl
A Large Saute Pan
9 x 13 Pan
Aluminum Foil

Ingredients:
1 Head of Cabbage
Stuffing
1 1/2 pounds of Ground Beef
2 large Eggs, beaten
1 teaspoon Salt
1 teaspoon Pepper
1 1/2 teaspoon Garlic Powder
2 teaspoons Parsley
2 teaspoons Onion Powder
1 cup Rice, cooked (I used long grain white rice.)
1 1/2 Tablespoons Worchestershire Sauce (Make sure yours is gluten free.)
Sauce
1 Tablespoon Unsalted Butter
1/2 cup Onion, chopped
2 cans Stewed Tomatoes, Pureed
4 cloves Garlic, minced
2 Tablespoons Sugar
1 teaspoon Basil
1 teaspoon Parsley
1/2 teaspoon Salt

Directions:
In large pot, cook cabbage in boiling water for 4-6 minutes until leaves are tender, but not mushy.

Remove cabbage from boiling water. When cabbage is cool enough to touch, remove the leaves and allow to dry.

Cut out center vein of cabbage leaves.


In large bowl, mix together all stuffing ingredients using your hands.


Scoop a 1/4-1/2 cup of the stuffing mixture and place it on a cabbage leaf. 

Roll the cabbage leaf around the stuffing mixture.

Place stuffed cabbage leaf in 9 x 13 pan.


In hot saute pan, melt butter.

Saute onions until translucent. (This is called sweating the onions.)

Preheat oven to 350° F.

Add remaining ingredients, and simmer for 15 minutes.

Pour sauce over stuffed cabbage in 9 x 13 pan.


Cover pan with aluminum foil, and bake for 1 hour and 15 minutes. 

Remove aluminum foil, and bake for an additional 15 minutes.


Serve 'em while they are hot.

Not bad for a first attempt. The sauce I created was exceptionally good.Try it out, and see for yourself. 

"The woman who follows the crowd will usually go no further than the crowd. The woman who walks alone is likely to find herself in places no one has ever been before."

Dare to walk alone, even if just once in a while.
Sheryl