I have kind of been on a lemon kick lately. I don't know what it is. I guess lemons seem refreshing to me; and since it is has been really hot, they have been calling to me. I am so glad I answered. The Lemony Lemon Cookies I posted on July 21, 2013 and these insanely good Lemon Brownies have been incredible hits.
My friend, Monica, loves lemon. When I finished making the lemon brownies, I sent her a text to let her know. She headed right over for a taste. Although I gave her enough brownies to share with her husband and daughter, she said the brownies were so good, she only gave them each a small taste. That sounds like a glowing review to me.
What You Will Need:
Whisk
Square Baking Pan
Ingredients:
For Brownies
2/3 cup Oil
1 1/2 cups Sugar
2 Large Eggs, room temperature
2 Tablespoons Lemon Juice
2/3 cup Soy Flour
1/3 cup Potato Starch
1/3 cup Tapioca Starch/Flour
2 Tablespoons Lemon Zest
1 teaspoon Xanthum Gum
1/2 teaspoon Baking Soda
1/4 teaspoon Salt
For Glaze
1 cup Powdered Sugar
1 Tablespoon Lemon Zest
1/4 cup Lemon Juice
Directions:
In two separate small bowls, zest and juice lemon(s). (Make sure to wash lemons well before zesting.) Set aside.
Grease and flour square baking pan. Set aside.
Preheat oven to 350° F.
In a medium bowl, beat oil, sugar, eggs and lemon juice.
In a separate small bowl, whisk together soy flour, potato starch, tapioca starch, lemon zest, xanthum gum, baking soda and salt.
Add dry ingredients to wet ingredients and mix until blended.
Pour batter into prepared pan.
Bake for 40 minutes or until toothpick inserted in center comes out clean.
Cool completely in pan. Turn out onto a platter.
In a small bowl, mix together glaze ingredients until smooth.
Slowly pour glaze on brownies. Spread over brownies with spoon or spatula. Be careful not to use too much. You don't want it to puddle. You can always pour a second round after the first layer is set.
Cut into pieces and serve.
You might want to consider making two batches. They disappear at lightning speed.
"You only live once, but if you do it right, once is enough."
Sheryl
When I served this to my husband, he said it reminded him of General Tso's chicken from the Chinese restaurant. That made me really happy, because I LOVE General Tso's chicken, and have missed it since my diagnosis. Unfortunately, it was also a bit sad, because he DOESN'T like General Tso's. BUT, he is such a trooper, he ate it anyway. Just another reason why I love him so. :D
I served it with rice noodles, because that is what I had in the pantry, and we have already eaten a lot of rice this week. However, now that I think of it more like General Tso's chicken, I will probably cut it into smaller pieces and serve it with rice. Maybe I will even buy one of those Chinese take out boxes, and really try to fool myself. Hey people, it's the little things in life. . .
What You Will Need:
Large Skillet
Baking Sheet lined with Cooling Rack
Small Sauce Pan
Ingredients:
3-4 Boneless Skinless Chicken Breasts, cut horizontally
1/4 cup Olive Oil
Flour Dredge
1/3 cup Soy Flour
1/3 cup Tapioca Starch/Flour
1/3 cup Potato Starch
1 1/2 Tablespoon Ginger
1 Tablespoon Paprika
1 Tablespoon Nutmeg
2 teaspoons Salt
2 teaspoons Ground Pepper
1 teaspoon Thyme
1 teaspoon Sage
1/2 teaspoon Cayenne Pepper
Egg Wash
2 Eggs
1 Tablespoon Water
Honey Garlic Glaze
1/2 cup Honey
1/8 cup Tamari Soy Sauce
2-3 Garlic Cloves, minced
1 Tablespoon Olive Oil
1/2 teaspoon Ground Pepper
Directions:
In a small bowl, whisk together four dredge ingredients. Set aside.
In a separate small bowl, beat together eggs and water. Set aside.
Cut chicken breasts horizontally to create thin fillets.
Pour olive oil in skillet and heat over low-medium heat. (Olive oil should cover bottom of skillet and be approximately 1/4 inch deep.)
Dredge chicken pieces in flour, egg, and flour.
Fry chicken in skillet until golden brown - approximately 2-3 minutes on each side. (Don't overcrowd your pan. Fry chicken in 2-3 batches.)
Remove chicken from pan, and place in baking sheet lined with a cooling rack. (This allows the oil to drain off, and the chicken to stay crispy.)
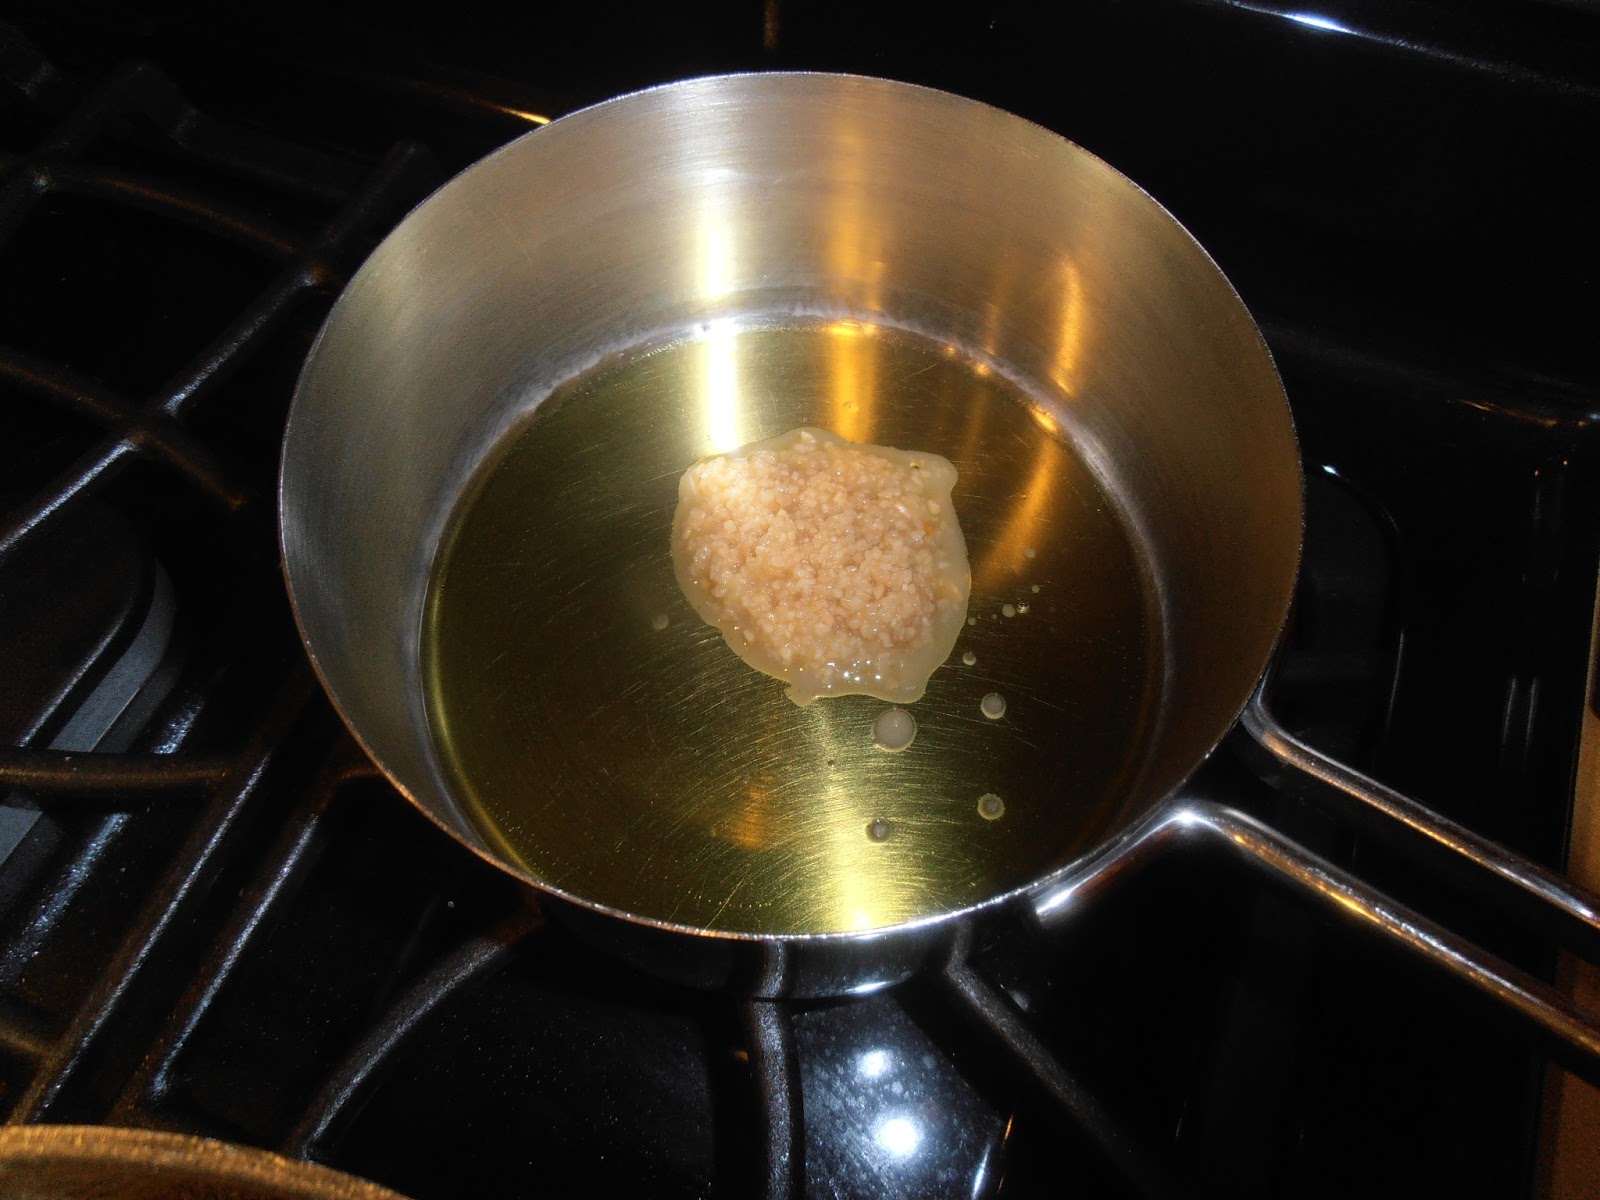
In small saucepan, heat olive oil and garlic over medium heat to soften. (Do not brown the garlic.)
Add honey, tamari sauce, and pepper. (If you want spicy sauce, you can add some pepper flakes. I would start with 1/8 teaspoon and slowly add until desired heat level.) Simmer for 5-10 minutes. Remove from heat, and cool for a few minutes.
Dip chicken in sauce and serve.
Yummy, yummy in my tummy!
TIP: If you or your kids don't like sauce, you can serve this as fried chicken. I actually didn't dip my kids' chicken in the sauce, and they loved it just the way it was.
"Laugh as much as you breath, and love as long as you live." ~Ralph Waldo Emerson
That is a lofty goal, but surely one to aspire to.
Sheryl

I picked up some lemons at the grocery store the other day to make something yummy. I finally decided on a few recipes; so, it is lemon day at the Darroch house. I spent the morning making these Lemony Lemon Cookies and some Lemon Brownies (look for that post in a few days).
While the kids and I ran out to do some errands, my husband came home for lunch. I didn't know he was planning to come home; so when I received his text about tasty lemon cookies, I was surprised but happy that he like them.
If you like lemon, you will love these cookies. They pack one heck of a punch.
What You Will Need:
KitchenAid Mixer with Paddle Attachment
Small Scoop
Baking Sheet(s)
Silicone Mat(s) (This is optional, but I highly recommend it.)
Cooling Rack(s)
Ingredients:
For Cookies
3/4 cup Soy Flour
1/2 cup Tapioca Starch/Flour
1/2 cup Potato Starch
1/4 cup Corn Starch
1 teaspoon Xanthum Gum
1/2 teaspoon Baking Soda
1/2 teaspoon Salt
1 Tablespoon Lemon Zest
2 Tablespoons Fresh Squeezed Lemon Juice
1/2 cup Unsalted Butter, room temperature
1 cup Sugar
1 large Egg, room temperature
1 teaspoon Pure Vanilla Extract
For Glaze
2 cups Powdered Sugar
2 Tablespoons Lemon Zest
1/3 cup Fresh Squeezed Lemon Juice
Directions:
In two separate small bowls, zest and juice lemons. (Make sure you wash the lemons before you zest them.) Set aside.
In a medium bowl, whisk together soy flour, tapioca starch, potato starch, corn starch, xanthum gum, baking soda, salt and lemon zest. Set aside.
In KitchenAid Mixer bowl, cream butter and sugar together with paddle attachment.
Add egg.
Add vanilla.
Add lemon juice.
Add dry ingredients and mix on medium until smooth.
Don't be surprised, the dough is a very soft dough. I experimented with different sized cookies and found that small cookies work best. I also found that if you refrigerate the dough for 1/2-1 hour, the cookies won't spread quite as much.
Preheat oven to 350°F.
Drop by tablespoon size balls on silicone mat lined cookie sheet about 1 inch apart. (I used a small scoop.) Bake for 12-15 minutes or until slightly golden brown.
Cool on baking sheet for 2 minutes, then transfer to cooling rack to cool completely. (Place cooling rack on baking sheet to catch run off of glaze.)
In a small bowl mix together glaze ingredients until smooth.
When cookies are cooled completely, spoon glaze onto cookies.
Be careful who is around when you eat these cookies, because they will make you pucker up. And you don't want to get caught puckering up to the wrong person. ;)
Warning: These cookies also disappear very quickly.
"Life is short. If there was ever a moment to follow your passion and do something that matters to you, that moment is now!"
Don't lose sight of your passion!
Sheryl
This is another one of our family favorites. My mom used to make this all the time when I was growing up. Of course, it wasn't gluten free back then. I have since started making it with gluten free bread crumbs, and continue to make it on a regular basis for my family.
Shortly after I started dating my husband, I found out that fried pork tenderloin was also a favorite of his family. Sometimes they serve it at Christmas Eve dinner. That was just another sign that we were clearly meant to spend the rest of our lives together in wedded bliss. They do say the best way to a man's heart is through his stomach. . Don't worry - I got this!
Anyway, I really prefer my pork tenderloin fried in butter, but we are working on watching our cholesterol; so, we use olive oil instead. When my sister-in-law makes it for Christmas Eve, she uses margarine. Whichever fat you choose to fry it in, I'm sure you will enjoy it.
What You Will Need:
Meat Mallet
Skillet
Ingredients:
2 Pork Tenderloins
1 cup of Gluten Free Bread Crumbs (Made from My Best Gluten Free Bread - posted on May 29, 2013)
2 teaspoons Italian Seasoning
1 teaspoon Garlic Powder
1 teaspoon Onion Powder
2 Large Eggs
1 Tablespoon Water
Extra Virgin Olive Oil - enough to cover the bottom of the skillet
Directions:
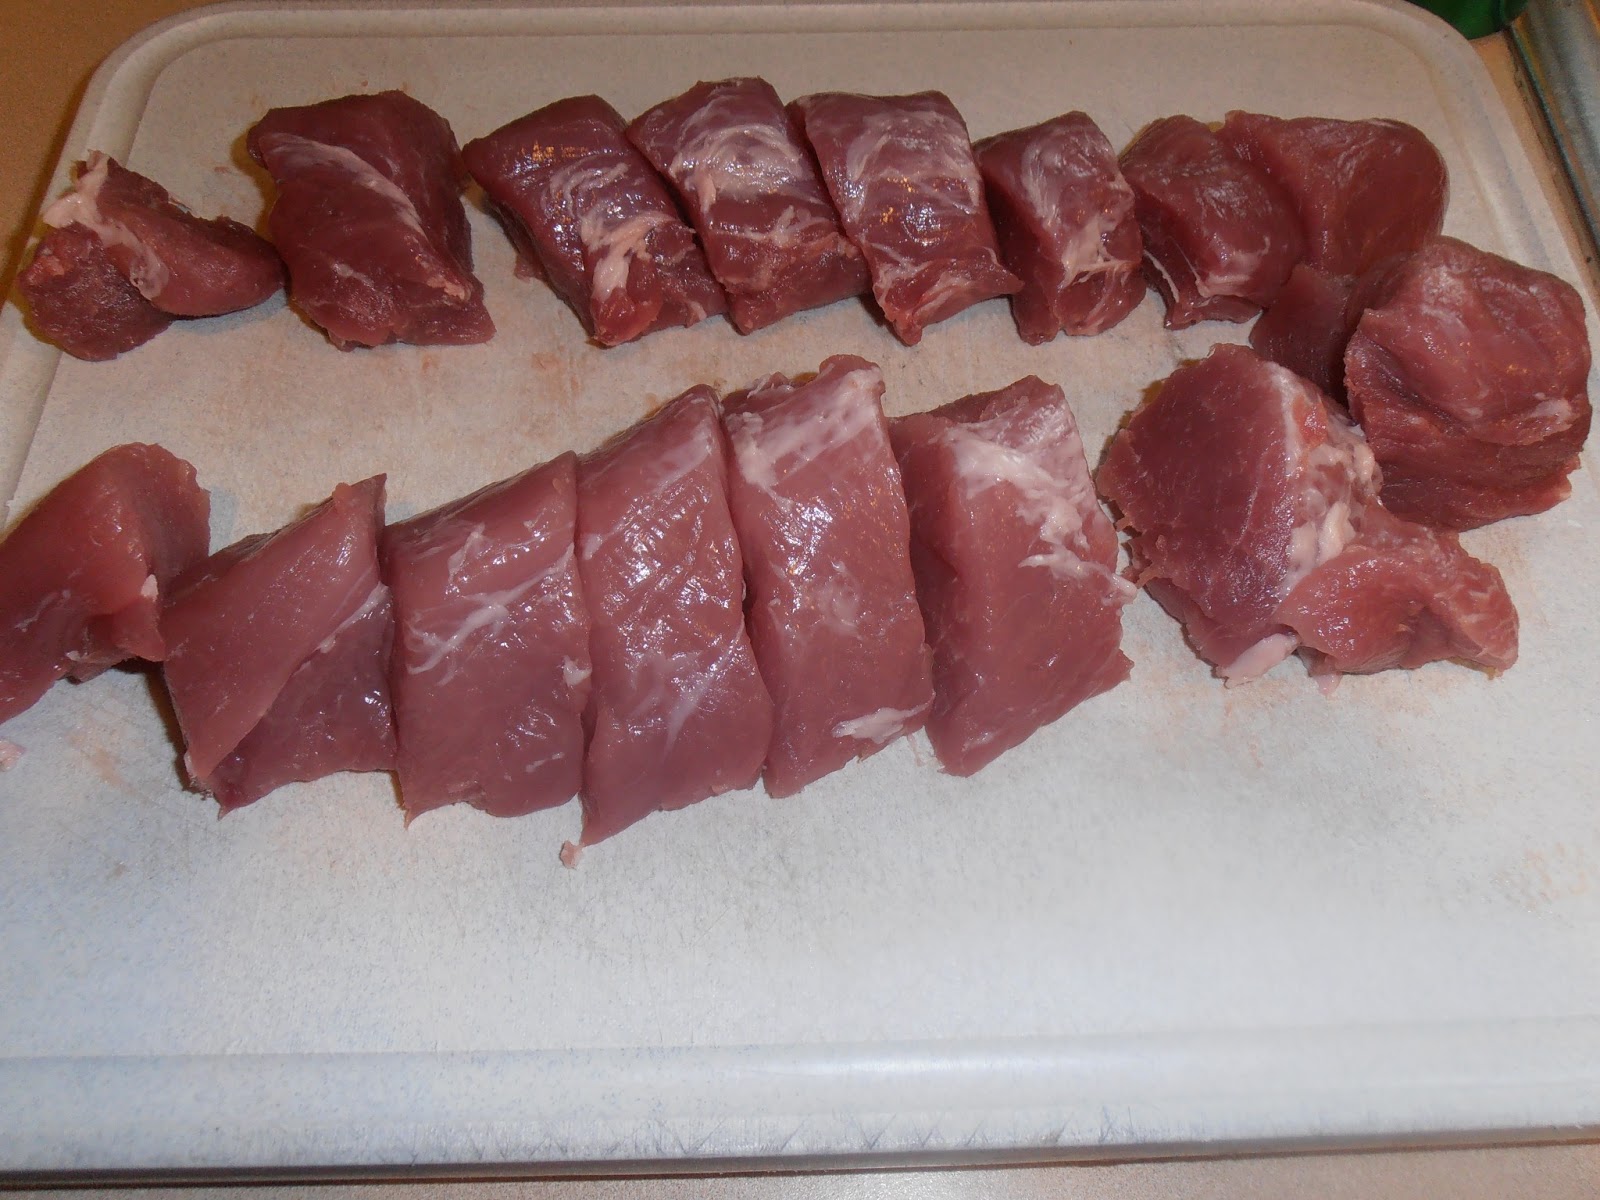
Remove silver skin from pork tenderloins and slice them into 1 inch slices.
Lay pork slices on their side, cover with plastic wrap, and pound with a meat mallet until slices are approximately 1/4 inch thick.
In a small container, mix together bread crumbs, italian seasoning, garlic powder and onion powder. In a separate small container, beat eggs and water.
Heat oil in skillet over medium-high heat.
Dip pork in egg mixture.
Dip pork in bread crumbs.
Place breaded pork in skillet, and cook for approximately 2 minutes on each side or until golden brown.
Remove each batch and place it on a paper towel lined plate or a rack inside a baking sheet. You may have to put more oil in the pan between batches.
Serve it your favorite vegetable and a yummy potato. Tonight I served it with baked home cut french fries and corn on the cob. I know, I had two starches. I'm just wild and crazy that way.
So crispy on the outside and tender and juicy on the inside. Yum!
"Don't let anyone tell you that you can't do something, when the Bible clearly says, "I CAN do all things through Christ!"
Sheryl