My best gluten free bread is really amazing; and when I first created it, I didn't think it could be any better. However, no matter how tasty it is, it drove me nuts that it would fall in the middle after cooling. After doing some research, I decided to experiment with the recipe a bit to see if I could fix that. And low and behold, it worked. So check out my new and improved - Even Better Gluten Free Bread recipe.
What You Will Need:
2 Loaf Pans (I use stone pans, but you can use metal or silicone pans if that is what you have.)
KitchenAid Mixer with paddle attachment
Plastic Wrap
Non-stick Cooking Oil Spray
Cooling Rack
Ingredients:
1 1/2 cups Sorghum Flour
3/4 cup Tapioca Starch/Flour
3/4 cup Potato Starch
3/4 cup Corn Starch
1/4 cup Ground Flax Meal
1 Tablespoon Xanthum Gum
1 Tablespoon Guar Gum
2 teaspoons Salt
2 Tablespoons Active Yeast
1 Tablespoon Sugar
1 1/2 cups Milk (warm- approximately 110°F)
3 Large Eggs (room temperature)
1/4 cup Butter (room temperature) + some for greasing loaf pans
2 teaspoons Cider Vinegar
1/3 cup Honey
Directions:
1. Grease loaf pans and set aside.
 |
 |
| Dry ingredients before whisked. |
 |
| Yeast mixture after approximately 5 minutes. |
 |
| Wet ingredients before mixing. |
 |
| Wet ingredients after mixing. |
 |
| This is the mixture after adding all of the dry ingredients. It looks like a hot mess; but don't worry, it will come together. |
 |
| Loaves after tops have been smoothed. |
 |
| I usually let my dough rise in the oven, but it was a very warm day, so I left it on the counter. |
 |
| The dough after it has risen. It is ready for the oven. |
9. Preheat oven to 375° F. Place pans in the oven, and bake for 30-40 minutes. Internal temperature should be 200° F. Butter tops of loaves immediately upon pulling out of oven.
 |
| Don't tell me that doesn't look amazing! |
10. Let cool in pans for 10 minutes, then completely on wire cooling racks. If you want to serve hot bread, let cool for a total of 15-20 minutes before serving. Believe me, it will still be hot.
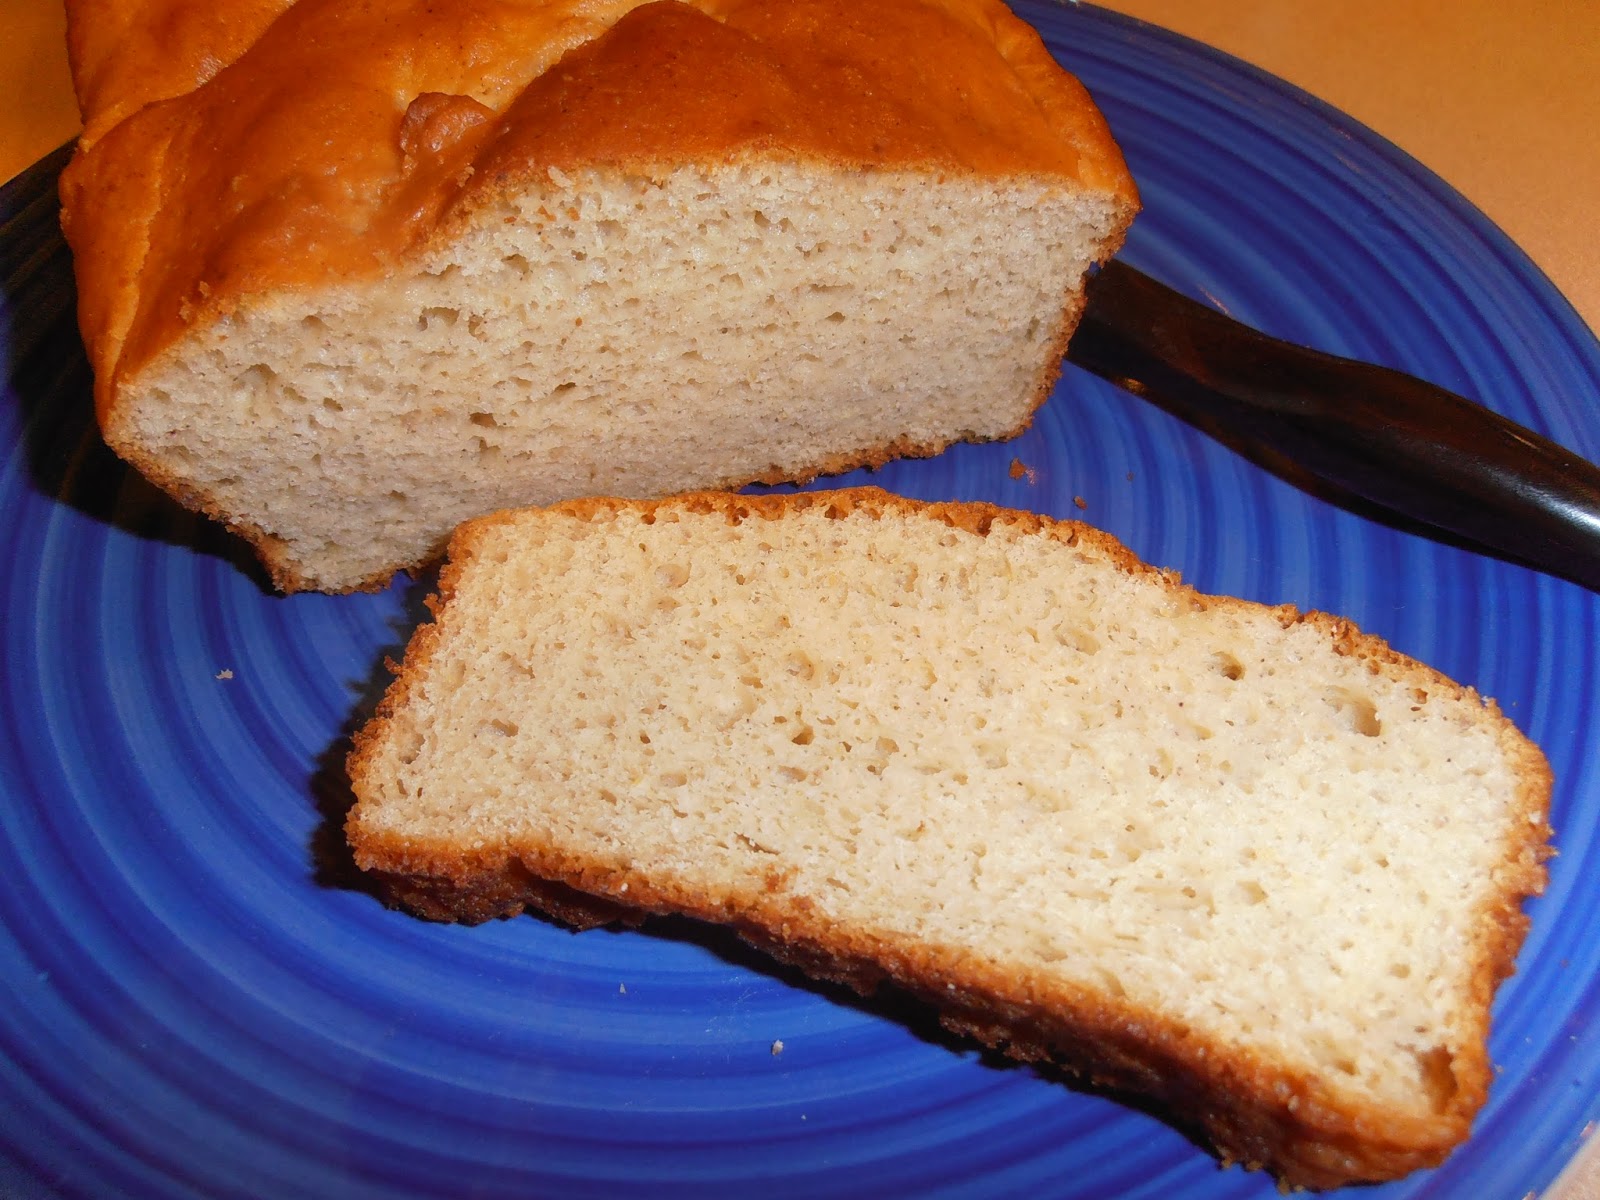
Isn't that beautiful? Now it is has both taste and looks going for it!
"If at first you don't succeed, try, try again."
Isn't that beautiful? Now it is has both taste and looks going for it!
"If at first you don't succeed, try, try again."
Sheryl

No comments:
Post a Comment