Showing posts with label buttercream frosting. Show all posts

Wednesday, December 4, 2013

Salted Caramel Chocolate Nutella Sandwich Cookies


I've been wanting to make a gourmet sandwich cookie for some time now, and some of you may know that chocolate and caramel is one of my all time favorite flavor combinations. (Just take a look at my past posts, and you will find lots of recipes with these two flavors. I just can't help myself!) So, of course I thought a chocolate and caramel sandwich cookie would be pretty awesome, but I really wanted to kick it up a notch. Since salted caramel seems to be all the rage and Nutella is a fancy chocolate spread, I thought why not incorporate the two into my gourmet chocolate caramel sandwich cookie. 

I think the result is really great, but it wasn't until my nephew, Jeremy, tried them on Thanksgiving, that I knew they were the bomb-diggity. I have to be honest, there was some controversy about the salt content in these cookies. Some thought they may be a little too salty (my daughter was one such individual). When she was refusing to eat one, because they were too salty, Jeremy let everyone know that they were AMAZING (I can't tell you what he actually said, because it might offend some, but suffice it to say, he really loved them.).

If you love salted caramel, you will love these cookies. In my opinion, the salt enhances the caramel flavor. You be the judge. Try them for yourself.

Here's how you do it. . .

What You Will Need:
Coffee Grinder, Food Processor or Blender
KitchenAid Mixer with Paddle Attachment and Whisk Attachment
Whisk
Small Scoop
Baking Sheet(s)
Silicone Mat(s) or Parchment Paper
Cooling Racks

Ingredients:
Nutella Cookies
1/2 cup Soy Flour
1/4 cup Tapioca Starch/Flour
1/4 cup Potato Starch
1/4 cup Corn Starch
1 teaspoon Xanthum Gum
1/2 cup Cocoa Powder
1/4 cup Oats, lightly ground
1 teaspoon Baking Soda
1/4 teaspoon Baking Powder
3/4 cup Unsalted Butter, room temperature
2 Tablespoons Nutella
1 1/2 cup Sugar
1 Large Egg
Salted Caramel Buttercream Frosting
1/2 cup Unsalted Butter, room temperature
1 cup Powdered Sugar
1/2 cup Caramel Sauce (I had some left over from a recent recipe. Click here for the recipe.)
1 1/4 teaspoon Kosher Salt
1 teaspoon Pure Vanilla Extract

Directions:
Preheat oven to 375° F.

Line baking sheet(s) with silicone mat(s) or parchment paper.

In a coffee grinder, food processor or blender, lightly grind oats. I used a coffee grinder. (I've never used it for coffee, just oats and things for baking.)


In a small bowl, whisk together soy flour, tapioca starch, potato starch, corn starch, xanthum gum, cocoa powder, ground oats, baking soda, and baking powder. Set aside.

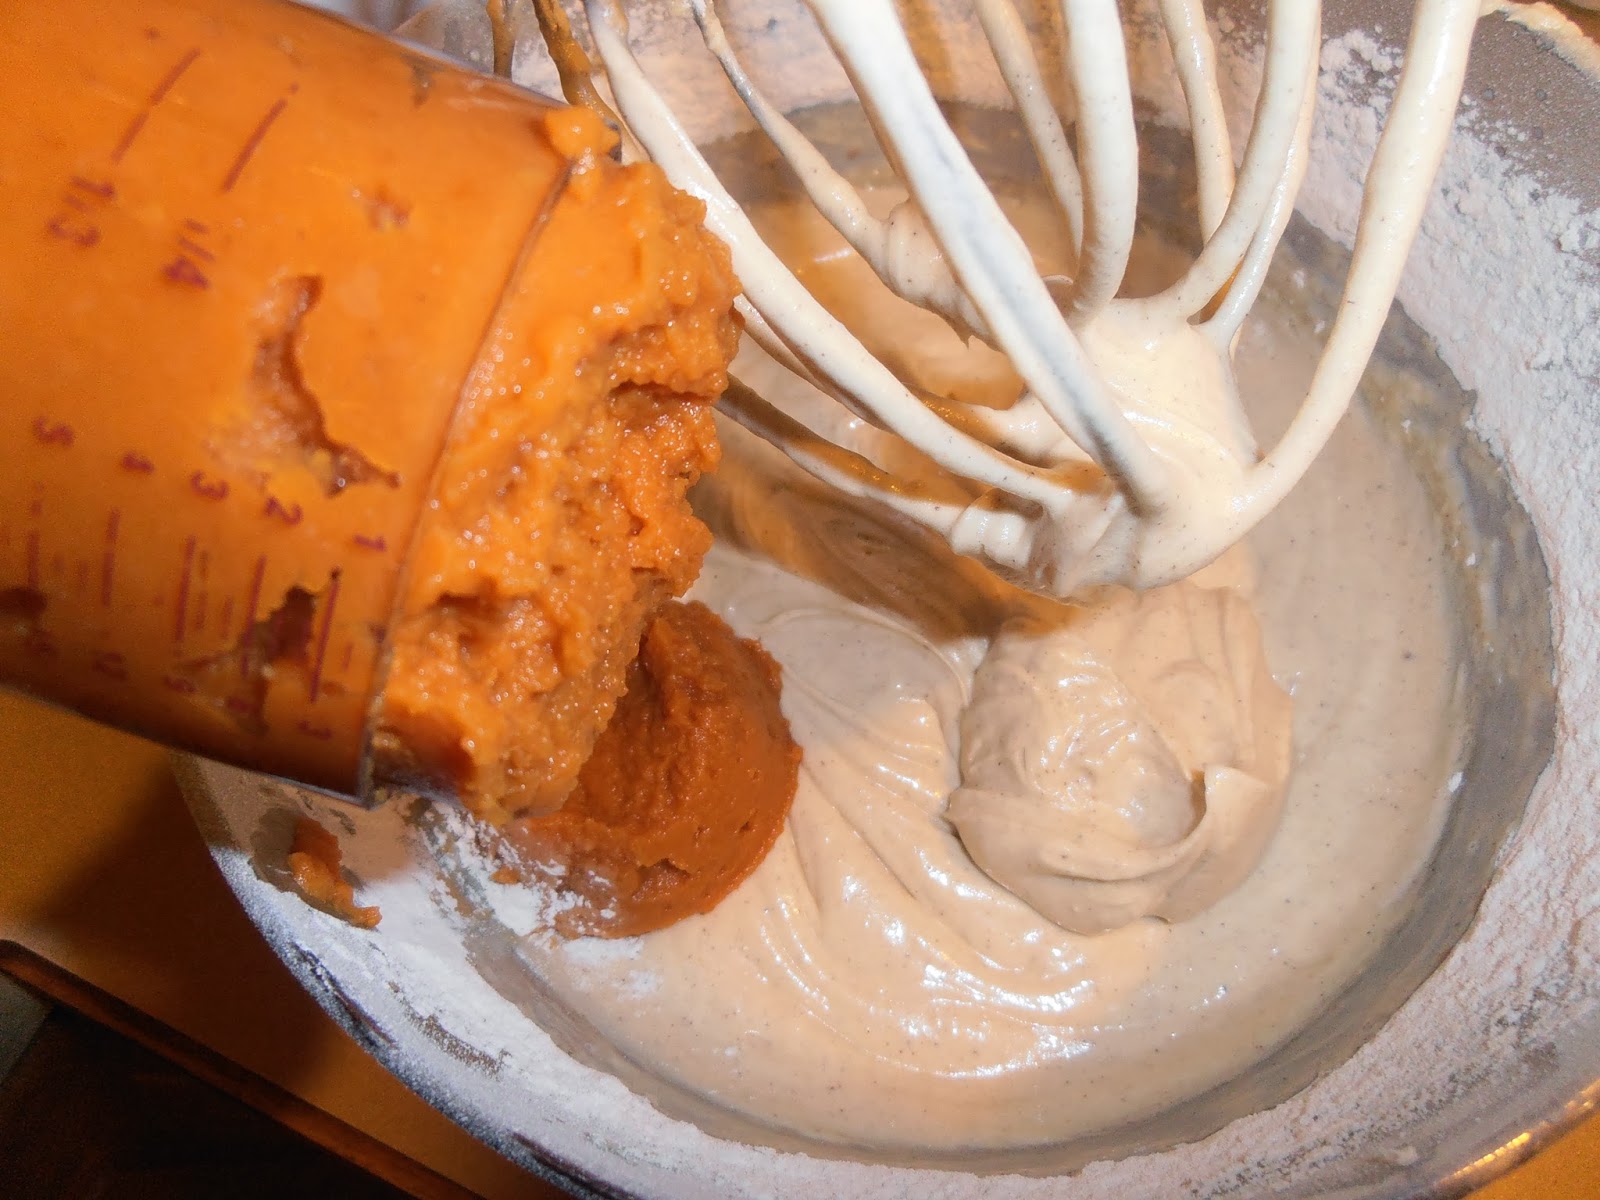
In KitchenAid Mixer bowl with paddle attachment, cream together butter, Nutella and sugar until light and fluffy.

Mix in egg.

Slowly add in flour mixture until evenly incorporated.

Don't be alarmed this is a very thick and sort of dry
looking batter. It comes together nicely when you
roll it.

Scoop small balls of dough into the palm of your hand.

Roll into a ball and place on lined baking sheet approximately 2 inches apart.

Gently smoosh the balls with the bottom of a glass until approximately 1/8" thick.

Bake for 8 minutes. Cool for 2 minutes on cookie sheet.

Transfer to cooling racks to cool completely.

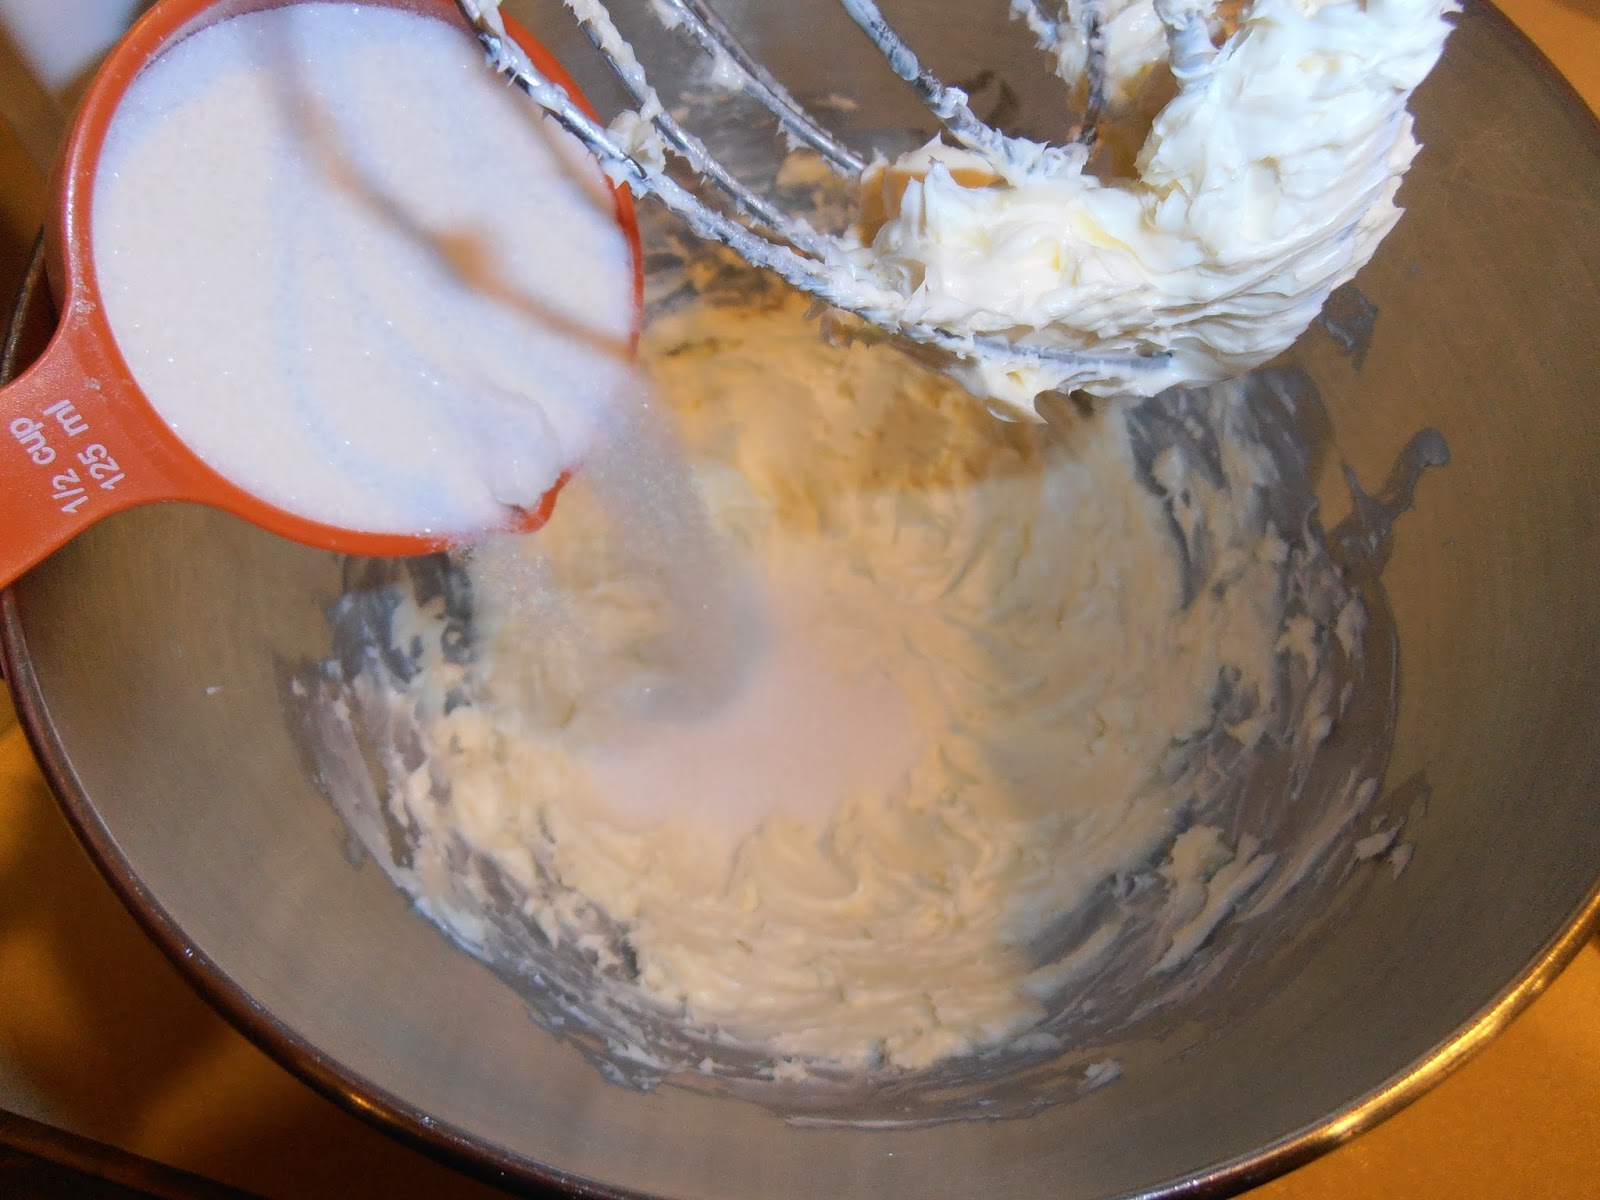
In a KitchenAid mixer bowl with whisk attachment, cream together butter and sugar. Start slowly to avoid getting sugar all over you and your countertop.

Add caramel sauce.

Add salt.

Add vanilla.

Whip until light and fluffy.

Fill a gallon size freezer bag with frosting and snip the corner.

Pipe frosting onto the flat side of one chocolate cookie.

Place another chocolate cookie on top flat side down.

Voila! You now have a Salted Caramel Chocolate Nutella Sandwich Cookie. Repeat until all cookies have been joined.


Amazing, right?!?!?!?

"Our job is to love others without stopping to inquire whether or not they are worthy."

Wow! I love that. If only it were that easy, right? But, that is what Jesus did. Let's strive to more like Him! The world would certainly be a better place if we do.
~Sheryl

Tuesday, November 19, 2013

Pumpkin Cake Balls


As hard as I try, things don't always work out the way I plan. These cake balls are a prime example. They actually started as pumpkin cupcakes. Unfortunately, they were quite a bit too moist. But, I hate throwing away food, especially gluten free baked goods. What do you do with cake or cupcake that is either too dry or too moist? Make cake balls, of course. (In case you are wondering, you can also make cake balls with perfectly good cake.)

My husband and I thought white chocolate coating would work best with pumpkin. However, when my daughter and I went to the store to get the white chocolate, they only had one bag of white chocolate. Our other options were pink candy coating, milk chocolate or dark chocolate. We discussed the confusion that we would cause by putting pink with pumpkin, so we eventually decided to buy the milk chocolate.

The funny thing is that I didn't think that the milk chocolate would be very good, but my son actually preferred the milk chocolate over the white chocolate. It just goes to show you, that it pays to experiment, because you never know what people will like - everybody has different tastes.

Ingredients:
Cupcakes (This recipe has been adjusted to reduce the moisture.)
1 cup Unsalted Butter, room temperature
1 3/4 cups Sugar
3 Large Eggs, room temperature
1 cup Soy Flour
1/2 cup Tapioca Starch/Flour
1/2 cup Potato Starch
1 teaspoon Xanthum Gum
1 1/2 teaspoons Cinnamon
1 teaspoon Baking Soda
1 teaspoon Pure Vanilla Extract
1/2 teaspoon Salt
1/4 teaspoon Nutmeg
2 cups Pumpkin Puree

Frosting
1 cup Unsalted Butter, room temperature
2 cups Powdered Sugar
2 teaspoons Pure Vanilla Extract

Coating
2-3 bags of Wilton Candy Coating (white and milk chocolate)
2 teaspoons of Vegetable Oil per bag

Directions:
In Kitchen Aid mixer bowl with whisk attachment, beat butter until fluffy.

Add sugar and beat until well blended.

Add eggs one at a time blending for approximately one minute after each addition.

Add vanilla.

Preheat oven to 350° F.

In a separate bowl, whisk together soy flour, tapioca starch, potato starch, xanthum gum, cinnamon, baking soda, salt and nutmeg.

Add dry ingredients to wet ingredients and blend until mix completely.

Add pumpkin and blend until mixed.


Scoop into lined muffin tins.

Bake for 20 minutes or until toothpick inserted in center comes out clean.

Cool completely on cooling racks.

Crumble cupcakes into a large bowl.

Prepare frosting - mix all ingredients in KitchenAid mixer bowl with whisk attachment.

Add frosting and mix well.

Use small scoop to scoop cake mixture into your hand. Roll into a ball and place on parchment/wax paper lined cookie sheet.

Freeze cake balls for at least 1 hour and up to overnight. If you want, you can place them in a zip-top bag and keep them for up to six months. (They are actually really good frozen as a little snack, so I doubt they would last that long.)

Melt chocolate and vegetable oil in microwave in 30 second intervals until completely melted.

Dip frozen cake balls in chocolate, lift with a fork, let excess chocolate drip off, place on a wax paper/parchment lined cookie sheet to set.

Store cake balls in an airtight container in the refrigerator.


Looking good! You know you want to try them. Go ahead. I think you will love them.

"Our job is to love others without stopping to inquire whether or not they are worthy."
This can be a tall order. Sometimes it is so easy to think/determine that someone isn't worthy of our love. If they are worthy of God's love (and everybody is), then how can they not be worthy of ours? 
Sheryl

Wednesday, July 17, 2013

Bumpy Cake Cupcakes


Oh Yeah! That is right, bumpy cake cupcakes. Bumpy cake was always one of my favorites as a kid. If you grew up in Michigan, you should be familiar with bumpy cake. If not, that is a true shame, and you have my condolences. 

My mom and I love bumpy cake. Sometimes we would keep one in our freezer. That way, when we got a hankering for it, all we had to do was walk to the kitchen. We usually just cut a piece or two from the cake, and saved the rest for later. Most of the time we didn't wait for it to defrost. It was so hard to be patient, and the cake was even amazing frozen.

These cupcakes are a gluten free tribute to that amazing cake. The second I tasted one, all of those great memories came flooding in. They are ridiculously good. 

What You Will Need:
Cupcake Tins
Cupcake Liners
KitchenAid Mixer with Paddle Attachment
Cooling Racks

Ingredients:
For Cupcakes
1 cup Unsalted Butter, room temperature
2 cups Sugar
4 Large Eggs, room temperature
3/4 cup Cocoa Powder
2 teaspoons Pure Vanilla Extract
1 1/4 cup Soy Flour
3/4 cup Tapioca Starch/Flour
3/4 cup Potato Starch
1 Tablespoon + 1 teaspoon Baking Powder
1 teaspoon Baking Soda
1 teaspoon Xanthum Gum
1 teaspoon Salt
1 1/2 cup Milk, hot

For Buttercream Frosting
1 1/2 cup Unsalted Butter, room temperature
3 cups Powdered Sugar
3 3/4 teaspoons Pure Vanilla Extract

For Chocolate Frosting
18 ounces Semi-Sweet Chocolate
4 1/2 Tablespoons Canola Oil

Directions:
For Cupcakes
Preheat oven to 350°F.

Line cupcake tins with cupcake liners. Set aside.

In a medium bowl, whisk together soy flour, tapioca starch, potato starch, baking powder, baking soda, xanthum gum and salt. Set aside.

In KitchenAid Mixer bowl, beat butter with paddle attachment on medium until smooth - approximately 2 minutes.


Slowly add sugar. Beat on medium-high until fluffy - approximately 4 minutes. Scrape down sides of the bowl with a rubber spatula.


Add cocoa and vanilla. Beat at medium for 1 minute. Scrape down the sides of the bowl with rubber spatula.


Add eggs one at a time. Beat for 1 minute on low-medium after each egg. Scrape down the sides of the bowl with rubber spatula.


Add dry ingredients 1/4 cup at a time with mixer on low. Scrape down sides of the bowl with rubber spatula.


Carefully and slowly add milk. Mix until smooth, scraping down bowl with rubber spatula if necessary.


Scoop batter into prepared cupcake tins.


Bake for 20 minutes or until toothpick inserted in center comes out clean. Cool in pans for 5 minutes, then transfer to cooling racks to cool completely.

I know, these already look incredible, but this is just the beginning. Things are about to get insane.

For the Buttercream Frosting
In KitchenAid Mixer bowl, beat butter with paddle attachment on medium until smooth - approximately 2 minutes.

Slowly add the sugar. Mix on low until well combineds.

Add vanilla. Mix on medium-high until smooth and fluffy.


Fill a gallon size ziploc storage bag with buttercream frosting. Clip the corner of the bag.

Pipe buttercream frosting on cupcakes in two lines. Freeze frosted cupcakes for at least 30 minutes.

For Chocolate Frosting
Chop chocolate.

Place chopped chocolate and oil in a medium, microwave safe bowl.

Heat on high for approximately 1 1/2 minutes in 30 second increments until completely melted and smooth.

Pour chocolate in a container that is just wider than the cupcakes. I used a plastic cup. Dip cupcakes in chocolate, and set on a cooling rack to set.


Now we are talking! You know you want to eat them. If you could just reach into your computer, but that isn't possible. What is possible is you following these directions, and making some of your own. Don't wait! These are going to be one of your new favorites.


Just look at that moist chocolate cake, the sweet buttercream frosting, and the rich chocolate frosting. I think I am drooling just thinking about them. I have had to work really hard not to eat all of them in one day. They are that good!


Ask my son, Tommy, he wanted to eat them all. I think he is sneaking them behind my back. ;)

"Take risks: If you win, you will be happy. If you lose, you will be wise."

In my opinion, either way, you win!
Sheryl