Thursday, July 11, 2013

Parmesan Breaded Chicken


My mom used to make this all the time when I was a kid. I love the texture you get from fresh bread crumbs, the super moist chicken, and the little kick you get from the Parmesan cheese. My mom always fried the chicken breasts whole, but I like to cut them into halves or thirds to get more breading and to try to control serving sizes.

Besides being super tasty, this chicken is really easy to make. I like it fried in butter; but if you are concerned about calories, you have a couple options. You can fry it in olive oil, or go the really healthy route and bake it. 

What You Will Need:
Blender or Food Processor (to make bread crumbs)
Large Frying Pan
Rack placed in a Baking Dish

Ingredients:
3-4 Boneless, Skinless Chicken Breasts, cut into halves or thirds
1/2 cup Gluten Free Bread Crumbs I make my own from my Best Gluten Free Bread (posted on May 29, 2013). Slice bread and toast until crispy. Grind in blender or food processor. To make 1/2 cup of bread crumbs, use approximately 2 slices of bread. You can buy gluten free bread crumbs, but it is hard to find good ones. Besides, nothing is as good as fresh bread crumbs.
1/2 cup Grated Parmesan Cheese
2 teaspoons Italian Seasoning
1 Large Egg
1 Tablespoon Water
4 Tablespoons Butter

Directions:
Clean and cut chicken breasts.

In a small bowl, mix bread crumbs, Parmesan cheese, and Italian seasoning.

In a separate small bowl, beat egg with water.

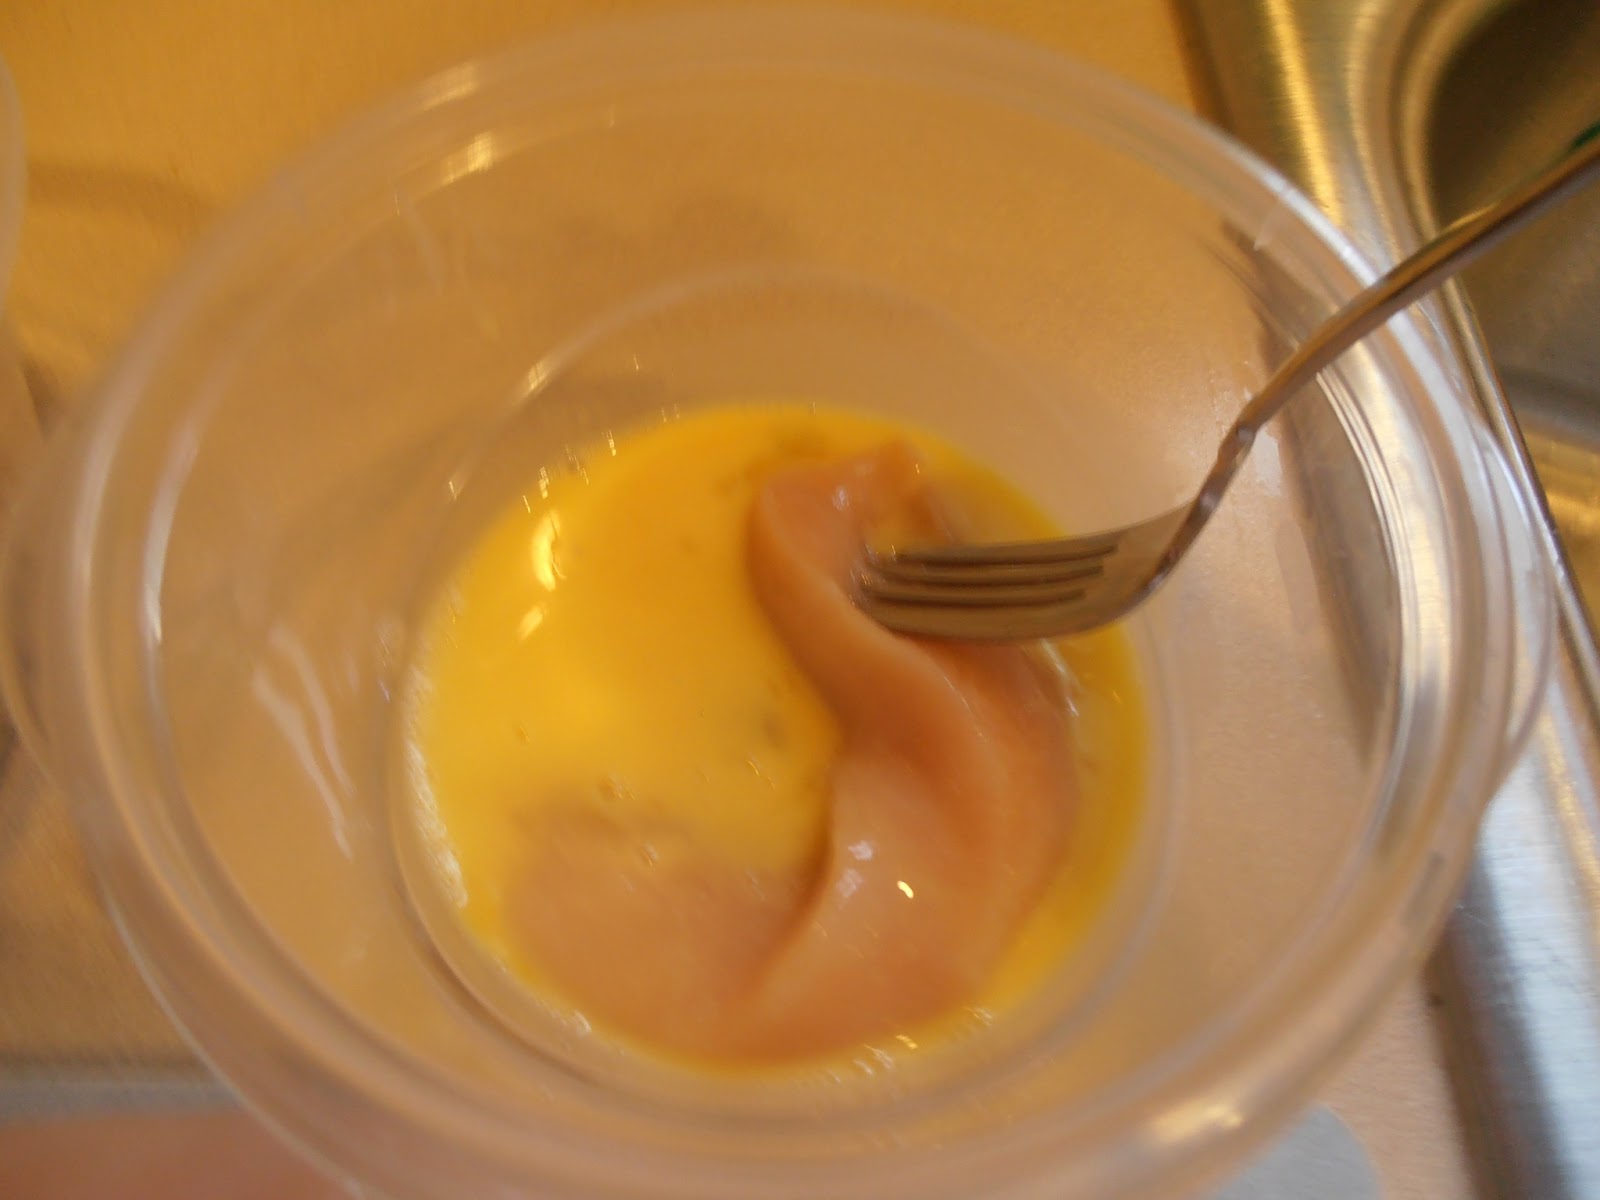
Dip a piece of chicken in the egg mixture, then the bread crumb mixture, and set it on a plate.


Preheat 2 Tablespoons of butter in frying pan. If you want to bake the chicken, set the coated chicken on a rack set in a baking dish. Lightly spray with cooking spray, and bake at 350°F for approximately 15 minutes.

Fry half of chicken in frying pan until golden brown on all sides.


Place cooked chicken on a rack set in a baking dish. Set dish in oven to keep hot.

Add remaining butter to frying pan, and fry the remaining chicken.

Serve with buttery, Parmesan baked potatoes and steamed broccoli or your favorite side dishes.

I think my kids loved this dinner as much as I did as a kid and still do! Whether you fry it or bake it, this is sure to be a family favorite for years to come.

"Refuse to lower your standards to accommodate those who refuse to raise theirs."~Mandy Hale
Sheryl


Tuesday, July 9, 2013

National Cookie Day Cookies


Today is National Cookie Day! What better way to celebrate National Cookie Day than with the original cookie - the chocolate chip cookie? This was actually one of my first recipes, but I have been waiting to share it with you until just the right time. Today seems like the perfect day. 

I have to be honest. I didn't know it was National Cookie Day until this morning. I had already written my post on Parmesan Breaded Chicken, and had planned to publish it this morning. (Don't worry. That will be a post later this week.) However, plans changed when I woke up and my husband informed me of this national holiday. He said I HAD to post my famous chocolate chip cookies. 

No problem, except that meant I had to find the time to make the batter, chill it, bake the cookies, and write the post. AND I can never leave well enough alone. After all, it is National Cookie Day. One kind of cookie doesn't seem like celebration enough, even if those cookies are my famous chocolate chip cookies. So, I mixed up a batch of butterscotch cookies as well.

Somehow I found the time to mix up two batches of cookies in the morning before the kids and I headed off to the beach. It was a scorcher here in Michigan today. I left the two doughs in the fridge to chill while we chilled in the lake. When we had finally had enough, we headed home, and the oven hasn't been off since.

I like fluffy, chewy cookies more than dry, crisp cookies. I also think that bigger cookies are better than little ones. I especially like my cookies to be thick, and to hold their shape. It took me a while to figure out how to consistently get them to do that. The secret is corn starch. Try it, you will see it works like a charm.

Whether you love the original chocolate chip cookie or you like to switch things up with butterscotch, I guarantee you will love this recipe. Make these cookies to celebrate National Cookie Day or any other day. You won't regret it.

What You Will Need:
KitchenAid Mixer with Paddle Attachment
Medium Scoop
Baking Sheet(s)
Silicone Mat (s) - This is optional, but since I started using them, I won't bake cookies without them.
Cooling Racks

Ingredients:
1 cup Unsalted Butter, room temperature
3/4 cup Brown Sugar, firmly packed
3/4 cup Sugar
2 Large Eggs, room temperature
2 teaspoons Pure Vanilla Extract
1 cup Soy Flour
3/4 cup Potato Starch
3/4 cup Tapioca Starch/Flour
1/4 cup Corn Starch
1 1/2 teaspoons Xanthum Gum
1 teaspoon Baking Soda
1/2 teaspoon Salt
1 1/2 cups Chips (Flavor of your choice: chocolate, butterscotch, white chocolate, etc.)

Directions:
In a medium bowl, whisk together soy flour, potato starch, tapioca starch, corn starch, xanthum gum, baking soda & salt. Set aside.

In the KitchenAid Mixer bowl, cream together butter and sugars with paddle attachment. Be patient. This can take a few minutes.

  
Add eggs one at a time, mixing well after each egg.

Add vanilla. Mix well.


Add dry ingredients with mixer on low. Mix well on medium.


Add chips and blend until just mixed in.

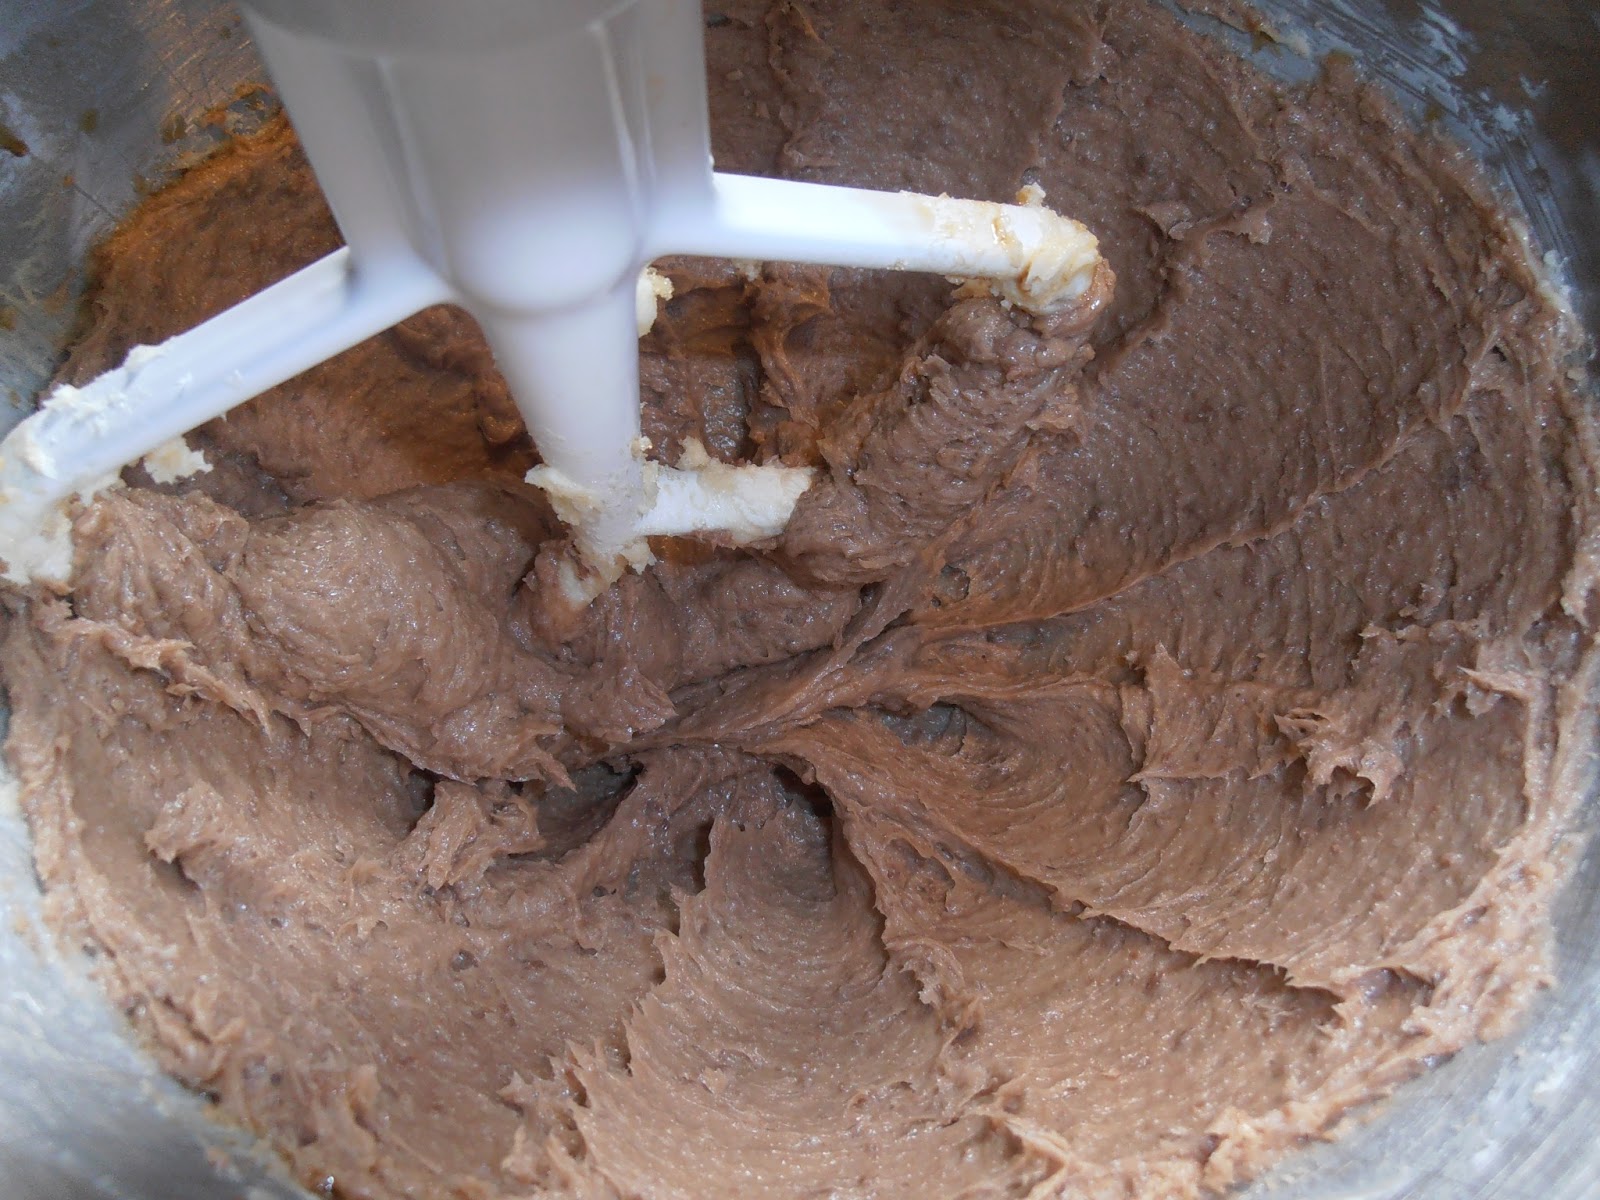
No, you don't need glasses. This is a picture of
the butterscotch dough, not the chocolate
chip dough.
Refrigerate dough for at least an hour.

Preheat oven to 350°F. 

Use medium scoop to scoop dough onto silicone mat lined baking sheet.

Bake for 16 minutes or until golden brown.


Cool on baking sheet for two minutes, then transfer to cooling rack to cool completely. They are also really good eaten warm.

Don't forget to serve them with a tall glass of cold milk.

"One of the things I learned in Kindergarten: warm cookies and cold milk are good for you." ~Robert Fulghum, All I Really Need to Know I Learned in Kindergarten

I can't argue with that!
Sheryl

Sunday, July 7, 2013

Double Chocolate Silk Pie


My son has been begging me to make chocolate pie for weeks. I can't tell you how many times he has said, "I like chocolate pie. Mom, when are you going to make chocolate pie?" Well, I like chocolate pie too, so I had no problem working on a recipe. It only took me two pies to get the recipe good enough to blog about. I'd say that isn't bad.

My first thought was to kick it up a notch by making it a double chocolate pie. After all, the only thing better than chocolate is double chocolate. This pie has a thin layer of semi-sweet chocolate below a thick pillow of milk chocolate mouse. Atop the mouse is a layer of sweet whipped cream, and it is all topped with grated semi-sweet chocolate. Sounds crazy good, right? It sure is.

Since this pie is not cooked, I recommend using pasteurized eggs for your mouse. That way you won't have to worry about getting sick from the raw eggs. You should be able to find pasteurized eggs in your local grocery store in the same section as non-pasteurized eggs. Now let's get to making some chocolate pie.

What You Will Need:
Pie Plate
Plastic Wrap
Pie Weights or Dried Beans
Aluminum Foil
KitchenAid Mixer with Paddle and Whisk Attachment
Microplane or grater

Ingredients:
Pie Crust (recipe posted on 5/18/13)
2 oz. Semi-Sweet Chocolate, melted + 1 oz. not melted for grating
1 cup Milk Chocolate, melted
3/4 cup Salted Butter, room temperature
1/4 cup packed Brown Sugar
1 1/2 teaspoon Pure Vanilla Extract
3 Large Pasteurized Eggs
1 cup Heavy Cream (Whipping Cream)
2 Tablespoons Powdered Sugar
1 teaspoon Pure Vanilla Extract

Directions:
To Bake Pie Crust
When pie crust is rolled and formed in the pie plate, cover it lightly with plastic wrap and refrigerate for at least 1/2 hour.

Preheat oven to 425°F with baking sheet on bottom rack.

Remove the pie crust from the refrigerator. It should be firm to the touch. Pierce the bottom and sides of the crust with a fork.


Line the crust with a double layer of aluminum foil, making sure the foil is all the way to the edges of the bottom of the pan.

Fill the pan with pie weights or dried beans, making sure to cover at least half way up the sides. I used dried beans. I keep these beans in a ziploc bag and re-use them when I bake pie crusts.

Reduce the oven to 400°F. Place the pie on the baking sheet, and bake for 15 minutes. Remove the pie pan from the oven, and remove the aluminum foil and beans from the pie crust. 


The aluminum foil will be very buttery, so be
sure to place it on a towel.

Return the pie pan to the oven, and bake for an additional 10-12 minutes or until golden brown. Beat an egg with 1 teaspoon water (egg wash), and brush the egg wash on the pie crust.

Bake for an additional three minutes.

Let cool completely.

For Pie Filling
In a small microwave-safe bowl, heat semi-sweet chocolate in the microwave in 30 second increments until melted.


Spread chocolate on bottom of pie crust. Let chocolate set.

In a small microwave-safe bowl, heat milk chocolate in microwave in 30 second increments until melted. Set aside to cool.


In KitchenAid Mixer bowl, cream together butter and sugar with paddle attachment.


Gradually add melted chocolate.


Add vanilla.


Add eggs one at a time. Beat on high for 5 full minutes after each egg. I actually set a timer, so I wouldn't be tempted to cut corners. This is an extremely important step. This is what makes your filling light and airy.


Pour filling into pie crust. Cover with plastic wrap and refrigerate for at least 4 hours or up to overnight.


Put KitchenAid Mixer bowl and whisk attachment in the freezer for 5 minutes.

Whip cream until just before peaks form. Add sugar and vanilla, and beat until peaks form and cream is firm.


Spread whipped cream on pie.

Grate semi-sweet chocolate over pie.


Now, doesn't that look good enough to eat? Check out what a presentation it makes sliced on a plate.

Although it takes some time to complete (because of all of the chilling), it is super simple to make, and it really is a show stopper. Impress your friends, and make one today!

"Two are better than one, because they have a good return for their work; If one falls down, his friend can help him up. But pity the man who falls and has no one to help him up." ~Ecclesiastes 4:9-10 NIV

As the verse says, it is important to have friends; so you have someone to pick you up when you fall down. And I always say those friends will be more likely to pick you up if you bake them delicious desserts!
Sheryl