Friday, July 5, 2013

Red, White & Blue Cupcakes with Raspberry Buttercream Frosting


We spent the Fourth of July at the beach with family and friends. It was a beautiful day. We soaked up the sun, cooled off in the lake, and grilled hamburgers for dinner. Then, I brought out the red, white & blue cupcakes with raspberry buttercream frosting for dessert. What a hit! 

The raspberry buttercream frosting was really the star of the show. My friend, Janet, suggested that I quote her and put her comments in all caps, that is how much she loved them. I thought that might be a little much, but the gist of what she said was this might be one of my best recipes yet. And that is something coming from her, because she is a chocolate lover; and there isn't any chocolate in this recipe.

We also discovered that while they are amazing served at room temperature, they are to die for served cold. So, keep them in the fridge, if possible, until you are ready to serve them.

I suppose we should get to how to make these miraculous creations.

What You Will Need:
KitchenAid Mixer with Paddle and Whisk Attachment
Cupcake Pans
Cupcake Liners
Cooling Racks

Ingredients:
For Cupcakes
1 cup Unsalted Butter, room temperature
2 cups Sugar
4 Large Eggs, room temperature
2 teaspoons Pure Vanilla Extract
1 1/2 cups Soy Flour
1 cup Tapioca Starch/Flour
1 cup Potato Starch
1 Tablespoon + 1 teaspoon Baking Powder
1 teaspoon Baking Soda
1 teaspoon Xanthum Gum
1 teaspoon Salt
1 1/2 cup Milk, hot (I microwave it on high for 30 second increments until it is hot.)
1/4 teaspoon Red Gel Food Coloring (Wilton's is gluten free)
1/4 teaspoon Blue Gel Food Coloring
1 bottle Red, White & Blue Sprinkles

For Frosting
1 cup Unsalted Butter, room temperature
2 cups Powdered Sugar
2 1/2 teaspoons Raspberry Extract

Directions:
For Cupcakes
In a medium bowl, whisk together soy flour, tapioca starch, potato starch, baking powder, baking soda, xanthum gum, and salt. Set aside.


In KitchenAid Mixer bowl, cream together butter and sugar with paddle attachment until fluffy. (This can take a few minutes, so be patient.)


Add eggs one at a time and mix well after each addition. (I crack my eggs into a separate bowl to avoid getting shells in my baked goods.) While you are adding the eggs, heat up your milk.

Add vanilla and mix well.


Add half of the dry ingredients and mix on low until combined.

Add half of the milk and mix on low until combined.

Add remaining dry ingredients and mix until combined. Add remaining milk and mix until combined.

Line cupcake pans with the cupcake liners, and preheat oven to 350° F. 

Divide batter into three separate bowls. Into one bowl, mix in the red gel food coloring. Into a second bowl, mix in the blue gel food coloring.


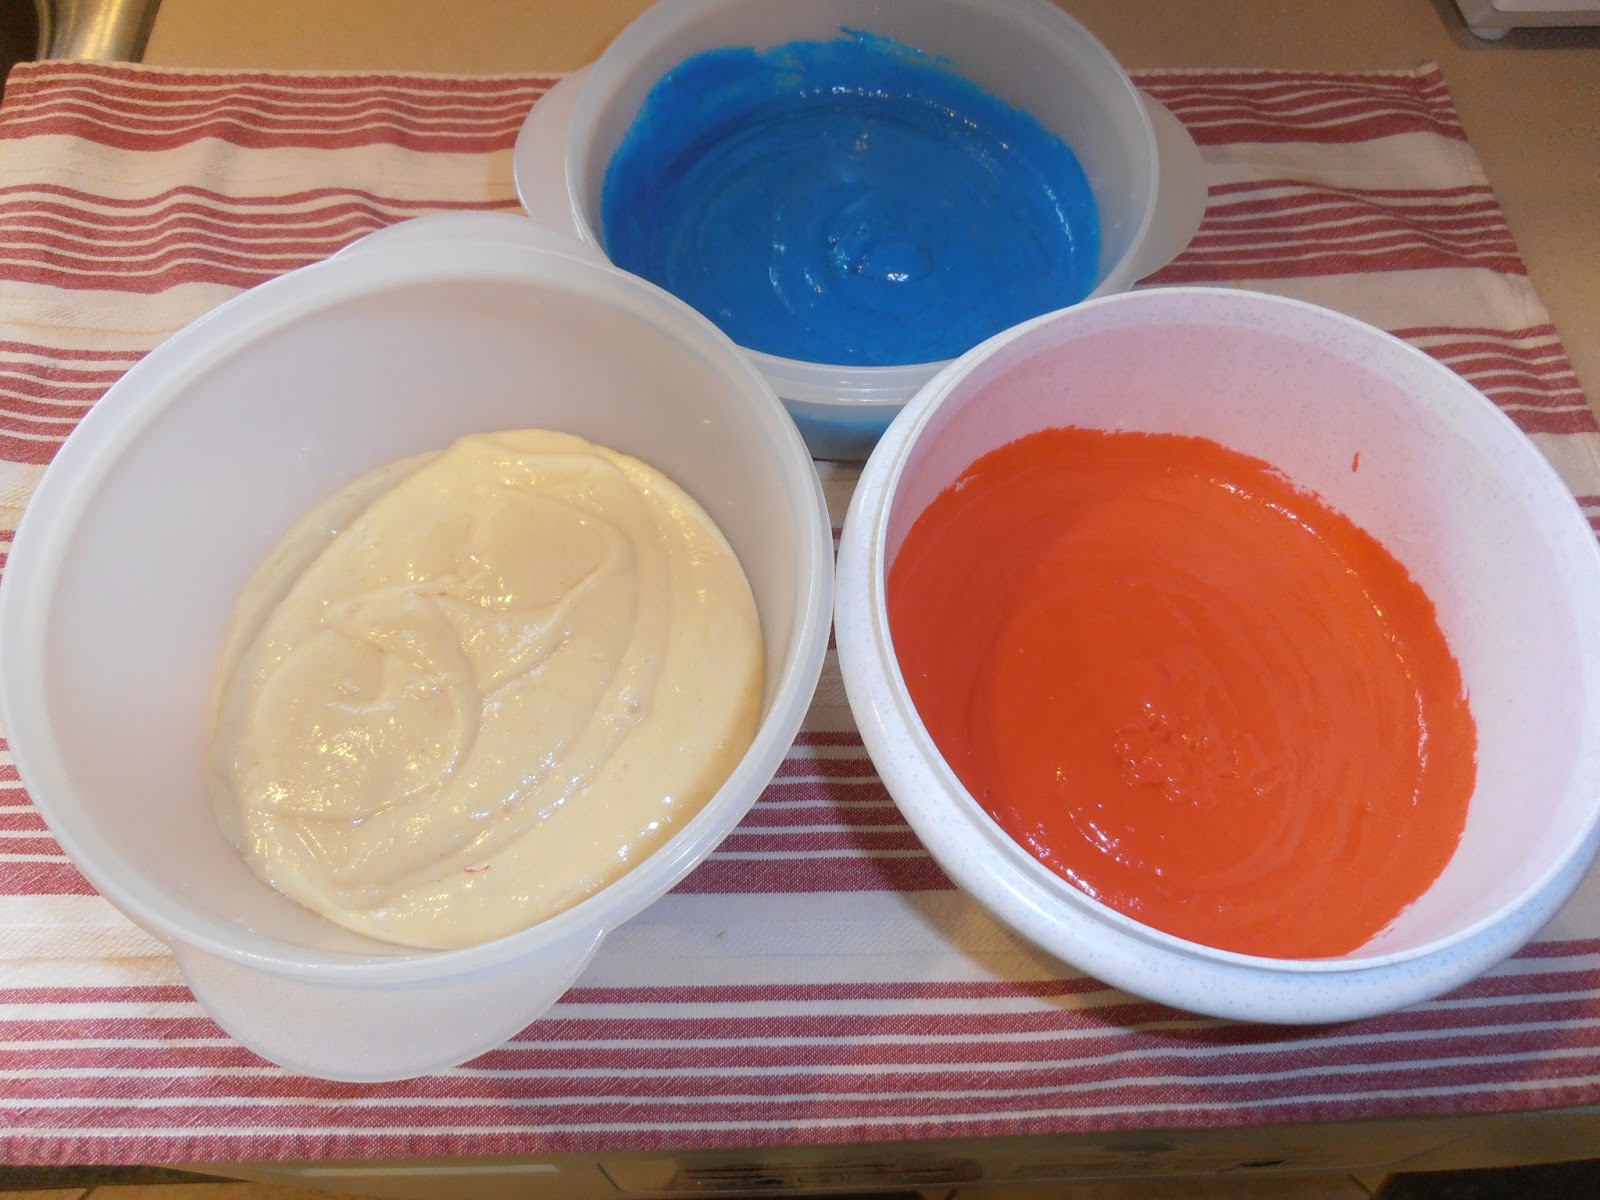
Put approximately 1/8 cup of each color of batter in each cupcake liner. Swirl slightly with a skewer.

My original plan was to make tie-dyed cupcakes,
but I was afraid if I mixed too much, I would
get purple cupcakes. I could have swirled a lot
more than I did.
Bake for 20 minutes. Let cool in pans for 10 minutes, then transfer to cooling racks and let cool completely.

For Frosting
In KitchenAid mixer bowl, cream together butter and powdered sugar with whisk attachment on low, then medium until well combined.

Add raspberry extract and mix on medium until fluffy.

Put frosting in a large ziploc bag, and cut a a small piece from the corner.


Swirl frosting on cupcakes, twirling top of bag occasionally as you frost. Pour sprinkles on each cupcake.

Store cupcakes in airtight container in the refrigerator until ready to serve.


When you serve them to your family and friends be prepared to soak up the praise as they rave about how amazing your cupcakes are.

I hope you enjoy your Fourth of July weekend!

"May we think of freedom, not as the right to do as we please, but as the opportunity to do what is right." ~Peter Marshall
Sheryl

Wednesday, July 3, 2013

Red, White & Blue Cookies


I can't believe it is already July. It seems like it was just Memorial Day, and I was writing about how excited I was that summer was here. Now summer is well under way, and we are about to celebrate Independence Day, the Fourth of July. 

We'll be celebrating our freedom at the beach with friends and family. I thought it would be nice to have some red, white & blue treats to share for the celebration. My original thought was red, white and blue tie-dyed cupcakes with red, white and blue sprinkles. I still plan to make them, and I promise I will post the recipe on Friday, providing they turn out the way I envision them.

But I was thinking we really need something with chocolate too. After I gave it some thought, I remembered the red, white and blue M&M's. I figured they would be perfect in place of chocolate chips in a cookie. So, I got to work perfecting my cookie recipe. 

I think they turned out great, but don't take my word for it. You can take somebody else's word for a change. My friend, Janet, her teenage daughter, Maya, and Maya's friend, Autumn tried them when we went to the movie together the other day. They loved them so much they were fighting over them. Autumn took half of the last cookie from Maya as she was eating it. She was surprised to learn that they were gluten-free.

Aren't you dying to learn how to make these cookies? OK, I won't make you wait any longer for the recipe.

What You Will Need:
KitchenAid Mixer with Paddle Attachment
Cookie Sheet(s)
Silicone Mat (optional) - I highly recommend using one of these. I love how evenly cookies bake with it.
Teaspoon Sized Cookie Scoop
Cooling Rack(s)

Makes approximately 5 dozen cookies

Ingredients:
1 cup Unsalted Butter, room temperature
3/4 cup Brown Sugar, firmly packed
3/4 cup Sugar
2 Large Eggs, room temperature
2 teaspoons Pure Vanilla Extract
1 cup Soy Flour
3/4 cup Potato Starch
1/2 cup Tapioca Starch/Flour
1/4 cup Corn Starch
1/4 cup Ground Flax Meal (optional) - (If you choose not to use flax, you can substitute with 1/4 cup tapioca starch/flour)
1 1/2 teaspoons Xanthum Gum
1 teaspoon Baking Soda
1/2 teaspoon Salt
1 medium bag of M&M's

Directions:
In a medium bowl, whisk together soy flour, potato starch, tapioca starch, corn starch, flax, xanthum gum, baking soda, and salt. Set aside.
This picture was taken before I whisked them
together.
In your KitchenAid Mixer bowl, cream together butter and sugars. 
After I firmly pack my brown sugar, I crumble it
into the bowl to make it easier to mix. This picture

is before they are creamed together.
Add eggs one at a time and mix well after each addition.
I always crack my eggs into a separate bowl
to ensure that I don't get any shells in my baked
goods. I also crack my eggs on a flat surface,
as opposed to the edge of a bowl, to reduce
the likelihood of shells.

This is after the eggs have been added and mixed.
Add vanilla and mix well.


Add dry ingredients and mix well.

Add M&M's and mix well.

Don't be tempted. I know it looks good. Trust me,
I am a lover of raw cookie dough, but this dough
only tastes good as cookies. Yes, I speak from
experience. You can also ask my son.

Chill dough for at least an hour. (I chilled mine overnight.) Preheat oven to 350° F.

Use scoop to drop balls of dough on silicone mat lined cookie sheet or ungreased cookie sheet.

Bake for 12 minutes, then let cool on pan for 2 minutes before transferring to a cooling rack to cool completely.

Store in an air tight container.


Yum! Don't they look festive? I know you will love them as much as Janet, Maya and Autumn do.

I hope you enjoy celebrating the Fourth of July. Remember to be grateful for the amazing freedom we are privileged to have in this great country. Of course, the greatest freedom we have is our freedom through Jesus. 

"So if the Son sets you free, you will be free indeed." John 8:36 (NIV)
Sheryl

Monday, July 1, 2013

Taco Seasoning


This taco seasoning is so versatile. You can use it with beef, chicken or turkey; add beans or leave them out; and use it to make tacos, nachos, enchiladas, mexican pizza or whatever your heart desires. Of course, you want to make sure that whatever "shell" you use is gluten free. So, you will obviously need to stay away from flour tortillas, but the good news is there are lots of corn, and even veggie options out there. The chips pictured with my nachos are "Veggie Dippers". I bought them at Costco. They are really yummy, and a healthier alternative to corn.

Ingredients for Taco Seasoning:
This mix will season 1.5 pounds of meat
1 Tablespoon Onion Powder
1 Tablespoon Garlic Powder
1 Tablespoon Chili Powder (if you don't like spicy, you can cut this in half)
1/2 teaspoon Crushed Red Pepper or Cayenne Pepper
2 teaspoons Cumin
1 teaspoon Corn Starch
1/2 teaspoon Sugar
1 teaspoon Salt
1 1/2 cups Water

Directions for Taco Seasoning:
Measure onion powder, garlic powder, chili powder, cayenne, cumin, corn starch, sugar and salt into a bowl.

Whisk together until mixed completely.

Store in an airtight container or use to season meat right away.

Directions for Seasoning Meat with Taco Seasoning:
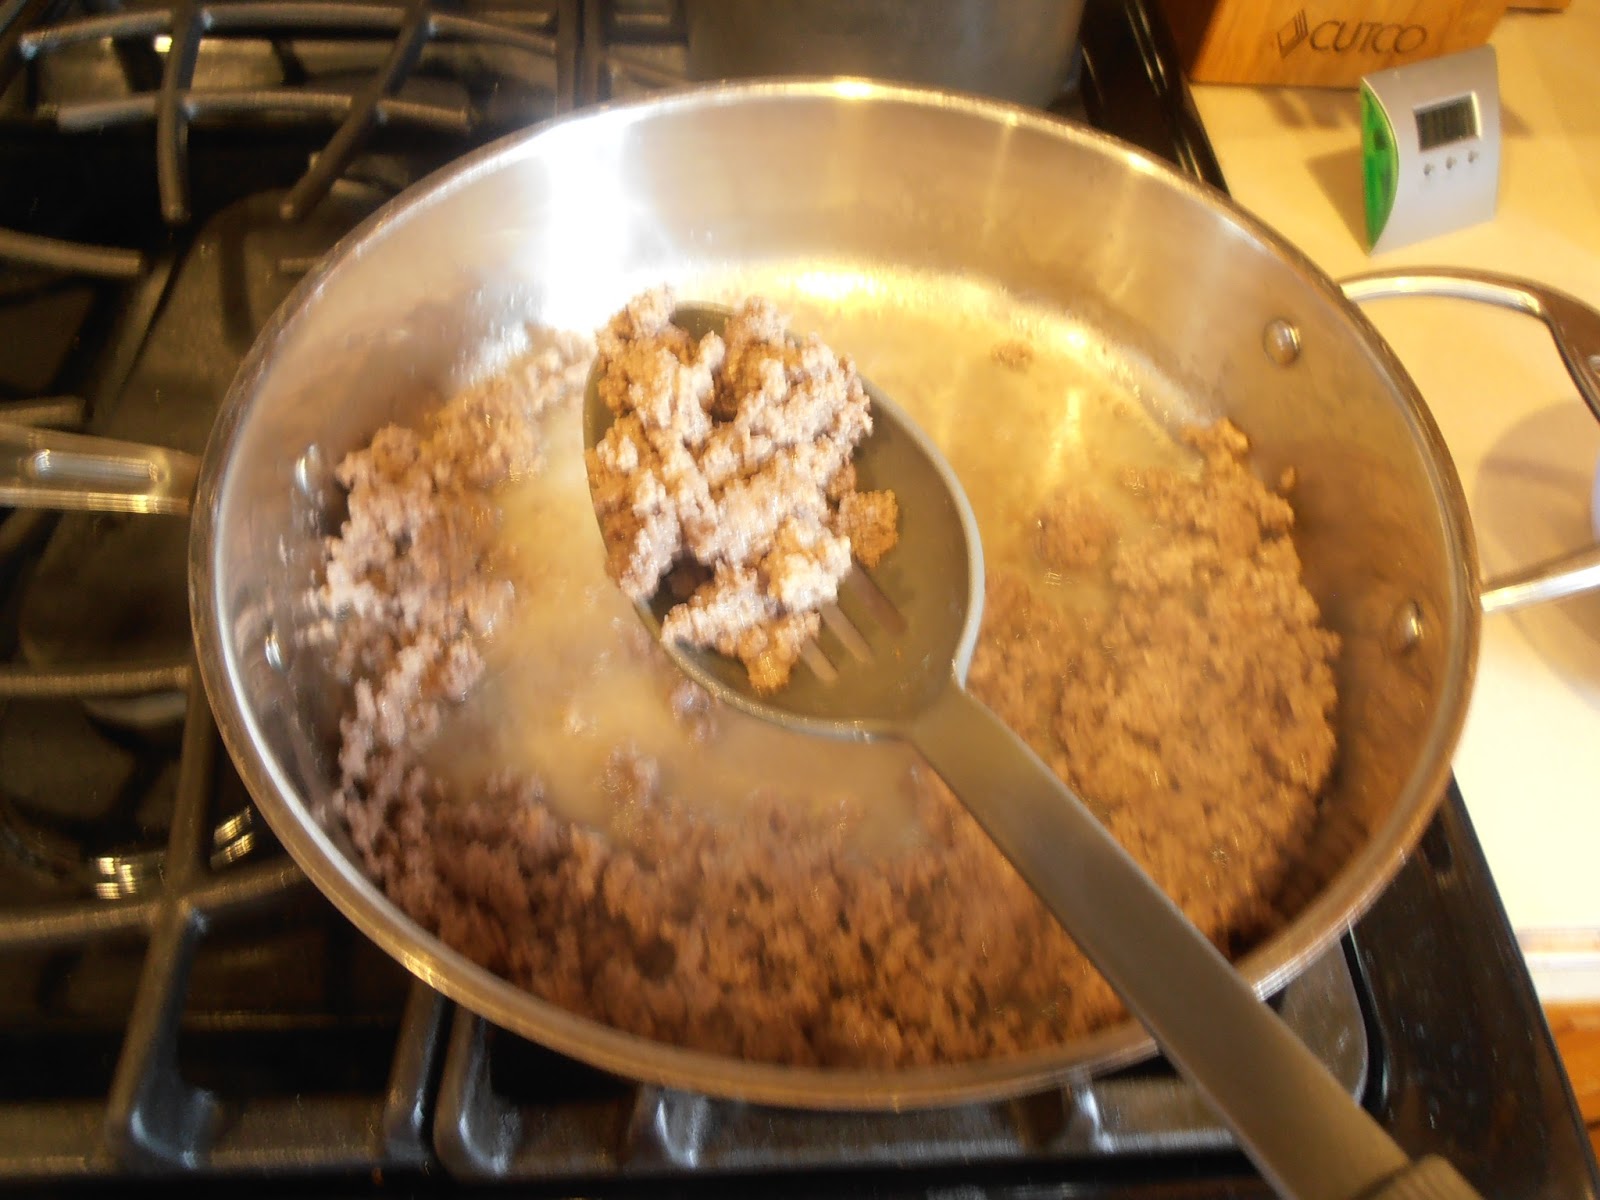
Brown meat in a large skillet over medium-high heat. (If you are using chicken, saute chicken, then slice or shred.)
This meat is browned perfectly. You don't want
there to be any pink left. Make sure to break up
the meat as you cook it.
Drain excess oil from meat. (I use a slotted spoon to remove the meat from the pan, pour the oil into a contain that can stand the heat (ceramic coffee mug, glass jar, etc.), then return meat to the skillet.)
Using a slotted spoon to drain the meat and transfer
it to another container.
 
Pouring the excess fat into a ceramic coffee mug.
I will put this in a plastic bag and
throw it in the trash when it has hardened.

Returning the meat to the skillet.

Add taco seasoning to meat.

Pour water into pan. Stir to mix well.

Add 1 can of beans (black, pinto, light or dark red kidney beans), drained. (I used black beans, because I love them and they are better for you.) This step is optional. If you don't like beans, leave them out. Stir well to incorporate.


Reduce heat and simmer for approximately 20 minutes or until liquid has been reduced.
This looks about right. You don't want the meat
to be dry with no liquid, and as time passes, the
liquid will continue to be absorbed or evaporate.
I have been on a simple, nacho kick lately, so I just added some cheese and served with chips.

But you can get really creative - you can add sour cream, salsa, refried beans, lettuce, olives, jalapenos; serve it in taco shells, make enchiladas, layer it in 7 layer dip, the options are endless. . . . 

Enjoy your mexican creations. I look forward to hearing about what you have made.

"The greatest gift you can give someone is your TIME; because when you give your time, you are giving a portion of your life you will never get back."
Sheryl

Friday, June 28, 2013

Indian Chicken


This chicken recipe has been a family favorite for as long as I can remember. My mom always said that it was a Weight Watcher's recipe; but on the recipe card that she gave me at my wedding shower, it says that it is from the Good Housekeeping Diet Book. Either way, it is delicious (and obviously low calorie), and I haven't met anybody who hasn't like it. 

The chicken is a bit spicy from the ginger, cayenne pepper and curry powder; but the heat is offset by the peaches and cottage cheese. I actually love the heat, so I use heaping measuring spoons when I mix my marinade. You should probably try it with leveled spoons the first time, especially if you have newly purchased spices. 

If you didn't know, spices can loose their potency when they sit in your cupboard. If you have had your spices for a while, you might want to think about replacing them. I'm not a big fan of throwing things out, but I AM a big fan of flavorful food. So, use your best judgement. Your taste buds and your nose will be your guide.

This chicken is best if it has marinated for at least 24 hours. Typically, I mix it one day and cook it two days later for dinner. I also love to make a double batch, marinate it all, then freeze half of it the day that I cook the other half. That way the chicken has had time to soak up the marinade before it freezes. 

What You Will Need:
2 Baking Sheets
Aluminum Foil

Ingredients:
4 Boneless, Skinless Chicken Breasts; cut in 1 inch pieces
1/2 teaspoon Ginger
1/8 teaspoon Cardamom
1/8 teaspoon Turmeric
1/8 teaspoon Crushed Red Pepper (Cayenne)
1 teaspoon Curry Powder
1 1/2 teaspoon Salt
1/8 teaspoon Prepared Mustard
1 Tablespoon Milk
2 teaspoons Lemon Juice (I used bottled lemon juice, but fresh squeezed would be better.)
1 Tablespoon Salad Oil
Paprika for sprinkling
1 small Onion, peeled & quartered
1 large can Peach Halves, drained

Directions:
Gather Ingredients

You actually don't need the onion at this point. You
won't use that until you are ready to cook your
chicken in a couple of days.
Cut chicken breasts into 1 inch pieces. Set aside.

Measure dry ingredients (ginger, cardamom, turmeric, red pepper, curry powder, and salt) into a large bowl.

Add mustard, milk, lemon juice and salad oil. Mix well.

Add chicken pieces. Mix well. Cover and refrigerated for at least 24 hours, but 36 - 48 hours is better.

OK, it is two days later and the family is hungry for some dinner. Pull that marinated chicken out of the fridge, and get ready to make some magic. 

Line two baking sheets with aluminum foil. (This step is optional, but it is so much easier to throw away the aluminum foil than it is to scrub those baking sheets clean.)
Set oven to broil.


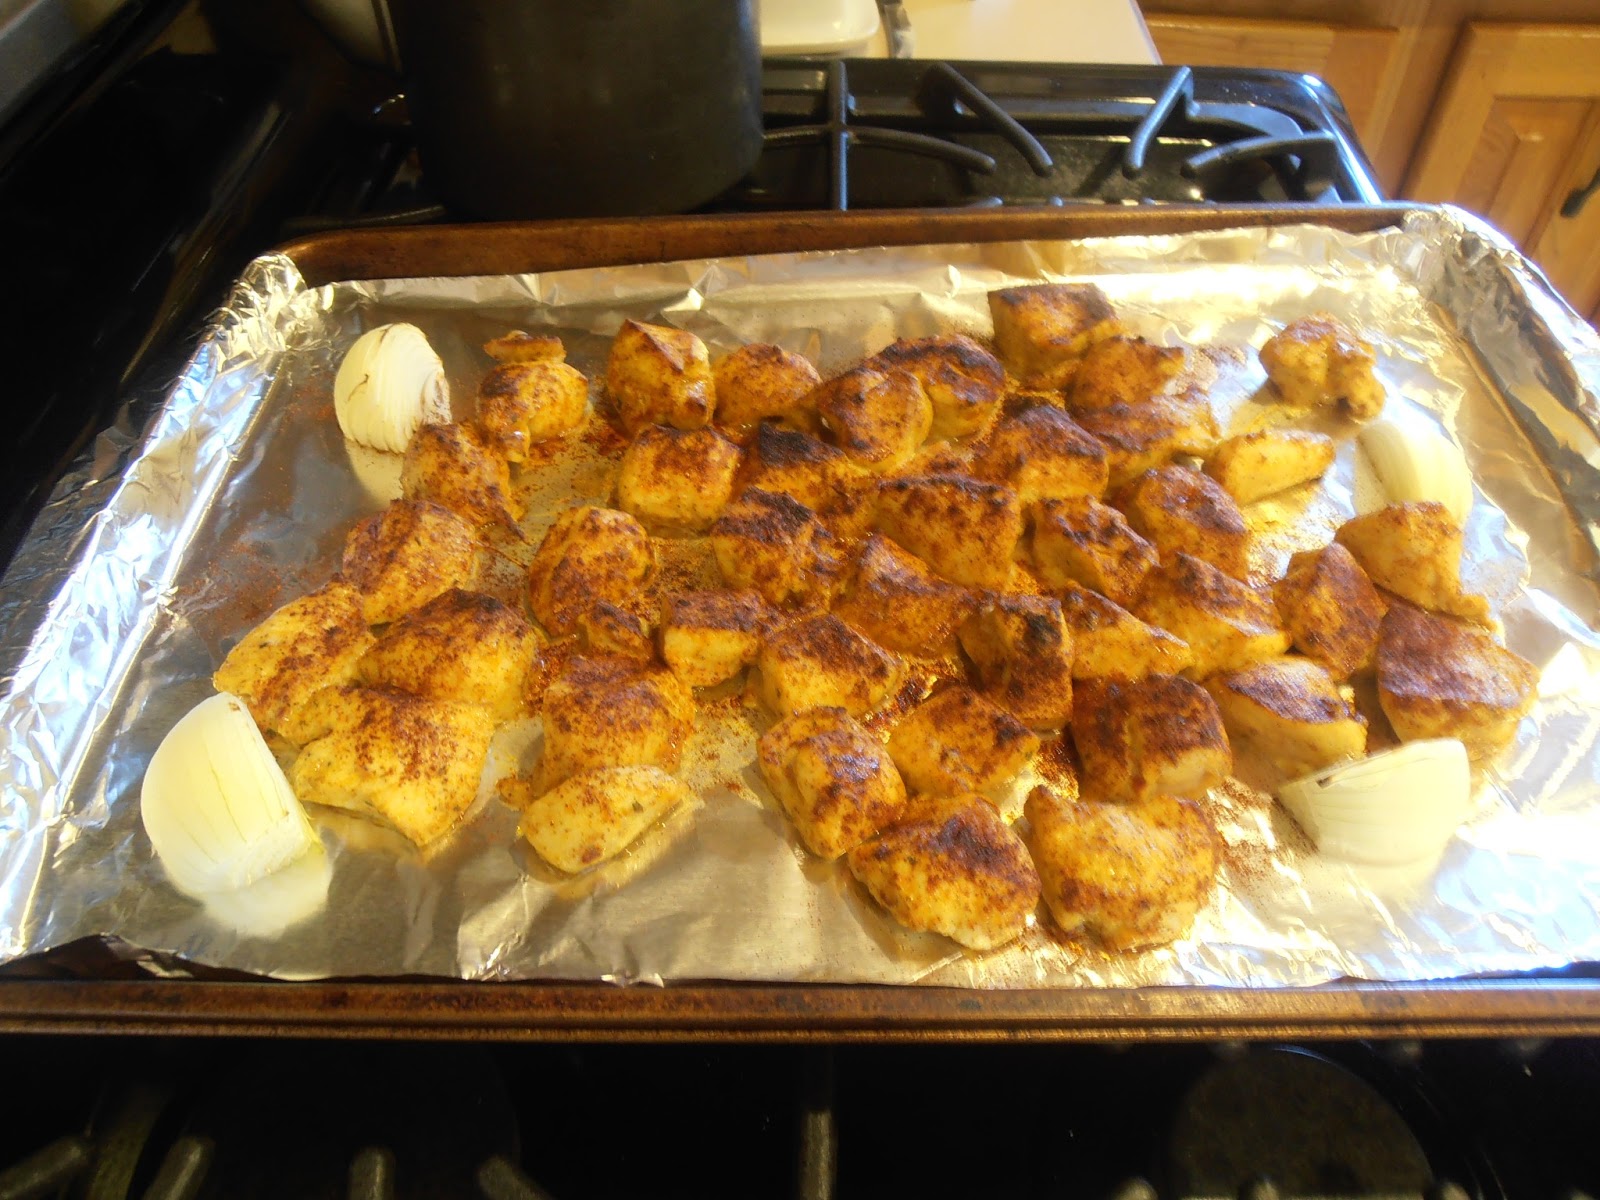
Spread chicken out on an aluminum foil lined baking sheet. Sprinkle with paprika. Place onion quarters on the same baking sheet.

Place the baking sheet in the oven directly below the flame, and set your timer for 7 minutes.

While the chicken is cooking, open the can of peaches, and place them on the other baking sheet.

When the timer beeps, remove the baking sheet with the chicken from the oven. Flip the chicken, sprinkle with more paprika, and return to the oven below the flame. Place the baking sheet with the peaches on a lower oven rack. I know what you are thinking - canned peaches in the oven? Are you crazy? Sounds crazy, but I promise you won't be disappointed. 

Set your timer for 7 minutes again. (If you find that your chicken is cooking faster, reduce the time by a few minutes. You don't want your chicken to be dry, just cooked all the way through.)

When the timer beeps for a second time, remove both baking sheets from the oven. 


Serve the chicken with the warm peaches and cottage cheese.

MMMMmmm! Just looking at the picture now, I can taste the heat of the spices and the sweetness of the peaches. I think I am actually drooling. Thank God you can't see me. That would be embarrassing! 

I hope you enjoy this recipe as much as my family and I do. 

"What I love most about my home is who I share it with!"
Sheryl