Showing posts with label frosting. Show all posts

Sunday, August 11, 2013

Cake Balls


My mom just returned from a three week safari in Africa. Sounds pretty extravagant, right? I agree, but she deserved it. Anyway, we spend a lot of time with my mom, and the kids REALLY missed her while she was gone. So, I thought it would be nice to make her a little treat to welcome her home.

Cake balls are super popular these days. Why? Because there are endless flavor possibilities, and you get a delicious bite of cake and frosting in every bite. You only need three things for a successful cake ball - cake, a binder (like frosting or pie filling) and a coating (like chocolate, glaze or cocoa powder).

Cake balls are a nice welcome home treat, right? I think so! My mom loves chocolate and raspberries, dark chocolate and the color red. So, I decided to incorporate all of these things into her treat. I made red velvet cake (basically chocolate cake with red food coloring), with raspberry frosting and a dark chocolate coating. 

As you see in the pictures, I actually made the cake balls with several different coatings, mostly because I don't like dark chocolate, but also because I thought it would be great to offer a variety.

Are you ready to make some cake balls?

Ingredients:
Chocolate Cake (Find the recipe here. I added red food coloring at the end. Bake the cake in 2 greased and floured round or square cake pans instead of cupcake tins for 35-45 minutes.)
Raspberry Buttercream Frosting (Find the recipe here.)
4 12 oz. bags of Wilton's Candy Melts (Flavor of your choice.)
8 teaspoons of Canola Oil

Directions:
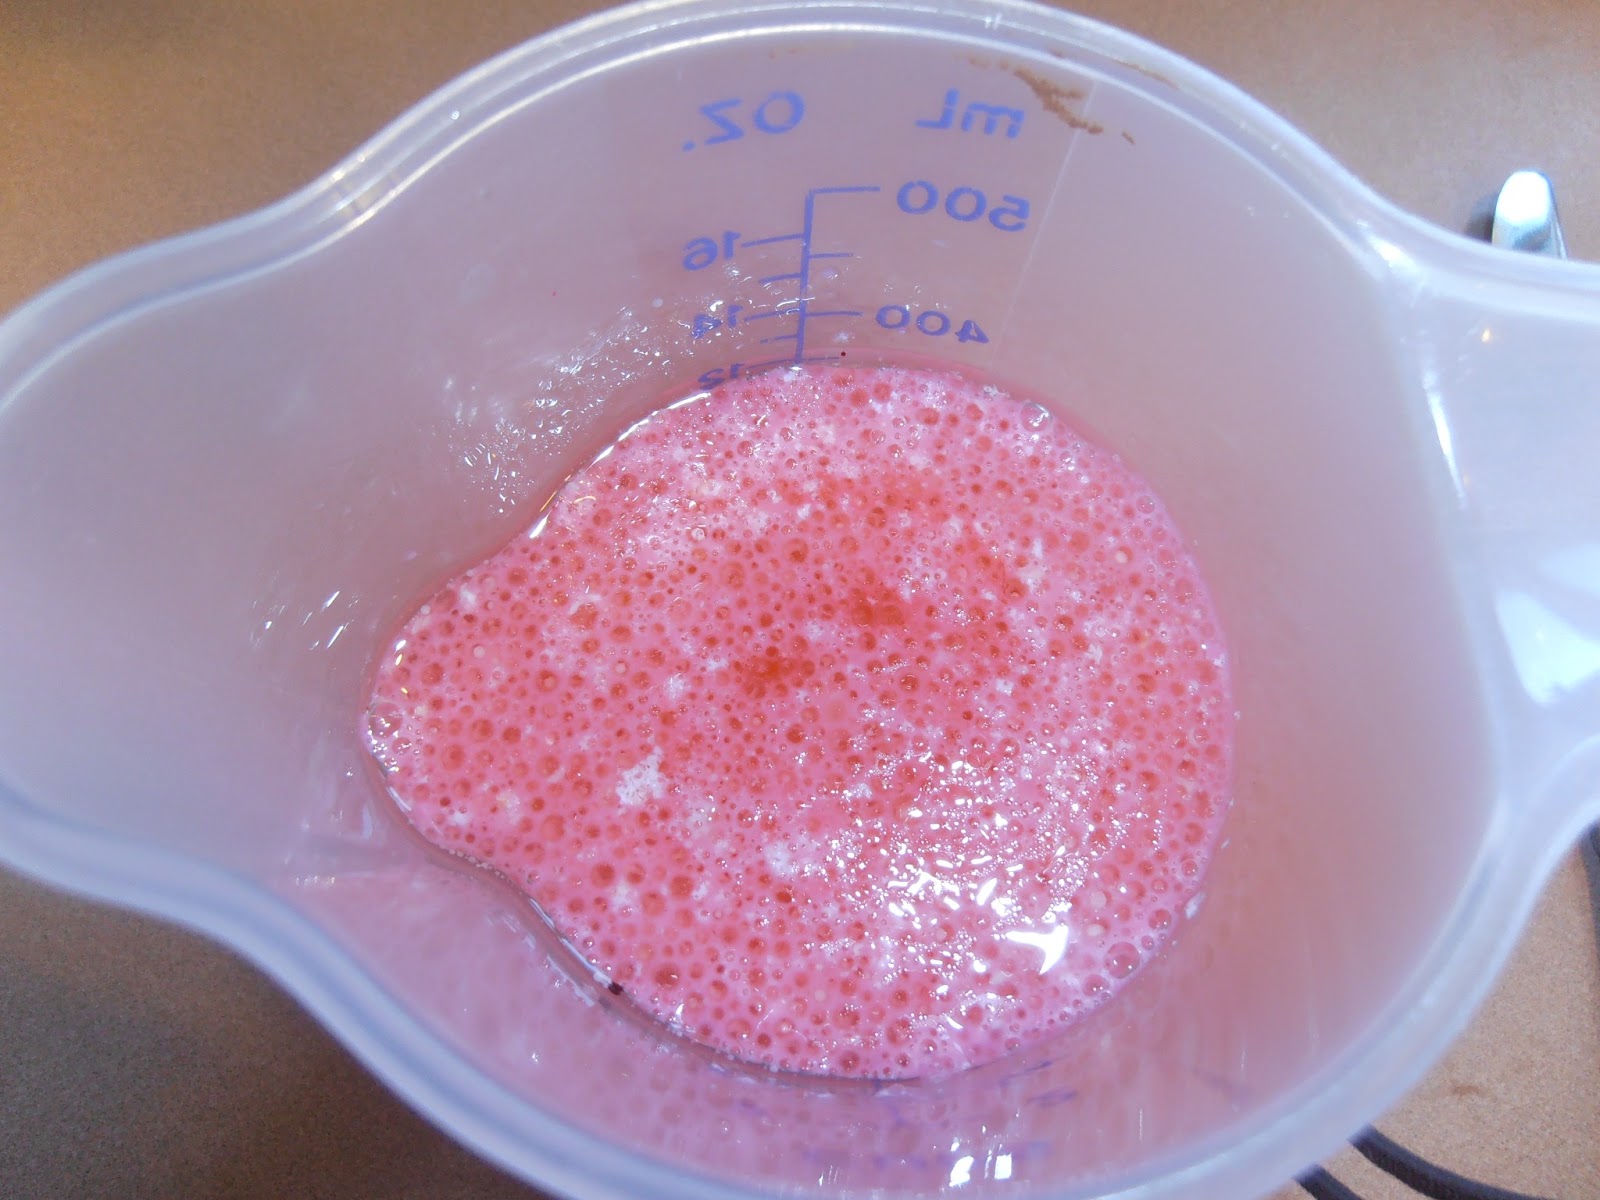
After cake has cooled completely, crumble it in a large bowl.


Pour frosting over crumbled cake and mix thoroughly.


Scoop mixture into your hand and roll into a ball. I used a 2 Tablespoon sized scoop, but you can use whatever size you like.


Place cake balls on a waxed paper lined cookie sheet, and freeze for at least 30 minutes.

Melt chocolate and canola oil in microwave in 30 second intervals until smooth. Let cool for a few minutes before dipping cake balls. Dip cake balls in chocolate until covered completely.
Try not to be confused by this picture.
Olivia insisted that we make some cake pops. I
happened to have some leftover sticks, so I let
her make pops with them. 

These cake balls are bursting with flavor, and fun to eat and share. My mom loved the ones we made for her. I especially love the milk chocolate covered ones. Try them out, and let me know which is your favorite. 

"Mothers hold their child's hand for a moment and their heart for a lifetime."
Sheryl

Tuesday, June 18, 2013

Red Velvet Cupcakes with White Chocolate Frosting


I have to admit, this red velvet recipe has given me some grief. As you may have read in my Chicken and Dumplings post on June 10, the first batch wasn't blog-worthy. What that means is they had that "too much food coloring" taste. So, I went back to the drawing board. 

I thought I had it all figured out with my second try, and I probably did; but I didn't get to try them. As I was trying to get them out of the pan, it shattered all over my kitchen counter. 
Isn't that depressing!?!

I was so distraught over the mess, that I decided to go in a different direction. Instead of brownies, I would make cupcakes. They say, "third times a charm", and they are right. These cupcakes are red as velvet and tasty as can be (no food coloring flavor), and they are topped with sweet white chocolate frosting.


Makes approximately 18 cupcakes.

What You Will Need:
Cupcake Tins
Cupcake Liners
Cooling Racks

Ingredients:
For Cupcakes
3/4 cup Soy Flour
1/4 cup Tapioca Starch/Flour
1/4 cup Potato Starch
1/4 cup Ground Flax Meal
1 teaspoon Xanthum Gum
1/4 cup Unsweetened Cocoa Powder
2 teaspoons Baking Powder
1/2 teaspoon Salt
1 cup Sugar
1 cup Milk
1 teaspoon Vinegar
1 Large Egg
1/4 cup Canola Oil
3/4 teaspoon Red Gel Food Coloring

For Frosting
1/2 cup Unsalted Butter, room temperature
1 1/2 cups Powdered Sugar
2 teaspoons Pure Vanilla Extract
8 oz. White Chocolate, melted and cooled
2 Tablespoons Heavy Cream

Directions:
I recommend making the frosting first to allow time for the flavors to marry.

For Frosting
1. In a small microwave safe bowl, melt chocolate in 30 second intervals, stirring between, until chocolate is completely melted. Set aside to cool.


2. In KitchenAid Mixer bowl, beat butter and powdered sugar together until well mixed. Start on low, or you will be wearing the powdered sugar instead of eating it.


3. Add vanilla and mix.

4. Add melted white chocolate and mix.

5. Add heavy cream and mix until frosting is desired consistency.


For Cupcakes
1. In a 2 cup measuring cup, mix milk and vinegar. Set aside.

2. Place cupcake liners in cupcake tins. Set Aside.

3. Preheat oven to 400° F. 

4. In a medium bowl, whisk together soy flour, tapioca starch, potato starch, flax, xanthum gum, baking powder, cocoa powder, salt and sugar.


5. To the milk mixture, add the egg, oil and food coloring.

6. Pour the milk mixture into the dry ingredients and mix well.

7. Pour batter into cupcake tins. Fill tins 1/2 - 3/4 full. Bake for 20 minutes or until toothpick inserted in center of cupcake comes out clean.

8. Cool in pans for 10 minutes. Remove cupcakes from pan and cool completely on cooling racks.

9. Frost and share!

"Take pride in how far you have come and have faith in how far you can go."
Sheryl

Sunday, June 16, 2013

Carrot Cake with Cream Cheese Frosting


Our friend Mark loves carrot cake. His 60th birthday is tomorrow, so we threw him a surprise birthday party last night. It was a huge success. His daughter even drove from Tennessee to Michigan to surprise him. 

I had the pleasure of baking the cake for the party, so of course, I made carrot cake. And you can't have carrot cake without cream cheese frosting. The cake was a big hit, and it was nice to see people other than my close friends and family enjoying one of my recipes.

What You Will Need:
Grater
Cake Pan(s) (I used three 8 inch rounds, but you could also use a 9x13.)
Cooling Rack(s)
KitchenAid Mixer
Offset Spatula

Ingredients:
For Cake
3 cups Grated Carrots (8-10 Large Carrots)
1 cup Unsalted Butter, room temperature
2 cups Sugar
4 Large Eggs, room temperature
2 teaspoons Pure Vanilla Extract
1 1/2 cups Soy Flour
1 cup Tapioca Starch/Flour
1 cup Potato Starch
1 Tablespoon + 1 teaspoon Baking Powder
1 teaspoon Baking Soda
1 teaspoon Xanthum Gum
2 teaspoons Cinnamon
1 teaspoon Salt
1 1/2 cups Milk, hot
1 Tablespoon Vinegar
1 cup Pecan Pieces

For Frosting
2 cups Powdered Sugar
8 ounces Cream Cheese
1/2 cup Unsalted Butter
2 teaspoons Pure Vanilla Extract

Directions:
For Cake
1. Grate carrots. Set aside. (I used a cheese grater to grate my carrots. It works great.)

2. Grease and flour cake pan(s).

3. In a medium bowl, whisk together soy flour, tapioca starch, potato starch, baking powder, baking soda, xanthum gum, cinnamon and salt. Set aside.

4. In a microwave safe measuring cup, heat milk on high in microwave. Heat for 30 seconds at a time and stir. Add vinegar and set aside.

5. In bowl of KitchenAid Mixer, cream together butter and sugar until fluffy.

6. Add eggs one at a time, mixing well in between.


7. Add vanilla.

8. Preheat oven to 350° F.

9. Add half of the dry ingredients, then half of the milk mixture, then the remaining dry ingredients and milk mixture. Mix well.


10. Remove KitchenAid mixing bowl from the machine. Add carrots and mix by hand.

11. Add pecans and mix by hand.

12. Pour batter into cake pan(s). Place in oven and bake for 30-40 minutes or until toothpick inserted in center of cake comes out clean. (Time will vary for 9x13 pan.)

13. Remove from oven. Cool in pan(s) for 10 minutes. Then cool completely on cooling racks.

For Frosting
1. In bowl of KitchenAid Mixer, mix together all ingredients on medium until smooth. 


Frost your cake, and share it!

"You are never to old to set another goal or to dream a new dream." ~C.S. Lewis


Sheryl