Showing posts with label white chocolate. Show all posts

Sunday, March 16, 2014

Pistachio Cookies


Happy St. Patrick's Day!!!!

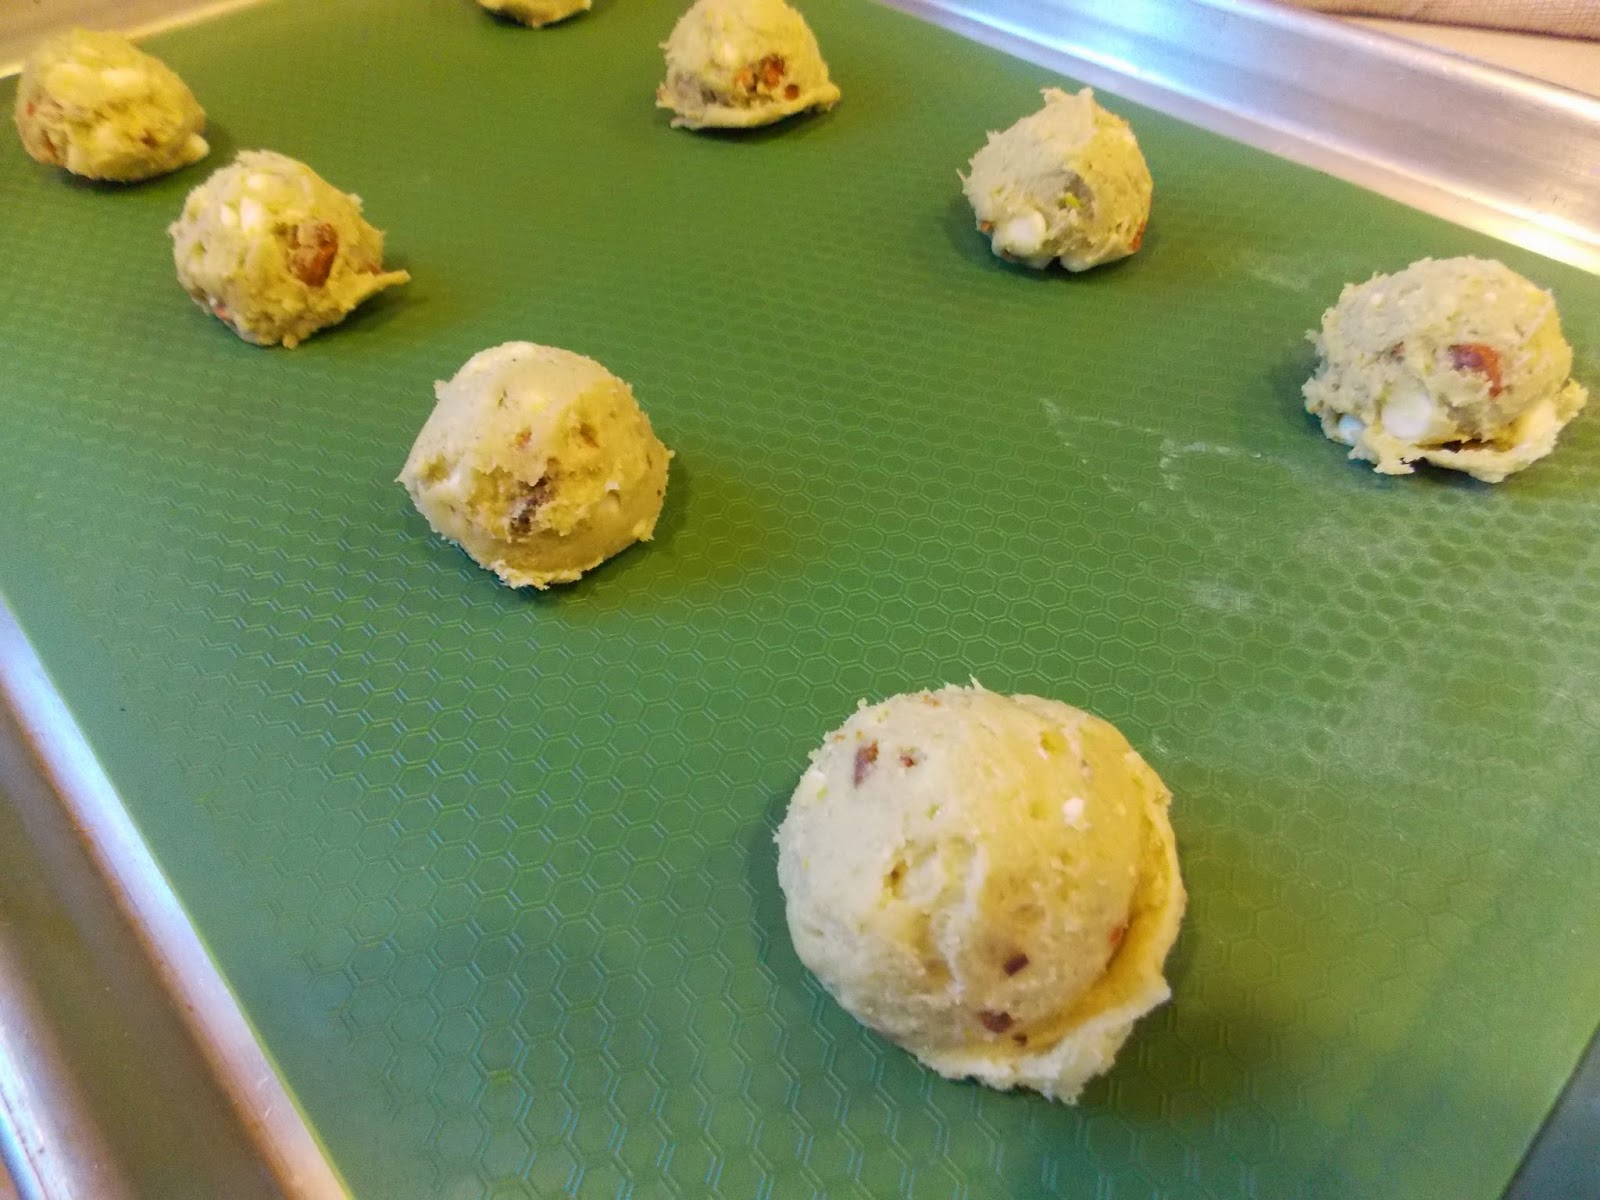
Although my pistachio cookies aren't as green as I had hoped they would be, they sure are super delicious. I've never made pistachio cookies, or pistachio anything before, and now I realize that is a crying shame. I actually LOVE pistachios. I don't know why I never thought they would be amazing in baked goods, but for some reason it just never seemed like a good idea. Was I wrong!!!! This is the start of what I am sure is going to be a very long and happy relationship. I think I've found my pot of gold.

Check out the recipe, and start your relationship today!

What You Will Need:
Stand Mixer with Paddle Attachment
Medium Bowl
Whisk
Spatula
Plastic Container
Cookie Sheets lined with Silicone Mats or Parchment Paper
Medium Scoop
Cooling Racks

Ingredients:
1 cup Unsalted Butter, room temperature
3/4 cup Brown Sugar, firmly packed
2 Large Eggs, room temperature
2 teaspoons Pure Vanilla Extract
1 cup Oat Flour
3/4 cup Potato Starch
3/4 cup Tapioca Starch
1/4 cup Corn Starch
1 small package Pistachio Flavored Pudding Mix
1 1/2 teaspoon Xanthum Gum
1 teaspoon Baking Soda
1/2 teaspoon Salt
1 cup Pistachios (I used the dry roasted, salted and shelled ones. I threw them in whole. I didn't want to be bothered with all that shelling, and I like big chunks of nuts in my cookies. You can chop them if you like.)
1 cup White Chocolate Chips

Directions:
In stand mixer with paddle attachment, cream together the butter and brown sugar.

Add the eggs and mix well, scraping down the bowl when necessary.

Add the vanilla and mix well, scraping down the bowl when necessary.

In a medium bowl, whisk together the oat flour, tapioca starch, potato starch, corn starch, pudding mix, xanthum gum, baking soda and salt.

With the mixer on low, slowly add the dry ingredients to the wet ingredients and mix well.

Add the pistachios and white chocolate chips and mix until well combined.


Using medium scoop, scoop dough into a plastic container with wax paper between the layers and refrigerate for at least 2 hours.

Preheat the oven to 350° F.

Place the cookie balls on the lined baking sheets approximately 2 inches apart. If you want flatter cookies, flatten the balls a little with your fingers. Bake for 18 minutes. Let cool on pan for 2 minutes, then transfer to cooling racks to cool completely.
Serve with a nice tall glass of green milk!

They really are super delicious. It would be a nice gesture to share them with all of your little leprechaun friends and family.

"May the road rise to meet you, may the wind be always at your back, may the sun shine warm upon your face, may the rains fall soft upon your fields, and until we meet again, may God hold you in the palm of his hand!"


~Sheryl


Follow and Like I Can't Believe It's Gluten Free on Facebook.

Monday, February 24, 2014

Raspberry Chocolate Bars


These bars are a delightful marriage of sugar cookie, raspberry jam, and chocolate. Of course, I love all of these things, and was sure these would be incredible. However, when my friends, my husband and I first tried them, we weren't completely sold on them. 

But, I hate to throw out baked goods; so I put them in a sealed container, and left them for the next day. Oh how surprised I was when I tried them again the next day. 

Trust me, these bars are 100 times better the next day. My advice is to make them at night before you go to bed, and wait to eat them until the next day.

What You Will Need:
Small Bowl
Whisk
Fork
9 x 13 Pan
Small Saucepan
Large Spoon

Ingredients:
3/4 cup Soy Flour
1/2 cup Tapioca Starch
1/4 cup Potato Starch
3/4 cup Sugar
3/4 cup Unsalted Butter, room temperature
1 pint  Fresh Raspberries (You could also use frozen, thawed and drained)
1/4 cup Water
1 Tablespoon Corn Starch
3/4 cup Semi-Sweet Chocolate Chips
1/2 cup White Chocolate Chips
1 Tablespoon Canola Oil

Directions:
Preheat oven to 350°F.

In small bowl, whisk together soy flour, tapioca starch, potato starch and sugar.

Add butter and mix with a fork until pea size lumps are formed.


Press mixture into 9x13 pan and bake for 15 minutes.


Mix together corn starch and water.


In small saucepan, mix together corn starch mixture and raspberries. Heat to boiling, stirring constantly. Boil and stir for one minute. Cool 10 minutes.


Sprinkle chocolate chips over baked crust.


Spoon raspberry mixture evenly over chocolate chips.


Bake for 20 minutes or until raspberry mixture is set.

Refrigerate until chocolate is firm.

Melt white chocolate chips and canola oil in microwave in 30 second increments, stirring after each increment, until completely melted. Cool for 2 minutes. Spoon into a zip-top bag, clip the corner, and drizzle over bar. Refrigerate overnight.

Cut into 2 inch squares and serve. Store in an air-tight container.

Just try them. You will like them.

Many are the plan's in a person's heart, but it is the Lord's purpose that prevails. ~Proverbs 19:21

Don't let this discourage you. God's plans are ALWAYS better. Sometimes it takes a while for them to unfold, but they are ALWAYS better.


~Sheryl


Follow and Like I Can't Believe It's Gluten Free on Facebook.

Wednesday, January 1, 2014

White Chocolate Macadamia Nut Cookies


Happy New Year! Welcome to 2014. I hope this year brings exciting new adventures for you. I think I'll help you get started with this recipe for white chocolate macadamia nut cookies. That is an exciting adventure, if I do say so myself. 

I've always loved white chocolate macadamia nut cookies. Maybe it is that whole sweet and salty thing. You know, the best of both worlds. Although, I am a die-hard chocolaholic, I still put these cookies at the top of my favorites list. Aside from their amazing flavor, I love how they hold their shape and stay nice and fluffy, that is due in part to chilling the dough before baking it. Make sure you don't miss that important step. 

I'm sure you are going to love them as much as I do. Start the new year with this new recipe, and enjoy the adventures of 2014.

Ingredients:
1 cup Unsalted Butter, room temperature
3/4 cup Brown Sugar, firmly packed
3/4 cup Sugar
2 Large Eggs, room temperature
2 teaspoons Pure Vanilla Extract
1 cup Soy Flour
3/4 cup Potato Starch
3/4 cup Tapioca Starch/Flour
1/4 cup Corn Starch
1 1/2 teaspoons Xanthum Gum
1 teaspoon Baking Soda
1/2 teaspoon Salt
1 jar Macadamia Nuts (approximately 1 cup), cut in quarters
1 cup White Chocolate Chips

Directions:
In a medium bowl, whisk together the soy flour, potato starch, tapioca starch, corn starch, xanthum gum, baking soda and salt. Set aside.

Cut the macadamia nuts in quarters. Set aside.

In a standmixer bowl, cream together the butter, brown sugar and sugar until fluffy.

Add the eggs.

Add the vanilla.

Slowly add the dry ingredients.

Add the macadamia nuts.

Add the white chocolate chips. Mix just until combined.

Using a medium scoop, scoop the cookie dough into balls and place in a container with wax paper between the layers. Refrigerate cookie dough balls for at least one hour. 

Preheat the oven to 350° F.

Place the cookie dough balls on silicone lined cookie sheets - 8 per sheet.

Bake on the middle rack of the oven for 16-18 minutes.

Cool on the cookie sheets for 2 minutes, then transfer to cooling racks to cool completely.

Look at those golden delicious disks of goodness! How long can you wait before you have to make (and eat) these? 

"Write it on your heart that every day is the best day in the year." ~Ralph Waldo Emerson

Lots of people place a lot of importance on New Year's Day - like it is the best day of the year, because of new beginnings, etc. But really every day is a new beginning, so make every day the best day.
~Sheryl

Thursday, December 19, 2013

Chocolate White Chocolate Chip Cookies


Are you a chocoholic like me? Then these cookies are for you! They are so rich and chocolatey. I just can't get enough of them. These are definitely going to become a staple in my kitchen. I love having delicious treats on hand to snack on, to share with guests, and to take as hostess gifts. These cookies are perfect.

Will you make them a staple in your kitchen too? There's only one way to find out. Let's get to it.

What You Will Need:
KitchenAid Mixer with Paddle Attachment
Small and/or Medium Scoop
Baking Sheets lined with Silicone Mats or Parchment Paper
Cooling Racks

Ingredients:
1 1/4 cups Unsalted Butter, room temperature
2 cups Sugar
2 Large Eggs
2 teaspoons Pure Vanilla Extract
3/4 cup Soy Flour
1/2 cup Potato Starch
1/2 cup Tapioca Starch/Flour
1/4 cup Corn Starch
1 teaspoon Xanthum Gum
3/4 cup Cocoa Powder
1 teaspoon Baking Soda
1/2 teaspoon Salt
1 1/2 cups White Chocolate Chips
1 bag Candy Cane Colorburst Candy Melts (Optional) + 2 teaspoons Canola Oil

Directions:
In KitchenAid Mixer with Paddle Attachment, cream together the butter and sugar.

Add eggs one at a time, mixing for one minute after each addition.

Add the vanilla.

In a small bowl, whisk together soy flour, potato starch, tapioca starch, corn starch, xanthum gum, cocoa powder, baking soda and salt.

Add dry ingredients to sugar mixture.

Add white chocolate chips.

Refrigerate dough for at least one hour. (This can be done before or after scooping. It is easier to scoop the soft dough, so I suggest doing the scooping first. You can scoop cookie balls, and place them in a container instead of on cookie sheets so they take up less room in the fridge.)

Scoop dough onto lined baking sheets.

For small scoop, bake for 9-13 minutes. For medium scoop, bake for 19-21 minutes. (I made some small and some medium. They both turned out great.)

Let cool on baking sheet for two minutes, then transfer to cooling racks to cool completely.


These cookies are incredibly yummy as is. My son described them as "more than blog worthy". In our house that means they are better than good.

But sometimes, I like to push the limits of awesome. So I took the small cookies and dipped them in peppermint flavored candy (Candy Cane Colorburst Candy Melts). Not only do they look good, but they taste pretty great too.

In a microwave safe bowl, melt candy melts and canola oil in 30 second increments, stirring after each, until completely melted.

Dip cookies in candy halfway.

Place on wax paper or parchment paper to set.


Now that is a pretty picture! These would be an amazing addition to your Christmas Cookie Tray. In case you are wondering, everyone who has tried these cookies both with and without the candy, have given me rave reviews. I hope you enjoy them too."Chocolate comes from cocoa, which comes out of a tree. That makes it a plant. Therefore, chocolate counts as salad. The end."

You're welcome!
~Sheryl