Showing posts with label chocolate frosting. Show all posts

Friday, January 31, 2014

Frosted Chocolate Fudge Hand Pies (Pop-Tarts)


I'm so super excited about this post! These delightful creations are my gluten free version of Frosted Chocolate Fudge Pop-Tarts. Yes, you heard me right. Frosted Chocolate Fudge Pop-Tarts. Does it get much better than this? I don't think so!

I have to be honest, it can be daunting to take on a task like this - imitating a popular and classic recipe like this one. But, if there is one thing you should know about me by now, I love a challenge. And I kicked this challenges butt! I am more than thrilled with the result. 

If I could do back flips, there would be some serious gymnastics going on. But let's be serious, that isn't going to happen. While I don't have the physical dexterity for that, I do have mad skills in the kitchen. This recipe is proof of that.

What You Will Need:
Chocolate Pastry Dough (Posted on January 27, 2014)
Small Saucepan
Circle Cookie Cutter (approximately 3")
Baking Sheets Lined with Silicone Mats or Parchment Paper
Cooling Racks
Small Offset Spatula

Ingredients:
Fudge Filling
1/4 cup Cocoa Powder
1/3 cup Brown Sugar
2/3 cup Milk
1/4 teaspoon Salt
1/2 cup Milk Chocolate
2 Tablespoons Unsalted Butter
2 teaspoons Pure Vanilla Extract
1/2 cup Milk Chocolate
Chocolate Frosting
1 cup Powdered Sugar
1 Tablespoon Meringue Powder
2 teaspoons Pure Vanilla Extract
1 Tablespoon Cocoa Powder
1-3 Tablespoons Water
1/4 cup Milk Chocolate, melted

Directions:
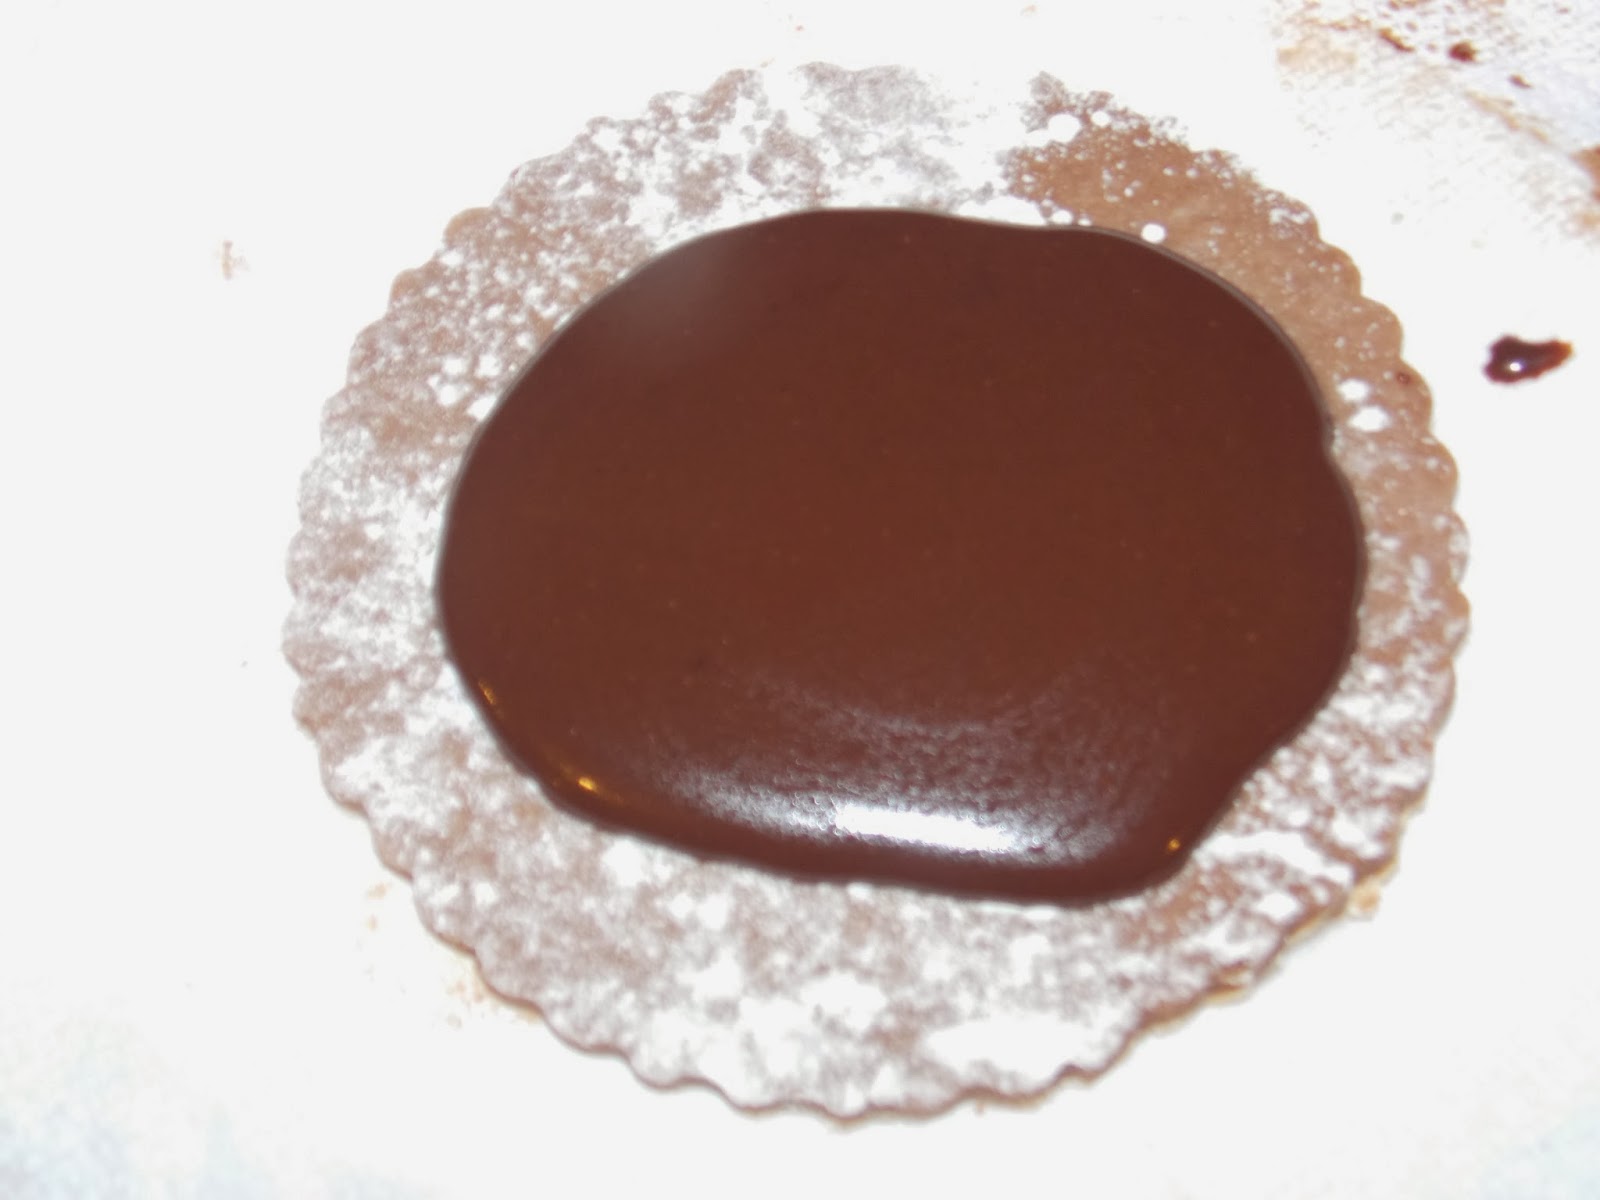
In a small saucepan over medium heat, mix together cocoa powder, brown sugar, milk, salt and milk chocolate until boiling.


Remove from heat; add butter, vanilla and milk chocolate; and stir until completed mixed. Let cool and thicken.


When fudge filling has cooled, roll out pastry dough and cut circles with cookie cutter. (You could also cut the dough into squares or rectangles. 

NOTE: Don't throw away the scraps of the dough. Use the scraps to make the baker's (that is you!) sample. It doesn't matter what the shape is or how perfect it is, you aren't going to be serving it to anybody else.

Preheat oven to 350° F.

Pour approximately 1 Tablespoon of fudge filling in the center of one dough circle.

Wet the edges of the dough, place another circle of dough on top, then crimp the edges together with a fork.

Gently transfer pastry to a lined baking sheet.

Bake for 16-20 minutes.

Let cool on baking sheet for 2 minutes, then transfer to cooling racks to cool completely.

While pastries are cooling, make frosting. In a small bowl, mix together the powdered sugar, meringue powder and cocoa powder. Add 1 Tablespoon of water and mix well.

Mix in melted chocolate. (If frosting seems too thick to spread, slowly add more water until it is spreadable. You don't want it too watery, or it won't set. I used all 3 Tablespoons of water, and my frosting was a bit too watery.)

Spread frosting onto pastries with a small offset spatula. (You could also use a knife.)

Leave pastries on cooling racks until frosting is set.


Don't you just want to eat them all right up?! 

Makes approximately 12 hand pies. (The good news: There is enough fudge filling to make two batches.)

"Remember that no matter what life throws at you, there is always delicious and comforting chocolate you can count on."
Chocolate always makes me feel better!
~Sheryl

Wednesday, July 17, 2013

Bumpy Cake Cupcakes


Oh Yeah! That is right, bumpy cake cupcakes. Bumpy cake was always one of my favorites as a kid. If you grew up in Michigan, you should be familiar with bumpy cake. If not, that is a true shame, and you have my condolences. 

My mom and I love bumpy cake. Sometimes we would keep one in our freezer. That way, when we got a hankering for it, all we had to do was walk to the kitchen. We usually just cut a piece or two from the cake, and saved the rest for later. Most of the time we didn't wait for it to defrost. It was so hard to be patient, and the cake was even amazing frozen.

These cupcakes are a gluten free tribute to that amazing cake. The second I tasted one, all of those great memories came flooding in. They are ridiculously good. 

What You Will Need:
Cupcake Tins
Cupcake Liners
KitchenAid Mixer with Paddle Attachment
Cooling Racks

Ingredients:
For Cupcakes
1 cup Unsalted Butter, room temperature
2 cups Sugar
4 Large Eggs, room temperature
3/4 cup Cocoa Powder
2 teaspoons Pure Vanilla Extract
1 1/4 cup Soy Flour
3/4 cup Tapioca Starch/Flour
3/4 cup Potato Starch
1 Tablespoon + 1 teaspoon Baking Powder
1 teaspoon Baking Soda
1 teaspoon Xanthum Gum
1 teaspoon Salt
1 1/2 cup Milk, hot

For Buttercream Frosting
1 1/2 cup Unsalted Butter, room temperature
3 cups Powdered Sugar
3 3/4 teaspoons Pure Vanilla Extract

For Chocolate Frosting
18 ounces Semi-Sweet Chocolate
4 1/2 Tablespoons Canola Oil

Directions:
For Cupcakes
Preheat oven to 350°F.

Line cupcake tins with cupcake liners. Set aside.

In a medium bowl, whisk together soy flour, tapioca starch, potato starch, baking powder, baking soda, xanthum gum and salt. Set aside.

In KitchenAid Mixer bowl, beat butter with paddle attachment on medium until smooth - approximately 2 minutes.


Slowly add sugar. Beat on medium-high until fluffy - approximately 4 minutes. Scrape down sides of the bowl with a rubber spatula.


Add cocoa and vanilla. Beat at medium for 1 minute. Scrape down the sides of the bowl with rubber spatula.


Add eggs one at a time. Beat for 1 minute on low-medium after each egg. Scrape down the sides of the bowl with rubber spatula.


Add dry ingredients 1/4 cup at a time with mixer on low. Scrape down sides of the bowl with rubber spatula.


Carefully and slowly add milk. Mix until smooth, scraping down bowl with rubber spatula if necessary.


Scoop batter into prepared cupcake tins.


Bake for 20 minutes or until toothpick inserted in center comes out clean. Cool in pans for 5 minutes, then transfer to cooling racks to cool completely.

I know, these already look incredible, but this is just the beginning. Things are about to get insane.

For the Buttercream Frosting
In KitchenAid Mixer bowl, beat butter with paddle attachment on medium until smooth - approximately 2 minutes.

Slowly add the sugar. Mix on low until well combineds.

Add vanilla. Mix on medium-high until smooth and fluffy.


Fill a gallon size ziploc storage bag with buttercream frosting. Clip the corner of the bag.

Pipe buttercream frosting on cupcakes in two lines. Freeze frosted cupcakes for at least 30 minutes.

For Chocolate Frosting
Chop chocolate.

Place chopped chocolate and oil in a medium, microwave safe bowl.

Heat on high for approximately 1 1/2 minutes in 30 second increments until completely melted and smooth.

Pour chocolate in a container that is just wider than the cupcakes. I used a plastic cup. Dip cupcakes in chocolate, and set on a cooling rack to set.


Now we are talking! You know you want to eat them. If you could just reach into your computer, but that isn't possible. What is possible is you following these directions, and making some of your own. Don't wait! These are going to be one of your new favorites.


Just look at that moist chocolate cake, the sweet buttercream frosting, and the rich chocolate frosting. I think I am drooling just thinking about them. I have had to work really hard not to eat all of them in one day. They are that good!


Ask my son, Tommy, he wanted to eat them all. I think he is sneaking them behind my back. ;)

"Take risks: If you win, you will be happy. If you lose, you will be wise."

In my opinion, either way, you win!
Sheryl