Showing posts with label bread. Show all posts

Wednesday, February 26, 2014

Super Soft Gluten Free Bread


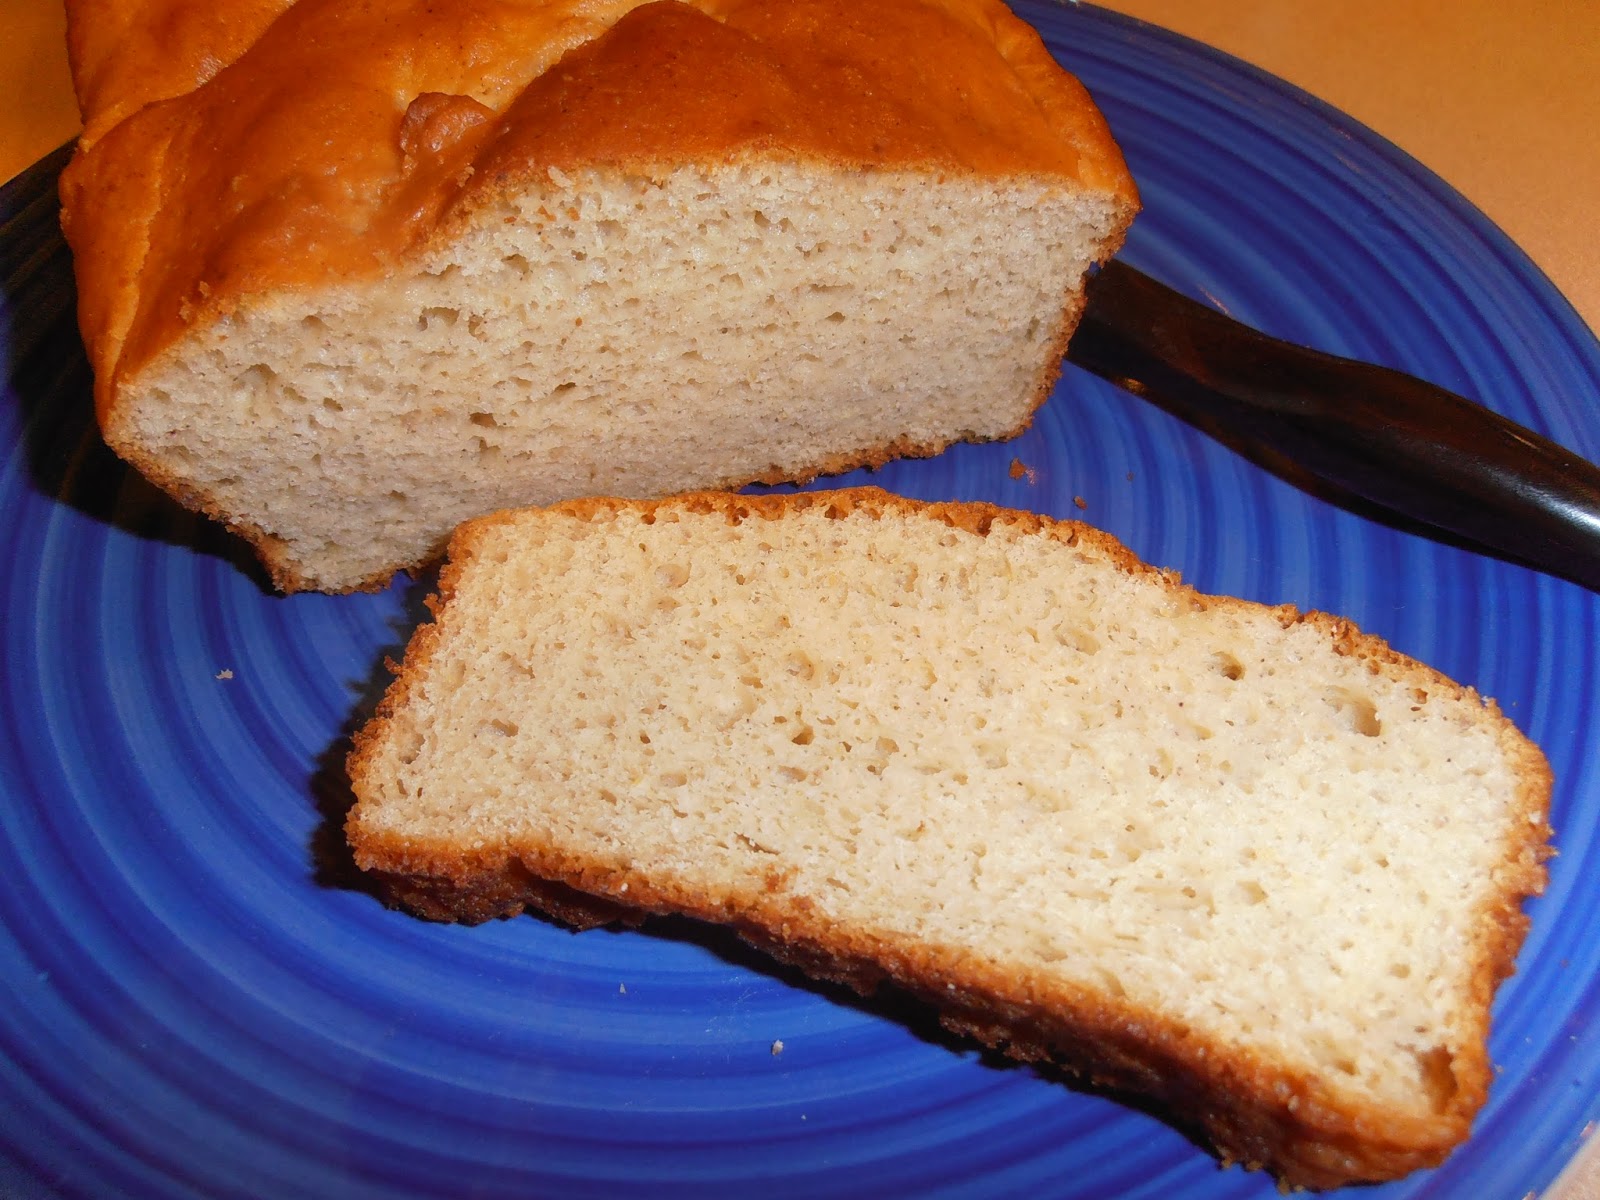
I did it again! This gluten free bread is super soft, hence the name; and it tastes really great. One of the differences is that it is made with oat flour instead of sorghum flour, so the flavor is closer to white bread than my "Even Better Gluten Free Bread". The baking technique is also different. Instead of letting the dough rise for hours, this one is baked right away. This technique is the one I use for my french bread (post coming soon), and I am thrilled with the result.

This bread is perfect for sandwiches, toast, french toast, or anything else you can think of. Tell me, how will you use it?

What You Will Need:
Stand Mixer with Paddle Attachment
Small Bowl
Medium Bowl
Whisk
Spatula
Loaf Pan
Non-Stick Cooking Spray
Brush
Cooling Rack

Ingredients:
2 Tablespoons Yeast
1 Tablespoon Sugar
1 1/4 cup Milk (110° F)
1 1/2 cup Oat Flour
3/4 cup Potato Starch
3/4 cup Tapioca Starch
1 teaspoon Xanthum Gum
1 teaspoon Guar Gum
2 teaspoon Salt
1 teaspoon Apple Cider Vinegar
1 Tablespoon Butter, room temperature
3 Large Egg Whites, room temperature
1 Large Egg White whisked with 1 Tablespoon Water for egg wash

Directions:
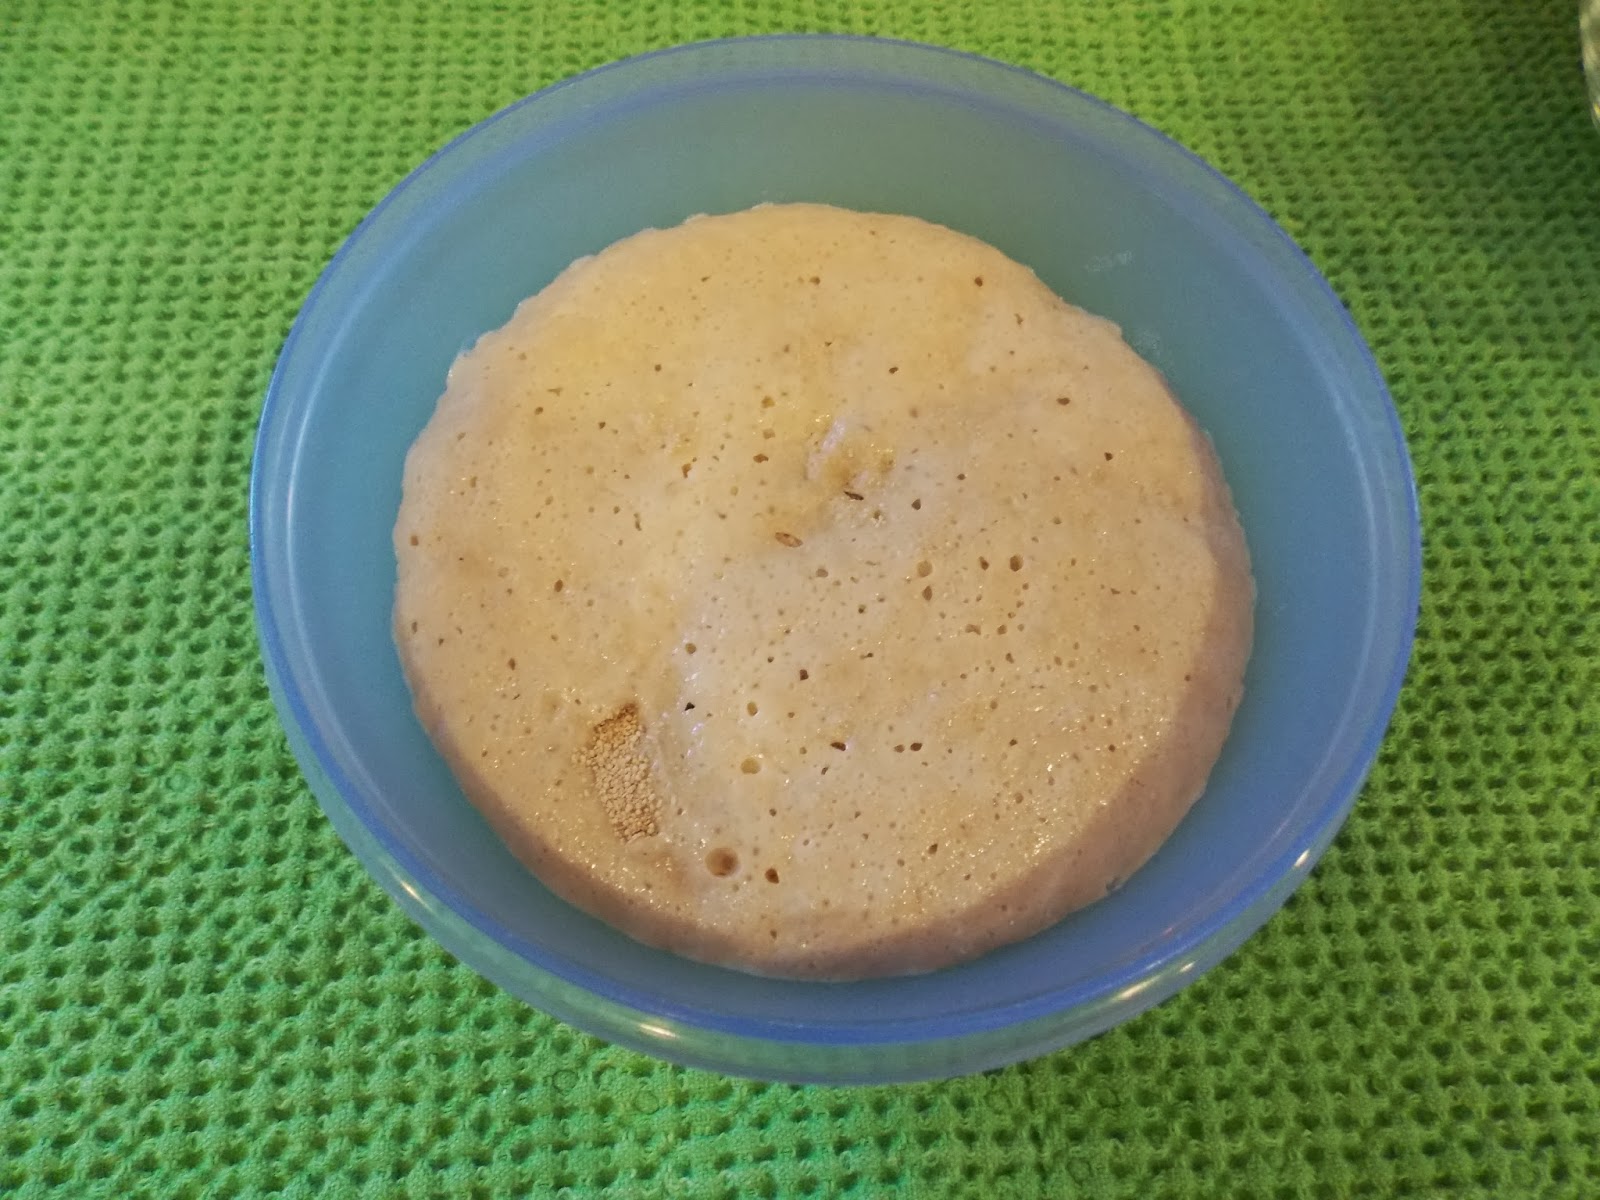
In small bowl, mix together yeast, sugar and milk. Set aside for 5-10 minutes.

In medium bowl, whisk together oat flour, potato starch, tapioca starch, xanthum gum, guar gum and salt.

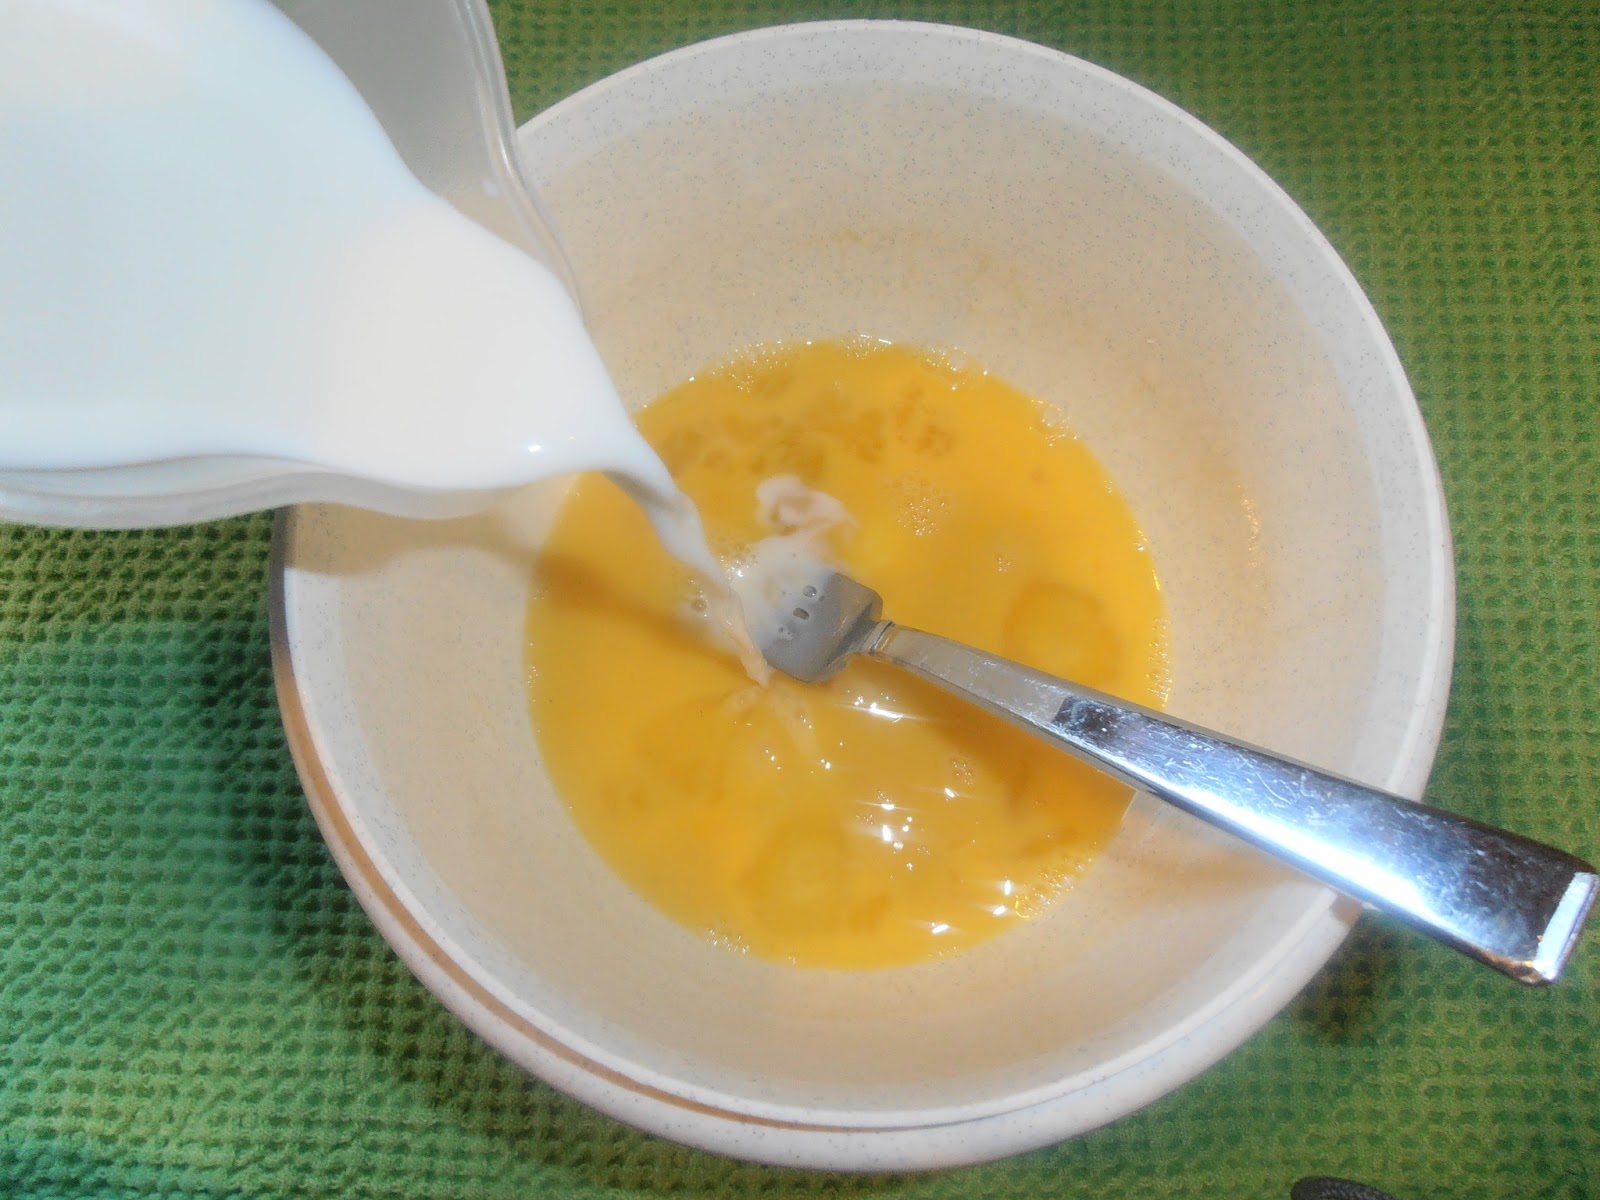
In stand mixer with paddle attachment, beat together egg whites, apple cider vinegar and butter.


Slowly add dry ingredients mixing in between additions.

Add yeast mixture and beat on medium for 2 minutes.


Spray loaf pan with non-stick cooking spray.

Pour dough into prepare loaf pan. Smooth top with wet fingers.

Brush top of loaf with egg wash.

Place loaf pan in cold oven on middle rack. Set oven to 425°F, and bake for 30-35 minutes or until internal temperature is 200°F. Let cool in pan for 10 minutes, then transfer to cooling rack to cool completely.

MMmmm. Look at that amazing loaf of bread.


Not only does it look good, but the smell was overwhelming. I really had to exert a ton of self-control to keep from eating this whole loaf before I was able to photograph it. 

"Don't shine so that others can see you. Shine so that through you others can see Him." ~ C.S. Lewis

After all, that is really all He asks us to do.
~Sheryl


Follow and Like I Can't Believe It's Gluten Free on Facebook.

Wednesday, February 12, 2014

Hamburger Buns


Do you know how long it has been since I have had a hamburger on a good, gluten free bun? Let's just say it has been a long time. Thankfully, I don't have to wait any longer, and neither do you. I have finally conquered the gluten free hamburger bun! Whoot! Whoot! You have no idea how thrilled I am, unless you have been waiting as long as I have.

These buns are very easy to make, and you can make them in whatever size you want. How cool would it be to make some sliders?! The best part is they are super soft, and very delicious.

Can't wait for the recipe, can you? Ok, here it is.

What You Will Need:
Standmixer with Paddle Attachment
Small Bowl
Medium Bowl
Whisk
Coffee Mug or some other small vessel
Cookie Sheets lined with Silicone Mats or Parchment Paper
Brush
Cooling Racks

Ingredients:
2 Tablespoons
1 Tablespoon Sugar
1 1/4 cup Milk (110°F)
1 1/2 cups Oat Flour
3/4 cup Potato Starch
3/4 cup Tapioca Starch
1 teaspoon Xanthum Gum
1 teaspoon Guar Gum
2 teaspoons Salt
1 teaspoon Apple Cider Vinegar
1 Tablespoon Unsalted Butter, room temperature
3 Large Egg Whites, room temperature
1 Large Egg White, beaten with 1 Tablespoon Water

Directions:
In a small bowl, mix together yeast, sugar and warm milk. Set aside to rise for approximately 5 minutes.

In a medium bowl, whisk together oat flour, potato starch, tapioca starch, xanthum gum, guar gum, and salt.

In the standmixer with the paddle attachment, mix together cider vinegar, butter and egg whites.


Slowly add dry ingredients to the standmixer.

Add the milk and yeast mixture, and mix for 2 minutes on medium.


Scoop approximately 1/2 cup dough into a coffee mug sprayed with non-stick cooking spray.

Turn the coffee mug over onto the lined cookie sheet.


Brush the tops of the dough with the egg wash.

Place the cookie sheets in a cold oven. Set the oven to 425° F. Bake for 30-35 minutes.

Cool for a two minutes, then transfer to cooling racks to cool completely.


Just take a look at those buns. Who would think that someone would or could get so excited about hamburger buns? I can't help it. 

Makes 8 buns. Store in a sealed plastic bag for up to 2 weeks on the counter, and longer in the fridge. Can also be frozen for up to 6 months. (Don't worry you will eat them long before you have to test this theory.)

"Never hope for it more than you work for it."

Make it happen. You can do it!!!
~Sheryl


Follow and Like I Can't Believe It's Gluten Free on Facebook.

Thursday, November 7, 2013

Even Better Gluten Free Bread


My best gluten free bread is really amazing; and when I first created it, I didn't think it could be any better. However, no matter how tasty it is, it drove me nuts that it would fall in the middle after cooling. After doing some research, I decided to experiment with the recipe a bit to see if I could fix that. And low and behold, it worked. So check out my new and improved - Even Better Gluten Free Bread recipe.

What You Will Need:
2 Loaf Pans (I use stone pans, but you can use metal or silicone pans if that is what you have.)
KitchenAid Mixer with paddle attachment
Plastic Wrap
Non-stick Cooking Oil Spray
Cooling Rack

Ingredients:
1 1/2 cups Sorghum Flour
3/4 cup Tapioca Starch/Flour
3/4 cup Potato Starch
3/4 cup Corn Starch
1/4 cup Ground Flax Meal
1 Tablespoon Xanthum Gum
1 Tablespoon Guar Gum
2 teaspoons Salt
2 Tablespoons Active Yeast
1 Tablespoon Sugar
1 1/2 cups Milk (warm- approximately 110°F)
3 Large Eggs (room temperature)
1/4 cup Butter (room temperature) + some for greasing loaf pans
2 teaspoons Cider Vinegar
1/3 cup Honey

Directions:
1. Grease loaf pans and set aside.

2. In a medium bowl, whisk together the sorghum flour, tapioca flour, potato starch, corn starch, flax, xanthum gum, guar gum, and salt; and set aside.
Dry ingredients before whisked.
3. In a small bowl, mix the yeast, sugar and milk; and set aside. (The milk should be around 110° F to activate the yeast.)
Yeast mixture after approximately 5 minutes.
 4. In KitchenAid Mixer bowl, mix together eggs, butter, cider vinegar and honey with dough hook attachment.  

Wet ingredients before mixing.

Wet ingredients after mixing.
5. Add half the dry ingredients to the wet ingredients and mix until well blended. Then add the other half of the dry ingredients and mix until well blended.

This is the mixture after adding all of the dry
ingredients. It looks like a hot mess; but don't
worry, it will come together.
6. With mixer on low, add the yeast mixture. Turn mixer to medium-high and beat for 4 minutes.


7. Divide dough between the two loaf pans. Smooth the tops with wet fingers. (For a delicious variation, drop small pats of butter equal to 2 Tablespoons on top of loaf, and sprinkle with 1 teaspoon of Italian seasoning, and 1/4 teaspoon of salt.)
Loaves after tops have been smoothed.
8. Cover pans with plastic wrap sprayed with non-stick cooking oil spray, and set aside in a warm place for 50-60 minutes or until dough has risen to top of loaf pans.
I usually let my dough rise in the oven, but it
was a very warm day, so I left it on the counter.
 
The dough after it has risen. It is ready for the oven.
9. Preheat oven to 375° F. Place pans in the oven, and bake for 30-40 minutes. Internal temperature should be 200° F. Butter tops of loaves immediately upon pulling out of oven.
Don't tell me that doesn't look amazing!
10. Let cool in pans for 10 minutes, then completely on wire cooling racks. If you want to serve hot bread, let cool for a total of 15-20 minutes before serving. Believe me, it will still be hot. 

Isn't that beautiful? Now it is has both taste and looks going for it!

"If at first you don't succeed, try, try again."
Sheryl

Monday, October 7, 2013

Stuffing Waffles


My husband was born on Thanksgiving. It's no wonder then that turkey dinner with all the fixings is his favorite meal. I enjoy turkey dinner as well, but to be honest, the stuffing is really my favorite part of the meal. 

Unfortunately, until recently, I endured many turkey dinners without stuffing, because gluten free stuffing can be tricky. It has a tendency to turn to mush if it gets too moist. Since I like my stuffing stuffed inside the turkey (isn't that why it is called stuffing?!?), this was a real concern.

Then one day, my husband and I were watching a cooking show (I think it was Diners, Drive-Ins and Dives, but I'm not sure.) on Food Network, and we saw a guy cooking bread stuffing in a waffle maker. It was one of those great minds think alike moments - we looked at each other, and we both knew that we were thinking the same thing.

I almost immediately started experimenting with a stuffing recipe to cook in my Belgium waffle maker. We debuted our stuffing waffles at our annual New Year's Eve party last year. They were an instant hit.

This past Sunday, we had friends over for turkey dinner, and of course, we had stuffing waffles. Our friends loved them, and as you can see from my plate above, stuffing is still my favorite part of the meal.

What You Will Need:
Waffle Maker
Cooling Racks

Ingredients:
Best Gluten Free Bread (Posted on May 29, 2013), 3 loaves cubed and toasted (I baked my cubed bread in the oven at 350°F for approximately 30 minutes.)
4 cups Chicken Stock or Soup Base
3/4 cup Unsalted Butter, melted
1/2 cup Dried Minced Onion
1 1/2 teaspoon Celery Salt
1 teaspoon Sage
1/2 teaspoon Thyme

Directions:
In a medium bowl, mix chicken base, butter, onions, celery salt, sage and thyme.

In a large bowl, mix bread cubes and seasoning mixture.

Preheat waffle maker.

Spoon stuffing mix into waffle maker, and cook until golden brown.
Make sure you really fill the waffle maker. If you
only use this much stuffing, you will not get
a complete waffle.

Place waffles on a cooling rack until ready to serve. (You could also place them in a warm oven to keep them warm until serving time. Make sure you place them on a baking sheet lined with a cooling rack, so they stay crisp.)

Has it been a while since you have been able to enjoy bread stuffing with your turkey? Don't wait another day. Get yourself a turkey, invite some family and/or friends over, and live it up. 


"Live like it's Thanksgiving every day."

What are you thankful for today?
Sheryl

Sunday, July 28, 2013

Dinner Rolls


These dinner rolls would be great served with stew, pot roast, roasted turkey with gravy or any other entree that goes well with dinner rolls. They are fairly simple to make, and hold up well for several days if stored in a plastic bag in the fridge.

What You Will Need:
KitchenAid Mixer with Paddle Attachment
Muffin Tins

Ingredients:
1 1/3 cup Sorghum Flour
3/4 cup Potato Starch
2/3 cup Tapioca Starch/Flour
3 Tablespoons Honey
1 1/2 teaspoons Guar Gum
1 teaspoon Xanthum Gum
1 Tablespoon Active Dry Yeast
1 1/2 teaspoon Salt
1 1/2 cup Milk, room temperature
1/4 cup Olive Oil
2 Large Eggs, room temperature
2 Large Egg Whites, room temperature

Directions:
In KitchenAid Mixer bowl, whisk together sorghum flour, potato starch, tapioca starch, guar gum, xanthum gum, yeast and salt. Set aside.

In separate bowl, lightly beat eggs and egg whites.


Add milk, honey, vinegar & olive oil. Stir to mix.


With KitchenAid Mixer on medium-low, slowly add the wet ingredients to the dry ingredients. When mixture is smooth, beat on high for 2 minutes.


Spray muffin tins with non-stick cooking spray. Scoop batter into muffin tins. Cover with plastic wrap sprayed with cooking spray. Set in warm, dry place to rise for 30 minutes.

Preheat oven to 350°F. Bake rolls for 15 minutes or until internal temperature is 205° F. Let cool in pan for a few minutes.

Delicious! I love eating a roll with my dinner, especially with a dollop of butter melting into all of the nooks and crannies.

"The moment you are ready to quit is usually the moment right before the miracle happens. Don't give up!"

The miracles are always worth the heartache.
Sheryl