Thursday, June 20, 2013

Pizza Dough


Did you know that to make really good traditional pizza dough, you use wheat flour with extra gluten? True story. It is all that extra gluten that gives the dough that elasticity/stretchiness. So, you can imagine that making gluten free pizza dough can be quite challenging. But, you know me, I love a challenge! 

This recipe was actually modified from one of the first recipes I received after I was diagnosed. It was printed in the Oakland Press, a local county paper, (Yes, it was on paper, not on the internet. Go figure.) and it was credited to "Gluten Free Quick & Easy". I've made a few modifications, which I of course believe make it even better.

My biggest complaint with most of the gluten free pizza doughs I have tasted is that they are grainy and flat. They usually don't have any body to them, and certainly no fluff. I love the way this dough puffs up like traditional pizza dough, and it has a great flavor.

Makes One 12-inch Crust

What You Will Need:
KitchenAid Mixer with Paddle Attachment (I don't know if you have noticed, but I don't make too many recipes that don't call for my KitchenAid Mixer. I love this machine!)
Pizza Stone or Pan

Ingredients:
1 Tablespoon Active Dry Yeast
3/4 cup Warm Milk (about 110°F)
1 teaspoon Sugar
2/3 cup Sweet Sorghum Flour
1/4 cup Tapioca Starch/Flour
1/4 cup Potato Starch
2 teaspoons Xanthum Gum
1/2 teaspoon Salt
1 teaspoon Gelatin Powder
1 teaspoon Olive Oil
1 teaspoon Cider Vinegar

Directions:
1. Grease pan. (I used about a Tablespoon of olive oil and spread it around with my hand.)

2. Preheat oven to 425° F.

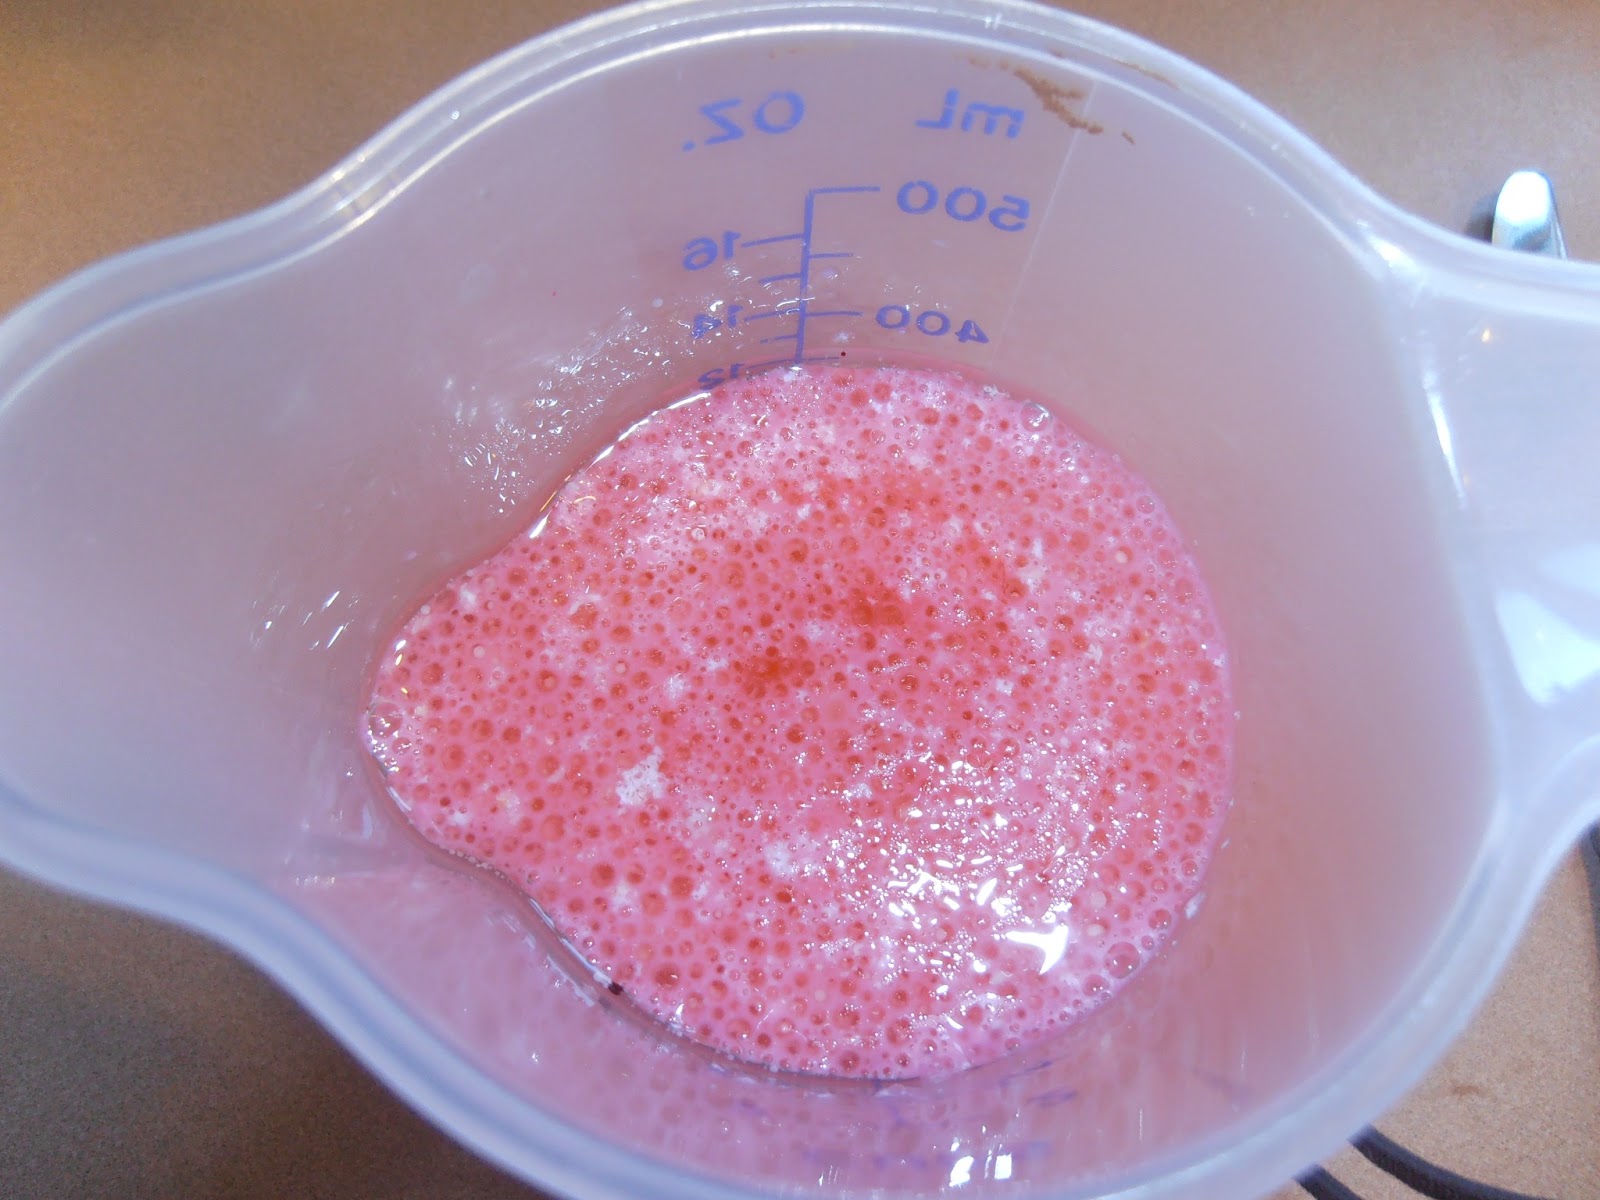
3. In a small bowl, combine yeast, sugar and warm milk. Set aside.
This is what it looks like after about 5 minutes.
4. In KitchenAid Mixer bowl, whisk together sorghum flour, tapioca starch, potato starch, xanthum gum, salt and gelatin powder.

5. Add olive oil.

6. Add cider vinegar.

7. Add yeast mixture.

8. Mix until dough comes together. Mixing a little longer will help to get the dough aerated, which will make it fluffier.

9. Transfer dough to the pre-greased pan. 

10. Spray a piece of plastic wrap (Large enough to cover the pan) with non-stick cooking spray. Lay the plastic wrap, sprayed side down, over the dough. Shape into a rectangle (or whatever shape you like) leaving the edges thicker to make a crust, which will help to keep your toppings on the pizza. 


11. Bake for 10 minutes and remove from oven.

12. Add toppings of your choice, and bake for an additional 15-20 minutes or until golden brown.

Doesn't that crust look amazing?!?!?! 

I know the toppings look pretty great too. That is my greek pizza, and it will be featured in an upcoming post. Keep a look out for it. You won't want to miss it! 

Words cannot describe how ecstatic I was when I welcomed pizza with a real crust back into my life. I hope you will be too. This is super easy to make. Give it a try. I dare you. You will not be disappointed. 

"You've always had the power, my dear, you just had to learn it for yourself." ~Glinda from Wizard of Oz
Sheryl

Tuesday, June 18, 2013

Red Velvet Cupcakes with White Chocolate Frosting


I have to admit, this red velvet recipe has given me some grief. As you may have read in my Chicken and Dumplings post on June 10, the first batch wasn't blog-worthy. What that means is they had that "too much food coloring" taste. So, I went back to the drawing board. 

I thought I had it all figured out with my second try, and I probably did; but I didn't get to try them. As I was trying to get them out of the pan, it shattered all over my kitchen counter. 
Isn't that depressing!?!

I was so distraught over the mess, that I decided to go in a different direction. Instead of brownies, I would make cupcakes. They say, "third times a charm", and they are right. These cupcakes are red as velvet and tasty as can be (no food coloring flavor), and they are topped with sweet white chocolate frosting.


Makes approximately 18 cupcakes.

What You Will Need:
Cupcake Tins
Cupcake Liners
Cooling Racks

Ingredients:
For Cupcakes
3/4 cup Soy Flour
1/4 cup Tapioca Starch/Flour
1/4 cup Potato Starch
1/4 cup Ground Flax Meal
1 teaspoon Xanthum Gum
1/4 cup Unsweetened Cocoa Powder
2 teaspoons Baking Powder
1/2 teaspoon Salt
1 cup Sugar
1 cup Milk
1 teaspoon Vinegar
1 Large Egg
1/4 cup Canola Oil
3/4 teaspoon Red Gel Food Coloring

For Frosting
1/2 cup Unsalted Butter, room temperature
1 1/2 cups Powdered Sugar
2 teaspoons Pure Vanilla Extract
8 oz. White Chocolate, melted and cooled
2 Tablespoons Heavy Cream

Directions:
I recommend making the frosting first to allow time for the flavors to marry.

For Frosting
1. In a small microwave safe bowl, melt chocolate in 30 second intervals, stirring between, until chocolate is completely melted. Set aside to cool.


2. In KitchenAid Mixer bowl, beat butter and powdered sugar together until well mixed. Start on low, or you will be wearing the powdered sugar instead of eating it.


3. Add vanilla and mix.

4. Add melted white chocolate and mix.

5. Add heavy cream and mix until frosting is desired consistency.


For Cupcakes
1. In a 2 cup measuring cup, mix milk and vinegar. Set aside.

2. Place cupcake liners in cupcake tins. Set Aside.

3. Preheat oven to 400° F. 

4. In a medium bowl, whisk together soy flour, tapioca starch, potato starch, flax, xanthum gum, baking powder, cocoa powder, salt and sugar.


5. To the milk mixture, add the egg, oil and food coloring.

6. Pour the milk mixture into the dry ingredients and mix well.

7. Pour batter into cupcake tins. Fill tins 1/2 - 3/4 full. Bake for 20 minutes or until toothpick inserted in center of cupcake comes out clean.

8. Cool in pans for 10 minutes. Remove cupcakes from pan and cool completely on cooling racks.

9. Frost and share!

"Take pride in how far you have come and have faith in how far you can go."
Sheryl

Sunday, June 16, 2013

Carrot Cake with Cream Cheese Frosting


Our friend Mark loves carrot cake. His 60th birthday is tomorrow, so we threw him a surprise birthday party last night. It was a huge success. His daughter even drove from Tennessee to Michigan to surprise him. 

I had the pleasure of baking the cake for the party, so of course, I made carrot cake. And you can't have carrot cake without cream cheese frosting. The cake was a big hit, and it was nice to see people other than my close friends and family enjoying one of my recipes.

What You Will Need:
Grater
Cake Pan(s) (I used three 8 inch rounds, but you could also use a 9x13.)
Cooling Rack(s)
KitchenAid Mixer
Offset Spatula

Ingredients:
For Cake
3 cups Grated Carrots (8-10 Large Carrots)
1 cup Unsalted Butter, room temperature
2 cups Sugar
4 Large Eggs, room temperature
2 teaspoons Pure Vanilla Extract
1 1/2 cups Soy Flour
1 cup Tapioca Starch/Flour
1 cup Potato Starch
1 Tablespoon + 1 teaspoon Baking Powder
1 teaspoon Baking Soda
1 teaspoon Xanthum Gum
2 teaspoons Cinnamon
1 teaspoon Salt
1 1/2 cups Milk, hot
1 Tablespoon Vinegar
1 cup Pecan Pieces

For Frosting
2 cups Powdered Sugar
8 ounces Cream Cheese
1/2 cup Unsalted Butter
2 teaspoons Pure Vanilla Extract

Directions:
For Cake
1. Grate carrots. Set aside. (I used a cheese grater to grate my carrots. It works great.)

2. Grease and flour cake pan(s).

3. In a medium bowl, whisk together soy flour, tapioca starch, potato starch, baking powder, baking soda, xanthum gum, cinnamon and salt. Set aside.

4. In a microwave safe measuring cup, heat milk on high in microwave. Heat for 30 seconds at a time and stir. Add vinegar and set aside.

5. In bowl of KitchenAid Mixer, cream together butter and sugar until fluffy.

6. Add eggs one at a time, mixing well in between.


7. Add vanilla.

8. Preheat oven to 350° F.

9. Add half of the dry ingredients, then half of the milk mixture, then the remaining dry ingredients and milk mixture. Mix well.


10. Remove KitchenAid mixing bowl from the machine. Add carrots and mix by hand.

11. Add pecans and mix by hand.

12. Pour batter into cake pan(s). Place in oven and bake for 30-40 minutes or until toothpick inserted in center of cake comes out clean. (Time will vary for 9x13 pan.)

13. Remove from oven. Cool in pan(s) for 10 minutes. Then cool completely on cooling racks.

For Frosting
1. In bowl of KitchenAid Mixer, mix together all ingredients on medium until smooth. 


Frost your cake, and share it!

"You are never to old to set another goal or to dream a new dream." ~C.S. Lewis


Sheryl

Friday, June 14, 2013

Chicken Divan


If you've never had chicken divan before, you are in for a treat! It is a casserole with chicken, vegetables, a creamy-cheesy sauce that has a little zing from the mayo and crunchy bread crumbs as a topping. We serve it atop rice. My whole family loves it, even though they are typically not big fans of casseroles. 

I originally received this recipe from my brother's mother-in-law at my wedding shower. My mom had sent a blank recipe card with each shower invitation and asked the guests to write one of their favorite recipes on it and bring it to the shower for the bride and groom. All these years later (13), I still have all of the cards; and some of them, including chicken divan, have become staples in our kitchen.

When I received the recipes, I hadn't been diagnosed with Celiac's yet; so most of them are not gluten free. But, as you know, I love the challenge of converting recipes to gluten free. This one was a bit of a challenge, because the original recipe called for two cans of a "cream of" soup. I haven't found one of these canned "cream of" soups that is gluten free. 

Then I found this recipe for make your own "cream of something" soup on the One Orange Giraffe blog. I reduced the minced onions to two tablespoons in my recipe; because the first time I tried it, all I could taste was onions. Once I made the adjustment, it was perfect. Think of the possibilities, with a gluten free recipe for cream of something soup mix.

What You Will Need:
9 x 13 Casserole Dish

Ingredients:
For Casserole
3-4 Chicken Breasts, cooked and cut into pieces
The Equivalent of 2 Cans of Cream of Something Soup
3 teaspoons Lemon Juice
1-2 cups Mushrooms, chopped (I usually use button mushrooms, but baby bellas were on special when I was shopping this time. My husband loved them. I suppose you could use whatever kind of mushroom you like.)
1-2 cups Broccoli, chopped
1 1/3 cups of Mayo
2 cups Velveeta cheese, cubed
Gluten Free Bread Crumbs for topping (After much searching, I found some great bread crumbs from a small local shop. Since it is just a topping to add some crunch, you can really use any gluten free bread crumbs. You could also make your own with my "Best Gluten Free Bread". Some other options might be potato chip crumbs or tortilla chip crumbs.)

For Cream of Something Soup Mix
1 cup Non-Fat Dried Milk
3/4 cup Corn Starch
1/4 cup Bullion (You can use beef, chicken or vegetable. I used chicken broth base.)
2 Tablespoons Dried Minced Onions
1 teaspoon Basil
1 teaspoon Parsley
1 teaspoon Pepper
1 can = 1/3 cup mix and 1 1/4 cup water, cook until thick

Directions:
1. Prepare Cream of Something Soup. In a small saucepan, measure 2/3 of cream of something soup mix. 

2. Add 2 1/2 cups of water to soup mix in saucepan.

3. Cook on medium heat until thick, stirring regularly. Let cool. Set aside.

4. Chop chicken, mushrooms, broccoli, and cheese.
I had already mixed the sauce when I took this
picture. That is the next step.
5. Add mayo and lemon juice to cream soup. Mix well.


6. Preheat oven to 350° F.

7. In 9 x 13 pan, layer sauce, chicken, veggies, cheese and repeat. 
This is where you might think I'm a little crazy.
You might notice that I only have broccoli on
one side of the pan, mushrooms on the other
side, and no veggies in the middle. My husband
doesn't like broccoli, my daughter and I don't
like mushrooms, and my son doesn't like either.
I know, crazy, but it works for us.

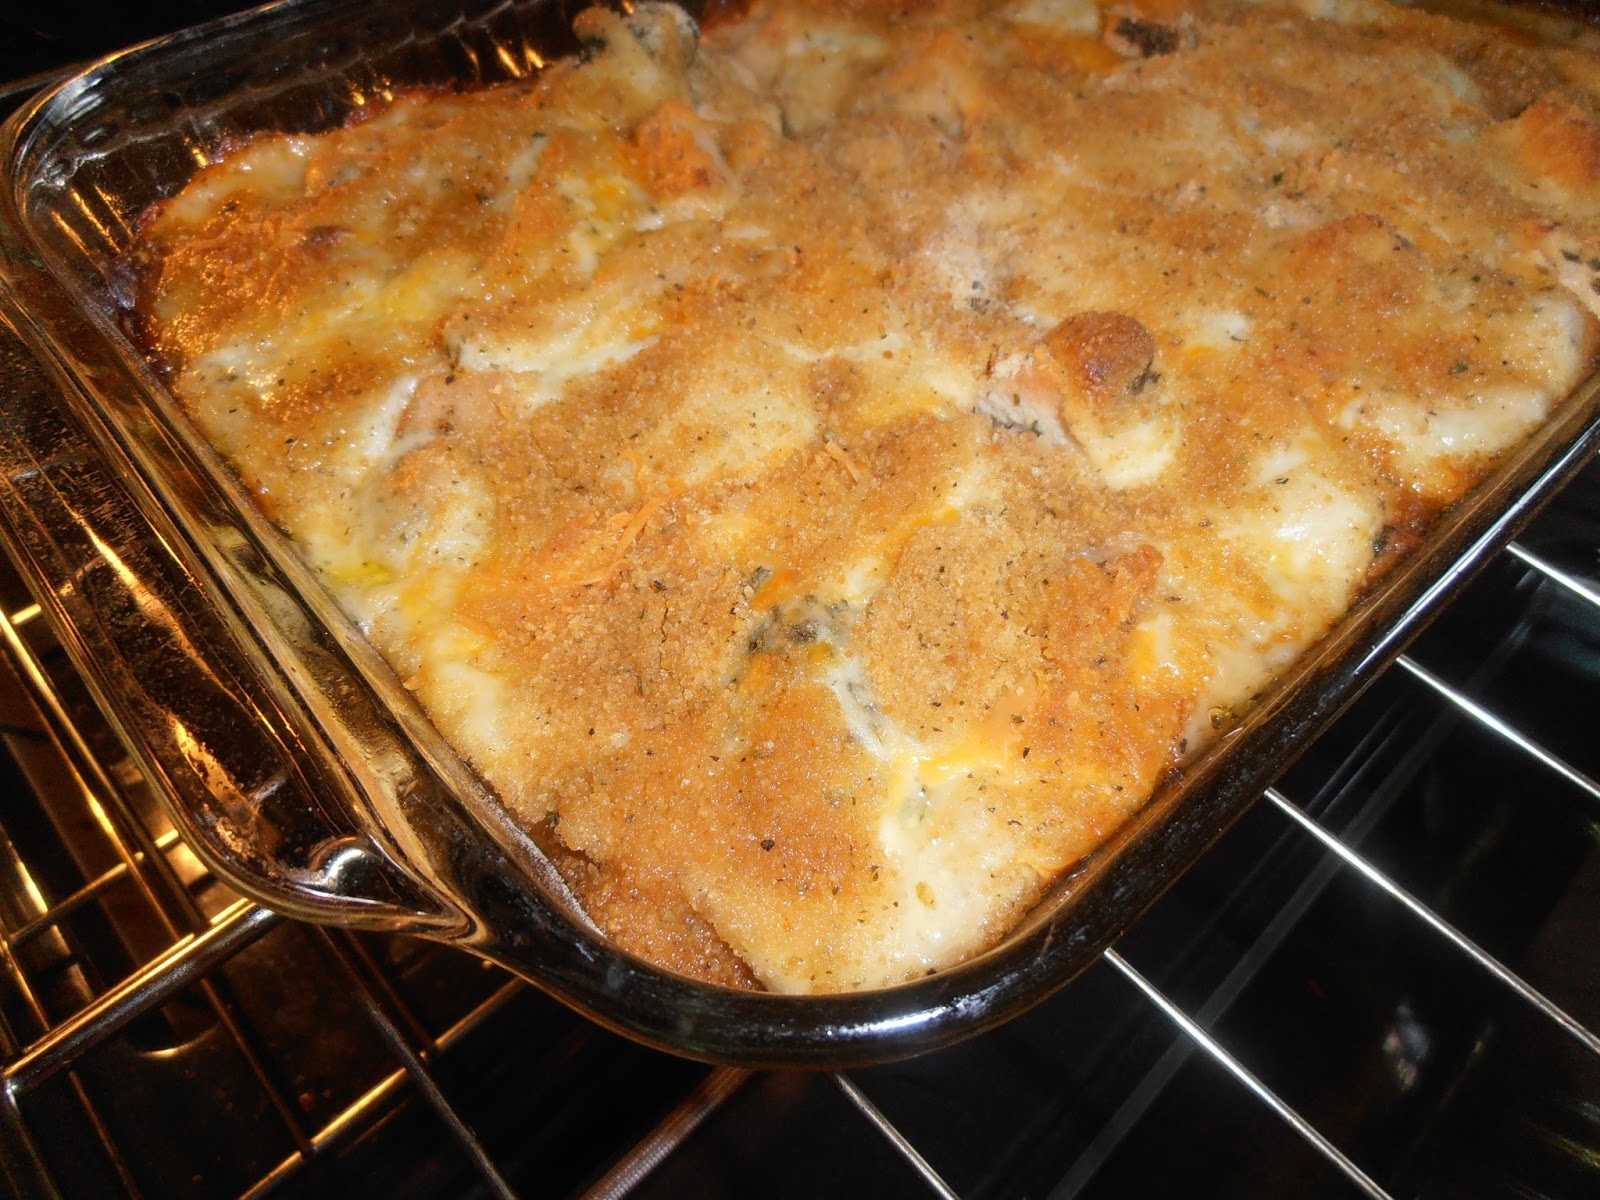
8. Top with bread crumbs. Bake uncovered for one hour.


Serve it atop rice. It is amazing fresh out of the oven, but it might be even better as leftovers for lunch the next day.


"Sometimes God doesn't give you what you think you want, not because you don't deserve it, but because you deserve better."


Sheryl