Showing posts with label chicken. Show all posts

Saturday, December 14, 2013

Chicken Rice Soup


There's nothing like a nice, hot bowl of soup on a cold, cold winter day. OK, so technically it isn't winter yet, but it sure feels like it. It has been below freezing on more than one occasion already this year, and there is a huge snowstorm pouring down on us as I type. I'm not super excited about that. I don't do well with cold weather. I sure love the way fresh fallen snow looks, but as soon as I have to continue my "regularly scheduled life" with it, I get a little cranky. So, I try to do little things to brighten my mood. Homemade soup is one of those things.

The beauty of this soup is that it is beyond easy to make, and it is versatile. You can make it with chicken, turkey, or really whatever bird you like; and you can use rice, couscous, wild rice, brown rice, or really any grain you like. And since you use cooked meat and cooked rice, it is a perfect recipe for leftovers. Yep, you got it, pull out all of those plastic containers from your fridge and see what you've got. You may have the makings for an amazing cup/bowl of soup.

Just follow this simple recipe.

What You Will Need:
Dutch Oven or Large Pot
Wooden Spoon

Ingredients:
2 Tablespoons Unsalted Butter
1 cup Carrots, chopped
1 cup Onions, chopped
2 Tablespoons Soy Flour
1 Tablespoon Potato Starch
1 Tablespoon Tapioca Starch/Flour
2 cartons (32 ounces each) Gluten Free Chicken Stock
3 cups Rice (grain), cooked
3 cups Chicken (poultry), shredded or chopped (I used the leftover half of a roasted chicken from Costco.)
1 teaspoon Ground Pepper
1 teaspoon Garlic Powder
1 teaspoon Onion Powder
1 teaspoon Celery Salt
2 teaspoons Chopped Parsley
2 cups Milk (anything but fat free)

Directions:
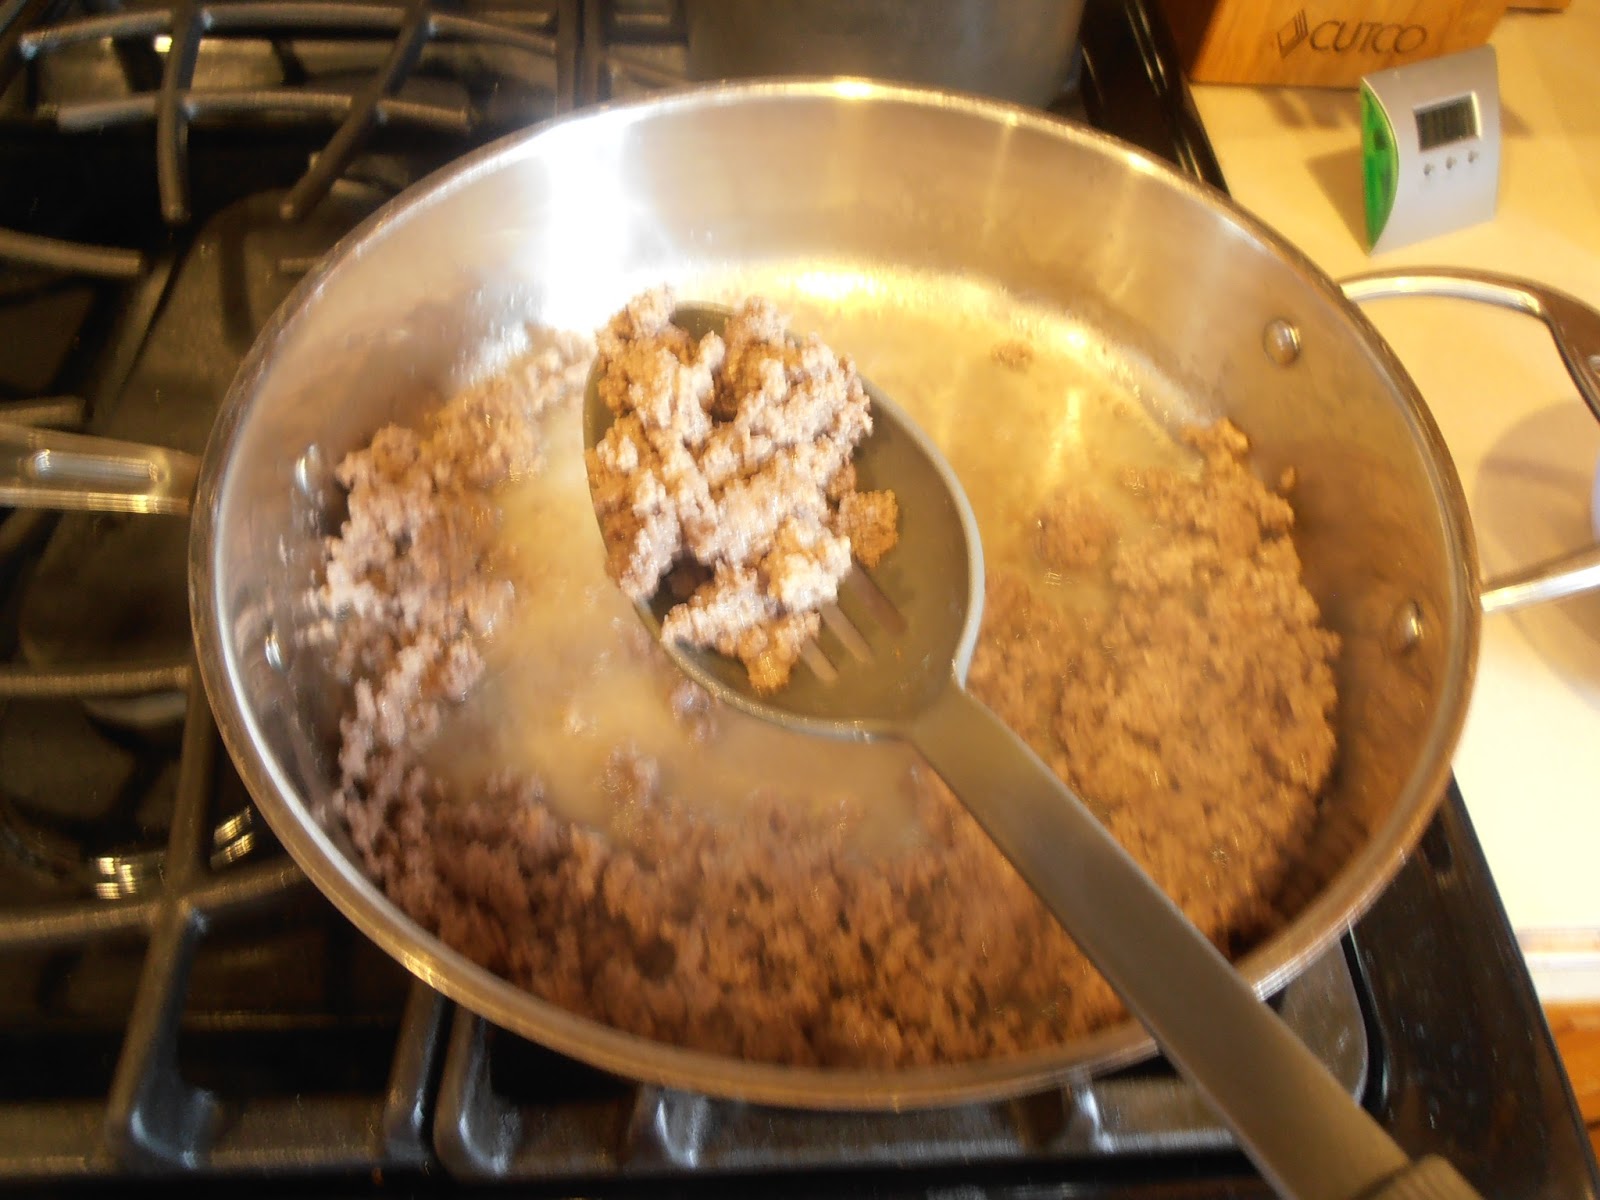
In a dutch oven over medium-high heat, add butter and vegetables. "Sweat" vegetables until carrots are tender and onions are clear.

Add soy flour, potato starch and tapioca starch and stir until thick.

Slowly add chicken stock, stirring to incorporate flours. Cook until boiling, stirring constantly.

Reduce heat to low-medium, add rice, chicken and spices. Stir to incorporate. Let simmer for 10-15 minutes.

Slowly add milk and stir. Let simmer for an additional 5 minutes.

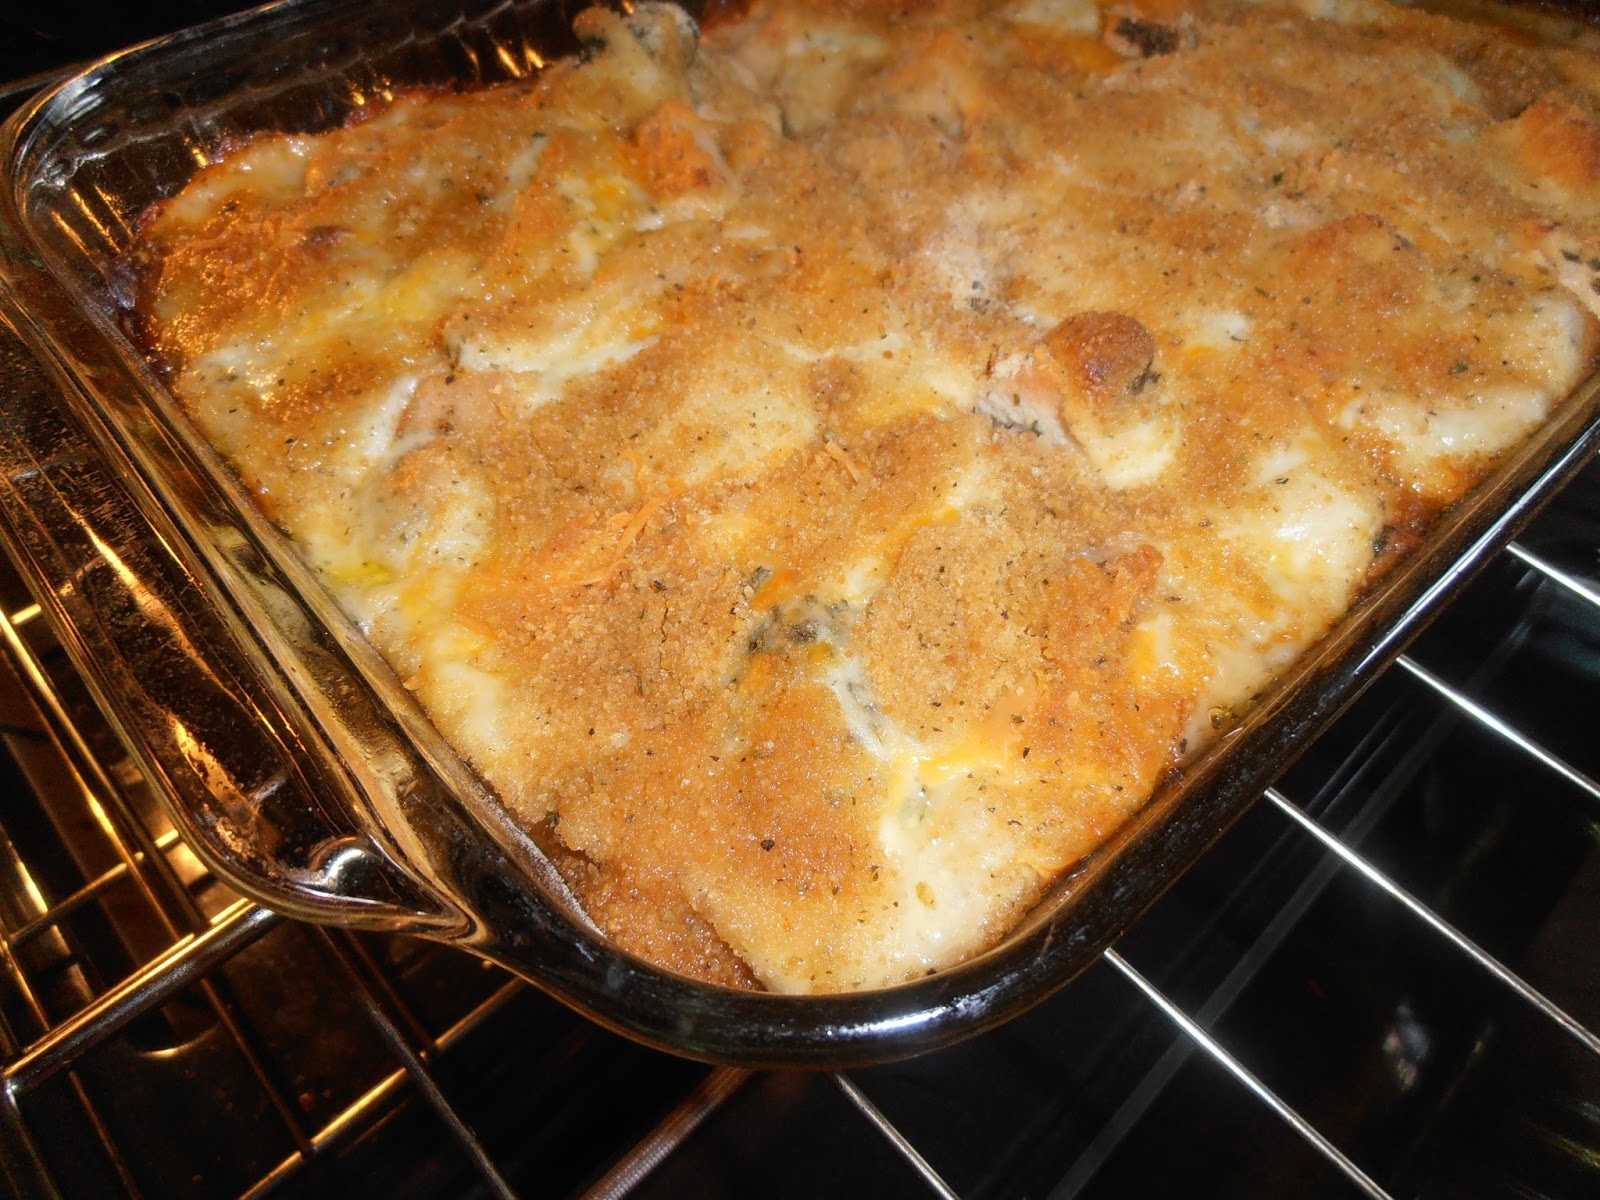
Serve it while it is hot. If you are a purist, leave it alone. If not, serve it with your favorite gluten free crackers or croutons.


MMmmm! So simple and so delicious. I hope this warms your belly and your heart on these bitter cold, snowy days!

"Love and cook with wild abandon"
Sounds like a plan to me.
~Sheryl

Monday, July 15, 2013

Pesto Chicken and Artichoke Grilled Cheese Sandwich


This sandwich was originally created in a hobo pie maker over a camp fire at our friends' cabin. It was so delicious, I had to recreate it at home with my panini maker and my best gluten free bread. I have to tell you it was even better this time around.

So many great flavors: pesto, chicken, artichoke, mozzarella, butter, and the most amazing gluten free bread. It really is a fantastic sandwich. 

What You Will Need:
Panini Press or Saute Pan

Ingredients:
2 Slices Best Gluten Free Bread (Posted May 29, 2013)
1 Tablespoon Butter, room temperature
1 Tablespoon Basil Pesto
1/4 cup Mozzarella Cheese, shredded
1/4 cup Marinated Artichoke Hearts, chopped
1/2 Chicken Breast, cooked with pesto and sliced thin 

Directions:
Preheat Panini Press or Saute Pan over medium heat.

Butter one side of both pieces of bread.

Spread one piece of bread with pesto on the opposite side of the butter.

Place the piece of bread with pesto on it on the panini press with the butter side down. Spread mozzarella cheese on the bread.

Place the artichokes on the bread.

Place the chicken on the bread.

Put the other piece of bread on top of the chicken with the butter side up.

Close the panini press carefully. The sandwich is very thick, and will require some care not to squish all of the contents out. Keep the press closed for approximately 1 minute. You want the sandwich to be golden brown and all of the cheese to be melted.


Believe me, these pictures don't do this sandwich justice. It truly is spectacular!

"Cuddling literally kills depression, relieves anxiety and strengthens the immune system."

Do you think it is possible to cuddle with a sandwich? I might just try. . .
Sheryl

Monday, July 1, 2013

Taco Seasoning


This taco seasoning is so versatile. You can use it with beef, chicken or turkey; add beans or leave them out; and use it to make tacos, nachos, enchiladas, mexican pizza or whatever your heart desires. Of course, you want to make sure that whatever "shell" you use is gluten free. So, you will obviously need to stay away from flour tortillas, but the good news is there are lots of corn, and even veggie options out there. The chips pictured with my nachos are "Veggie Dippers". I bought them at Costco. They are really yummy, and a healthier alternative to corn.

Ingredients for Taco Seasoning:
This mix will season 1.5 pounds of meat
1 Tablespoon Onion Powder
1 Tablespoon Garlic Powder
1 Tablespoon Chili Powder (if you don't like spicy, you can cut this in half)
1/2 teaspoon Crushed Red Pepper or Cayenne Pepper
2 teaspoons Cumin
1 teaspoon Corn Starch
1/2 teaspoon Sugar
1 teaspoon Salt
1 1/2 cups Water

Directions for Taco Seasoning:
Measure onion powder, garlic powder, chili powder, cayenne, cumin, corn starch, sugar and salt into a bowl.

Whisk together until mixed completely.

Store in an airtight container or use to season meat right away.

Directions for Seasoning Meat with Taco Seasoning:
Brown meat in a large skillet over medium-high heat. (If you are using chicken, saute chicken, then slice or shred.)
This meat is browned perfectly. You don't want
there to be any pink left. Make sure to break up
the meat as you cook it.
Drain excess oil from meat. (I use a slotted spoon to remove the meat from the pan, pour the oil into a contain that can stand the heat (ceramic coffee mug, glass jar, etc.), then return meat to the skillet.)
Using a slotted spoon to drain the meat and transfer
it to another container.
 
Pouring the excess fat into a ceramic coffee mug.
I will put this in a plastic bag and
throw it in the trash when it has hardened.

Returning the meat to the skillet.

Add taco seasoning to meat.

Pour water into pan. Stir to mix well.

Add 1 can of beans (black, pinto, light or dark red kidney beans), drained. (I used black beans, because I love them and they are better for you.) This step is optional. If you don't like beans, leave them out. Stir well to incorporate.


Reduce heat and simmer for approximately 20 minutes or until liquid has been reduced.
This looks about right. You don't want the meat
to be dry with no liquid, and as time passes, the
liquid will continue to be absorbed or evaporate.
I have been on a simple, nacho kick lately, so I just added some cheese and served with chips.

But you can get really creative - you can add sour cream, salsa, refried beans, lettuce, olives, jalapenos; serve it in taco shells, make enchiladas, layer it in 7 layer dip, the options are endless. . . . 

Enjoy your mexican creations. I look forward to hearing about what you have made.

"The greatest gift you can give someone is your TIME; because when you give your time, you are giving a portion of your life you will never get back."
Sheryl

Friday, June 14, 2013

Chicken Divan


If you've never had chicken divan before, you are in for a treat! It is a casserole with chicken, vegetables, a creamy-cheesy sauce that has a little zing from the mayo and crunchy bread crumbs as a topping. We serve it atop rice. My whole family loves it, even though they are typically not big fans of casseroles. 

I originally received this recipe from my brother's mother-in-law at my wedding shower. My mom had sent a blank recipe card with each shower invitation and asked the guests to write one of their favorite recipes on it and bring it to the shower for the bride and groom. All these years later (13), I still have all of the cards; and some of them, including chicken divan, have become staples in our kitchen.

When I received the recipes, I hadn't been diagnosed with Celiac's yet; so most of them are not gluten free. But, as you know, I love the challenge of converting recipes to gluten free. This one was a bit of a challenge, because the original recipe called for two cans of a "cream of" soup. I haven't found one of these canned "cream of" soups that is gluten free. 

Then I found this recipe for make your own "cream of something" soup on the One Orange Giraffe blog. I reduced the minced onions to two tablespoons in my recipe; because the first time I tried it, all I could taste was onions. Once I made the adjustment, it was perfect. Think of the possibilities, with a gluten free recipe for cream of something soup mix.

What You Will Need:
9 x 13 Casserole Dish

Ingredients:
For Casserole
3-4 Chicken Breasts, cooked and cut into pieces
The Equivalent of 2 Cans of Cream of Something Soup
3 teaspoons Lemon Juice
1-2 cups Mushrooms, chopped (I usually use button mushrooms, but baby bellas were on special when I was shopping this time. My husband loved them. I suppose you could use whatever kind of mushroom you like.)
1-2 cups Broccoli, chopped
1 1/3 cups of Mayo
2 cups Velveeta cheese, cubed
Gluten Free Bread Crumbs for topping (After much searching, I found some great bread crumbs from a small local shop. Since it is just a topping to add some crunch, you can really use any gluten free bread crumbs. You could also make your own with my "Best Gluten Free Bread". Some other options might be potato chip crumbs or tortilla chip crumbs.)

For Cream of Something Soup Mix
1 cup Non-Fat Dried Milk
3/4 cup Corn Starch
1/4 cup Bullion (You can use beef, chicken or vegetable. I used chicken broth base.)
2 Tablespoons Dried Minced Onions
1 teaspoon Basil
1 teaspoon Parsley
1 teaspoon Pepper
1 can = 1/3 cup mix and 1 1/4 cup water, cook until thick

Directions:
1. Prepare Cream of Something Soup. In a small saucepan, measure 2/3 of cream of something soup mix. 

2. Add 2 1/2 cups of water to soup mix in saucepan.

3. Cook on medium heat until thick, stirring regularly. Let cool. Set aside.

4. Chop chicken, mushrooms, broccoli, and cheese.
I had already mixed the sauce when I took this
picture. That is the next step.
5. Add mayo and lemon juice to cream soup. Mix well.


6. Preheat oven to 350° F.

7. In 9 x 13 pan, layer sauce, chicken, veggies, cheese and repeat. 
This is where you might think I'm a little crazy.
You might notice that I only have broccoli on
one side of the pan, mushrooms on the other
side, and no veggies in the middle. My husband
doesn't like broccoli, my daughter and I don't
like mushrooms, and my son doesn't like either.
I know, crazy, but it works for us.

8. Top with bread crumbs. Bake uncovered for one hour.


Serve it atop rice. It is amazing fresh out of the oven, but it might be even better as leftovers for lunch the next day.


"Sometimes God doesn't give you what you think you want, not because you don't deserve it, but because you deserve better."


Sheryl

Monday, June 10, 2013

Chicken and Dumplings


I apologize for my absence for the past few days. I was out of town this weekend for a friend's wedding. We had a great time celebrating, and I had it all planned out that I would blog about red velvet brownies with white chocolate frosting on Sunday when I returned home. Unfortunately, after I made the brownies, my husband and I decided they were not blog-worthy. I am still perfecting the recipe. I promise I will post it as soon as I get it right.

Until then, I thought I would share this delightful recipe for chicken and dumplings. This is a twist on the traditional chicken and dumplings I usually make. It's fun to change things up every now and then.

Ingredients:
3-4 Boneless, Skinless Chicken Breasts; seasoned, cooked and cut into pieces
2 Tablespoons Butter
1/2 cup Onion, chopped
1 Tablespoon minced Garlic
1 cup Carrot, chopped
1 teaspoon Parsley 
1 teaspoon Italian Seasoning
1/2 teaspoon Salt
1/2 teaspoon Pepper
1 teaspoon Tapioca Flour/Starch
2 cups Chicken Broth
1 cup Milk

For Dumplings:
3/4 cup Sorghum Flour
3/4 cup Potato Starch
1/2 cup Tapioca Flour/Starch
3 teaspoons Baking Powder
1 teaspoon Xanthum Gum
1 teaspoon Salt
6 Tablespoons Shortening
1 cup Milk

Directions:
1. Season, cook and chop chicken. Chop onion and carrots.

2. In a large skillet over medium heat, melt butter. 

3. Add onions and and carrots.


4. Add garlic and herbs and cook until onions and carrots are tender.

5. Sprinkle tapioca flour over vegetables. Add chicken broth and stirring to incorporate tapioca flour.

6. Add chicken.

7. Add milk, stir well, simmer for 10 minutes, stirring occasionally.


8. Pour mixture into greased 9x13 pan.

9. Preheat oven to 375° F.

10. In a small bowl, whisk together sorghum flour, potato starch, tapioca starch, baking powder, xanthum gum and salt. 

11. Cut in shortening with pastry cutter.

12. Mix in milk.

13. Drop dumpling mixture by spoonful onto chicken mixture. Bake for 20-30 minutes or until dumplings are golden brown.

Now that is blog-worthy!

"Not caring what other people think is the best choice you will ever make."
Sheryl