Tuesday, September 3, 2013

Melt In Your Mouth Cookies


My babies are growing up. Today was my son's first day of 7th grade, and my daughter's first day of 4th grade. Isn't it crazy how fast time flies? It seems like just yesterday that my son was going to his first day of Kindergarten, and my daughter was just a toddler.

I thought, since I was lucky enough to be home today, that I would make them a special treat to welcome them home from their first day of school. I needed something that wouldn't take long, since I had several other things on the to do list today. 

Melt In Your Mouth Cookies were the perfect solution for my time issue. My only concern was that they might not seem exciting enough. So, I decided to jazz them up a bit with some green food coloring, because here in Lake Orion, green is where it is at. Our school colors are green and white, and our mascot is a dragon. We like to say that, "We bleed green."

What color do you bleed? Go ahead and make your Melt In Your Mouth Cookies that color, or leave them uncolored. Either way, they will "Melt In Your Mouth."

What You Will Need:
KitchenAid Mixer with Paddle Attachment
Plastic Wrap
Cookie Sheets Lined with Silicone Mat or Parchment Paper
Cooling Rack

Ingredients:
Cookies
3/4 cup Soy Flour
3/4 cup Corn Starch
1/4 cup Potato Starch
1/4 cup Tapioca Starch/Flour
1 teaspoon Xanthum Gum
1/4 teaspoon Salt
1/4 cup Powdered Sugar
1 cup Unsalted Butter, room temperature
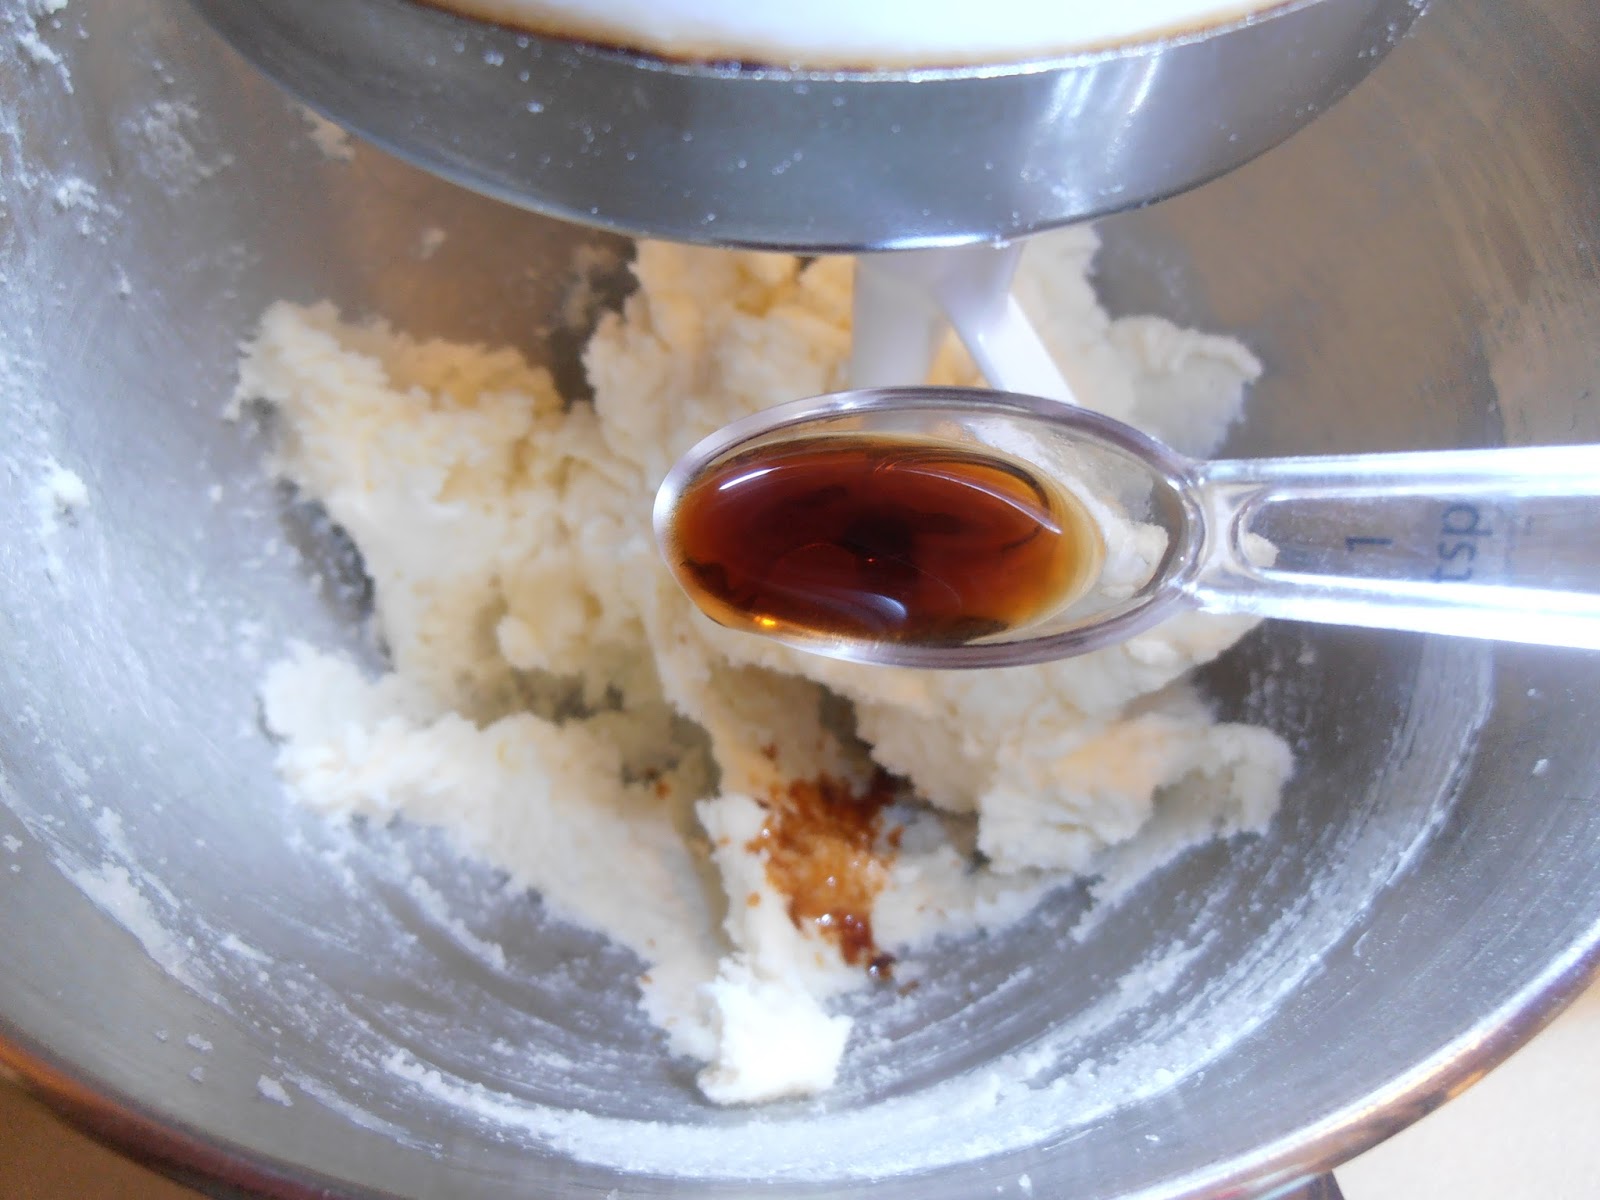
1 teaspoon Pure Vanilla Extract or Almond Extract
Food Coloring (Color of Your Choice)
Glaze
1 1/2 cup Powdered Sugar
2 Tablespoons Water

Directions:
In a small bowl, whisk together soy flour, corn starch, potato starch, tapioca starch, xanthum gum and salt. Set aside.

In KitchenAid Mixer with Paddle Attachment, beat together butter and powdered sugar until fluffy - approximately 2 minutes.


Add extract.

Add food coloring. (I added approximately 35 drops. You can also use gel food coloring.)

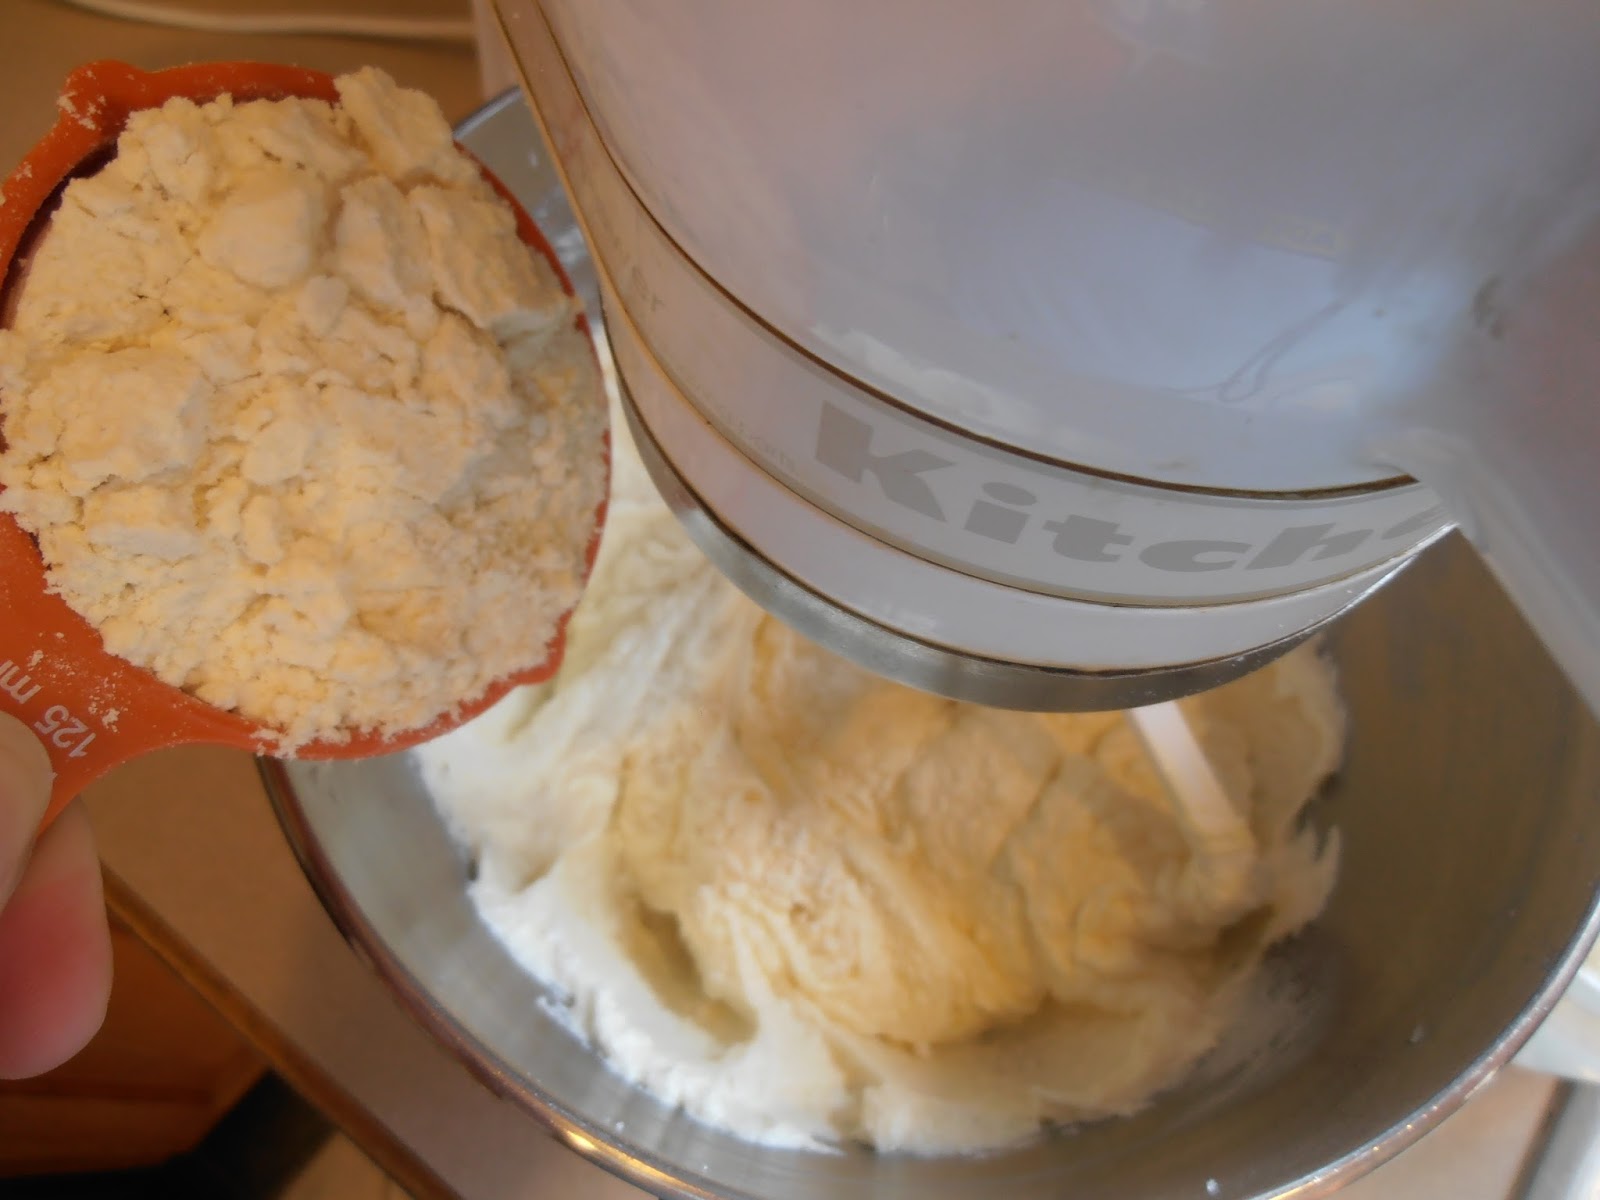
Add dry ingredients and mix until incorporated. (You may have to finish mixing with a spatula.)


Divide dough into thirds, transfer to three separate large pieces of plastic wrap, and form into thin cylinders. (This requires some patience. Wrap the dough in the plastic and work it the best you can into a cylinder shape. It is really about squeezing and shaping, than it is about rolling. You may also have to unwrap and re-wrap the plastic a few times.)


Refrigerate for at least an hour. (Mine was in the fridge for a few hours while I painted a coat of paint in my son's bedroom.) 


Preheat oven to 350°F.

Cut cylinders into 1 inch slices, and place on lined baking sheets approximately 1 inch apart.


Bake for 12-14 minutes or until edges are slightly golden. Be careful not to over-bake them. (If your dough is colored, you won't be able to tell if the edges are turning golden. It is best to err on the side of under-baking. Over-baking will make them dry and crumbly.)

Transfer to cooling racks to cool completely.

In a small bowl, mix together powdered sugar and water. 


There are two ways to glaze your cookies. You can dip your cookies into the glaze (which is my preferred method), or you can drizzle the glaze over the cookies with a spoon. 


When the glaze has set, enjoy the "Melt In Your Mouth" goodness. 

If you don't eat them all in one sitting, you can store the cookies in an air-tight container for several days. Good luck keeping them around for that long.


This beautiful plate was waiting for my kids when they arrived home from their first day of school. Yum!

"Some days were just made for cookies."

Today was one of those days. I hope you enjoy making (and eating) these cookies.
Sheryl

Friday, August 30, 2013

Funfetti Cupcakes with Strawberry Banana Buttercream Frosting


One of my favorite fruit flavor combinations is strawberry banana. Don't you love the way the two fruits compliment each other? Obviously, I'm not the only one who does, otherwise we wouldn't have strawberry banana smoothies, blizzards, and all sort of other goodies. 

I also love funfetti cupcakes. They are like a party on your plate. You can always count on a funfetti cupcake to lift your spirits, and they are stupid easy to make. 

Do you want to know the secret? Are you sure you are ready? OK, here we go. Just add sprinkles. That's right. I said, just add sprinkles. Who would have thought it would be that easy?! And yet, it is.

So, I have to ask myself, why don't people make them more often? I mean, seriously, sprinkles come in all different colors. How fun would it be to coordinate your funfetti with your party or event? I mean, I did. Did you notice that my sprinkles are red, white and blue in honor of Labor Day? They sure are.

Shall we get to it, then?

What You Will Need:
KitchenAid Mixer with Paddle & Whisk Attachments
Cupcake Pans
Cupcake Liner Papers
Cooling Racks

Ingredients:
For Cupcakes
1 cup Unsalted Butter, room temperature
2 cups Sugar
2 teaspoons Pure Vanilla Extract
4 Large Eggs, room temperature
1 1/2 cups Soy Flour
1 cup Tapioca Starch/Flour
1 cup Potato Starch
1 Tablespoon + 1 teaspoon Baking Powder
1 teaspoon Baking Soda
1 teaspoon Xanthum Gum
1 teaspoon Salt
1 1/2 cups Milk, hot
1 bottle or 1/3 cup Sprinkles
For Frosting
2 cups Unsalted Butter, room temperature
3 1/2 cups Powdered Sugar
5 teaspoons Strawberry Extract
1 teaspoon Banana Extract
5-6 drops Pink Food Coloring

Directions:
Line cupcake pans with cupcake liner papers and set aside.

Preheat oven to 350° F.

In a medium bowl, whisk together soy flour, tapioca starch, potato starch, baking powder, baking soda, xanthum gum, and salt. Set aside.

In KitchenAid Mixer with paddle attachment, beat butter until smooth - approximately 2 minutes.


Slowly add sugar, and beat until fluffy - approximately 4 minutes.


Add vanilla.

Add eggs one at a time, beating for one minute after each addition.


Add dry ingredients 1/4 at a time, and mix well. 


Slowly add milk, and mix well. (This can be quite messy, so be careful. Just be patient, and go slow. It will come together.)


And sprinkles, and mix.


Scoop batter into prepared cupcake pans. (Fill approximately 3/4 full.)

Bake for 20 minutes or until toothpick inserted in center comes out clean. Let cool in pans for 5 minutes, then transfer to cooling racks to cool completely.

Place butter for frosting in KitchenAid Mixer with Whisk Attachment.

Slowly add powdered sugar until combined.

Add extract.

Add food coloring, and mix until well combined and fluffy.


Transfer frosting to a gallon size ziploc bag, and snip one corner.

Frost cupcakes. If you don't go overboard with the frosting, you should be able to frost all 36 cupcakes. I tend to go overboard, so learn from my mistakes. ;)


Refrigerate cupcakes for approximately an hour to set frosting. Now share them with your family, friends, neighbors, guests, or whomever you choose. 

Summer is coming to an end, and it makes me incredibly sad. As you know, it is my FAVORITE season of the year. If you feel the same way, remember this quote in the dead of winter, when you are longing for the long, hot days of summer.

"In the midst of winter, I found there was, within me, an invincible summer." ~Albert Camus
Sheryl

Saturday, August 24, 2013

Strawberry Lemonade Cupcakes


We have had some really great hot summer days this past week. Sometimes on hot summer days, I like to cool off with some strawberry lemonade. So, when I was trying to think of a new, fun cupcake flavor, I thought why not strawberry lemonade?

Why not?

What You Will Need:
KitchenAid Mixer with Paddle and Whisk Attachments
Cupcake Tins
Cupcake Liners
Cooling Racks

Ingredients:
For Cupcakes
1 cup Unsalted Butter, room temperature
2 cups Sugar
4 Large Eggs, room temperature
4 teaspoons Strawberry Extract
1 1/2 cups Soy Flour
1 cup Tapioca Starch/Flour
1 cup Potato Starch
1 Tablespoon + 1 teaspoon Baking Powder
1 teaspoon Baking Soda
1 teaspoon Xanthum Gum
1 teaspoon Salt
1 1/2 cups Milk, Hot
1 1/4 Strawberries; cleaned, hulled & diced + extra strawberries for garnish
For Frosting
2 cups Unsalted Butter, room temperature
4 cups Powdered Sugar
2 Lemons, zested and juiced
2 teaspoons Strawberry Extract

Directions:
Place liners in cupcake tins. Set aside.

Preheat oven to 350° F.

In a medium sized bowl, whisk together soy flour, tapioca starch, potato starch, baking powder, baking soda, xanthum gum, and salt. Set aside.

In KitchenAid mixer with the paddle attachment, beat butter until smooth - approximately 2 minutes.


Add sugar and beat until fluffy - approximately 4 minutes.


Scrape down sides of bowl and add extract.

Scrape down sides of bowl and add eggs one at a time, mixing for a full minute after each addition.


Scrape down sides of bowl and add dry ingredients 1/4 cup at a time with mixer on low.

Scrape down sides of bowl and slowly add milk. Mix until well blended.

Fold in strawberries.


Scoop batter into cupcake tins.

Bake for 20 minutes.

Cool completely on cooling racks.

In KitchenAid Mixer with whisk attachment, beat together butter and powdered sugar for frosting on low until mixed, then medium until smooth.

Add lemon zest and juice.

Add strawberry extract. Beat until fluffy.


Transfer frosting to a gallon sized ziploc bag, and clip off small piece of corner.

Frost cupcakes, and garnish with a strawberry.

Wait until you try these! They are so amazingly tasty and refreshing.

"If it is still in your mind, it is worth taking the risk."

What have you got burning in your subconscious? Maybe you should consider stepping out on a limb. You never know what could happen. 
Sheryl